


Getting Started
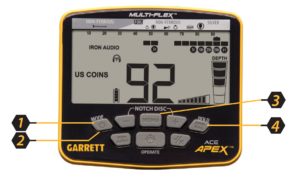
- Power ON. Press and release the ON / OFF Power button. The Apex powers on in the last mode used and is ready to search. The detector operates on built-in lithium-ion rechargeable batteries.
- Select Mode. Use the Mode button to select a different detection mode, when desired.
- Adjust settings. Press Menu Button to adjust Sensitivity, Volume, Iron Volume, Frequency, Channel, Backlight, or Z-Lynk settings, if desired.
- Ground Balance (if necessary). Press and hold GND BAL button while bouncing the coil above the ground.
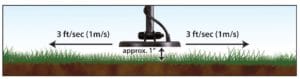
- Begin scanning. Lower the searchcoil to about one inch (2.5cm) above the ground and scan the coil left and right at approximately 3 feet/second (1 meter/second). The coil must be in motion for target detection but can remain stationary during Pinpoint.
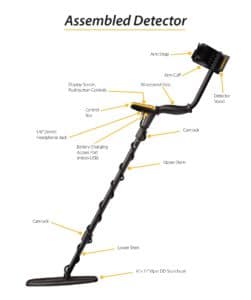
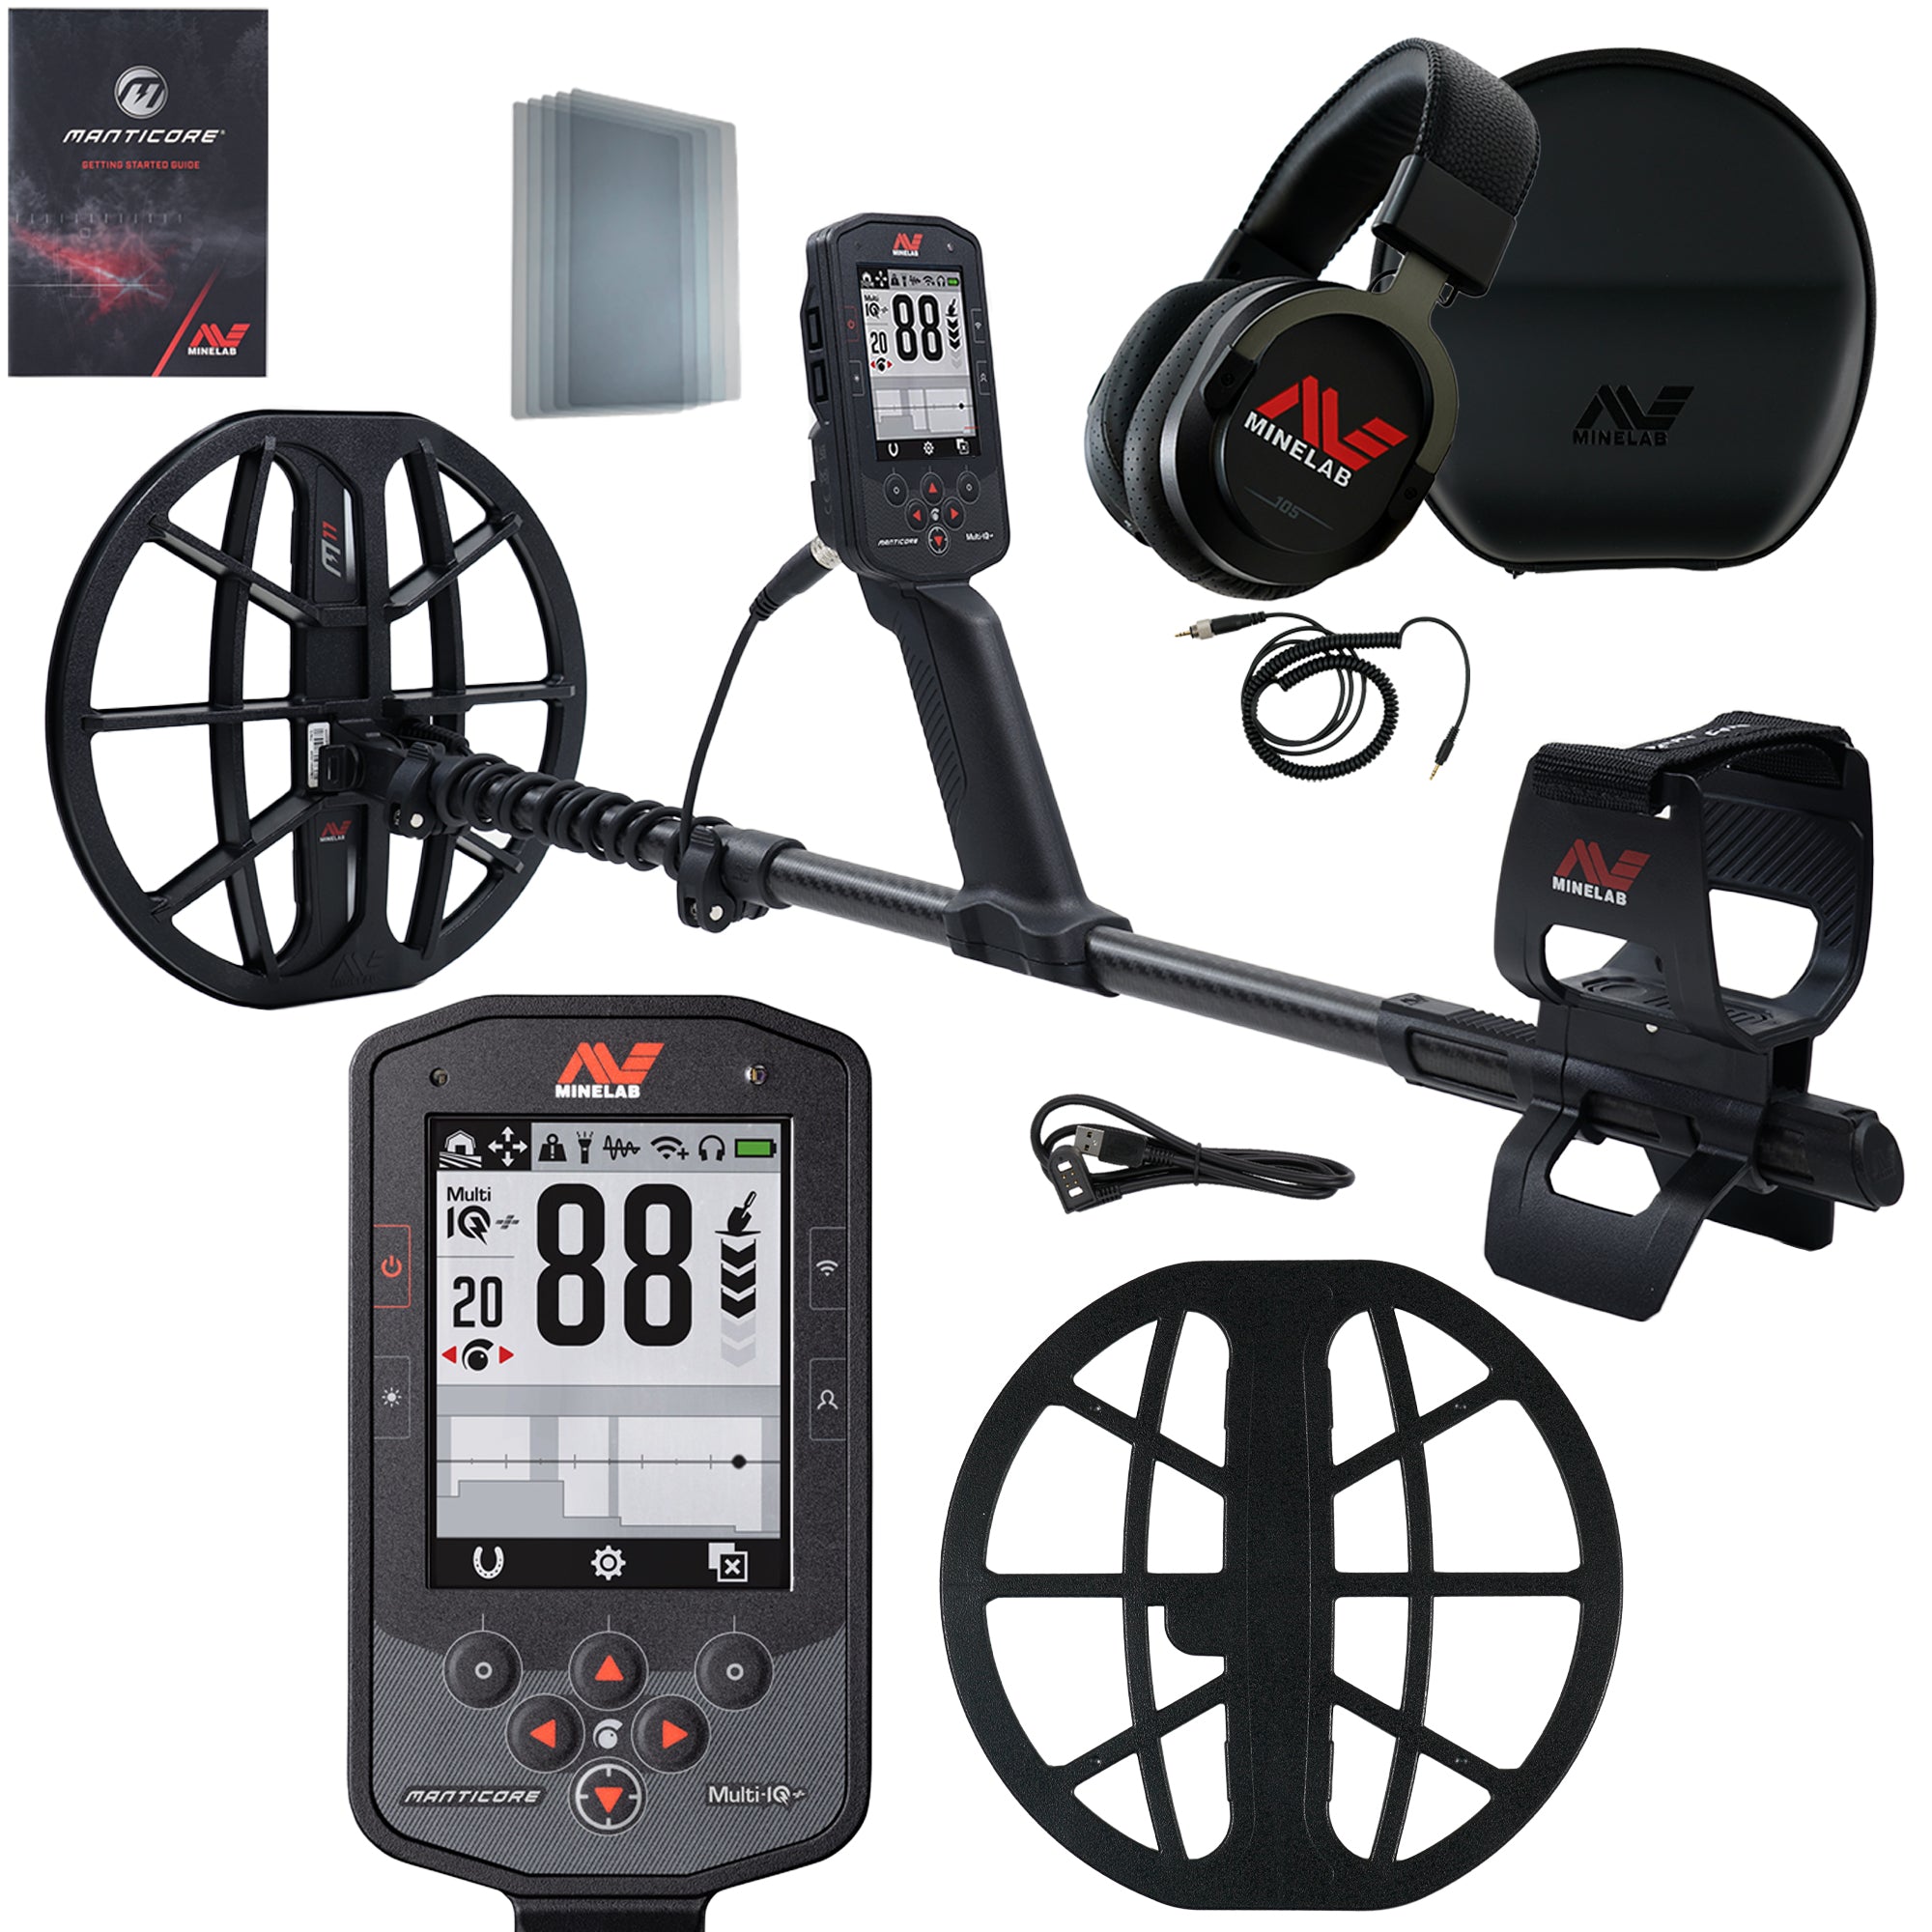
Assembly
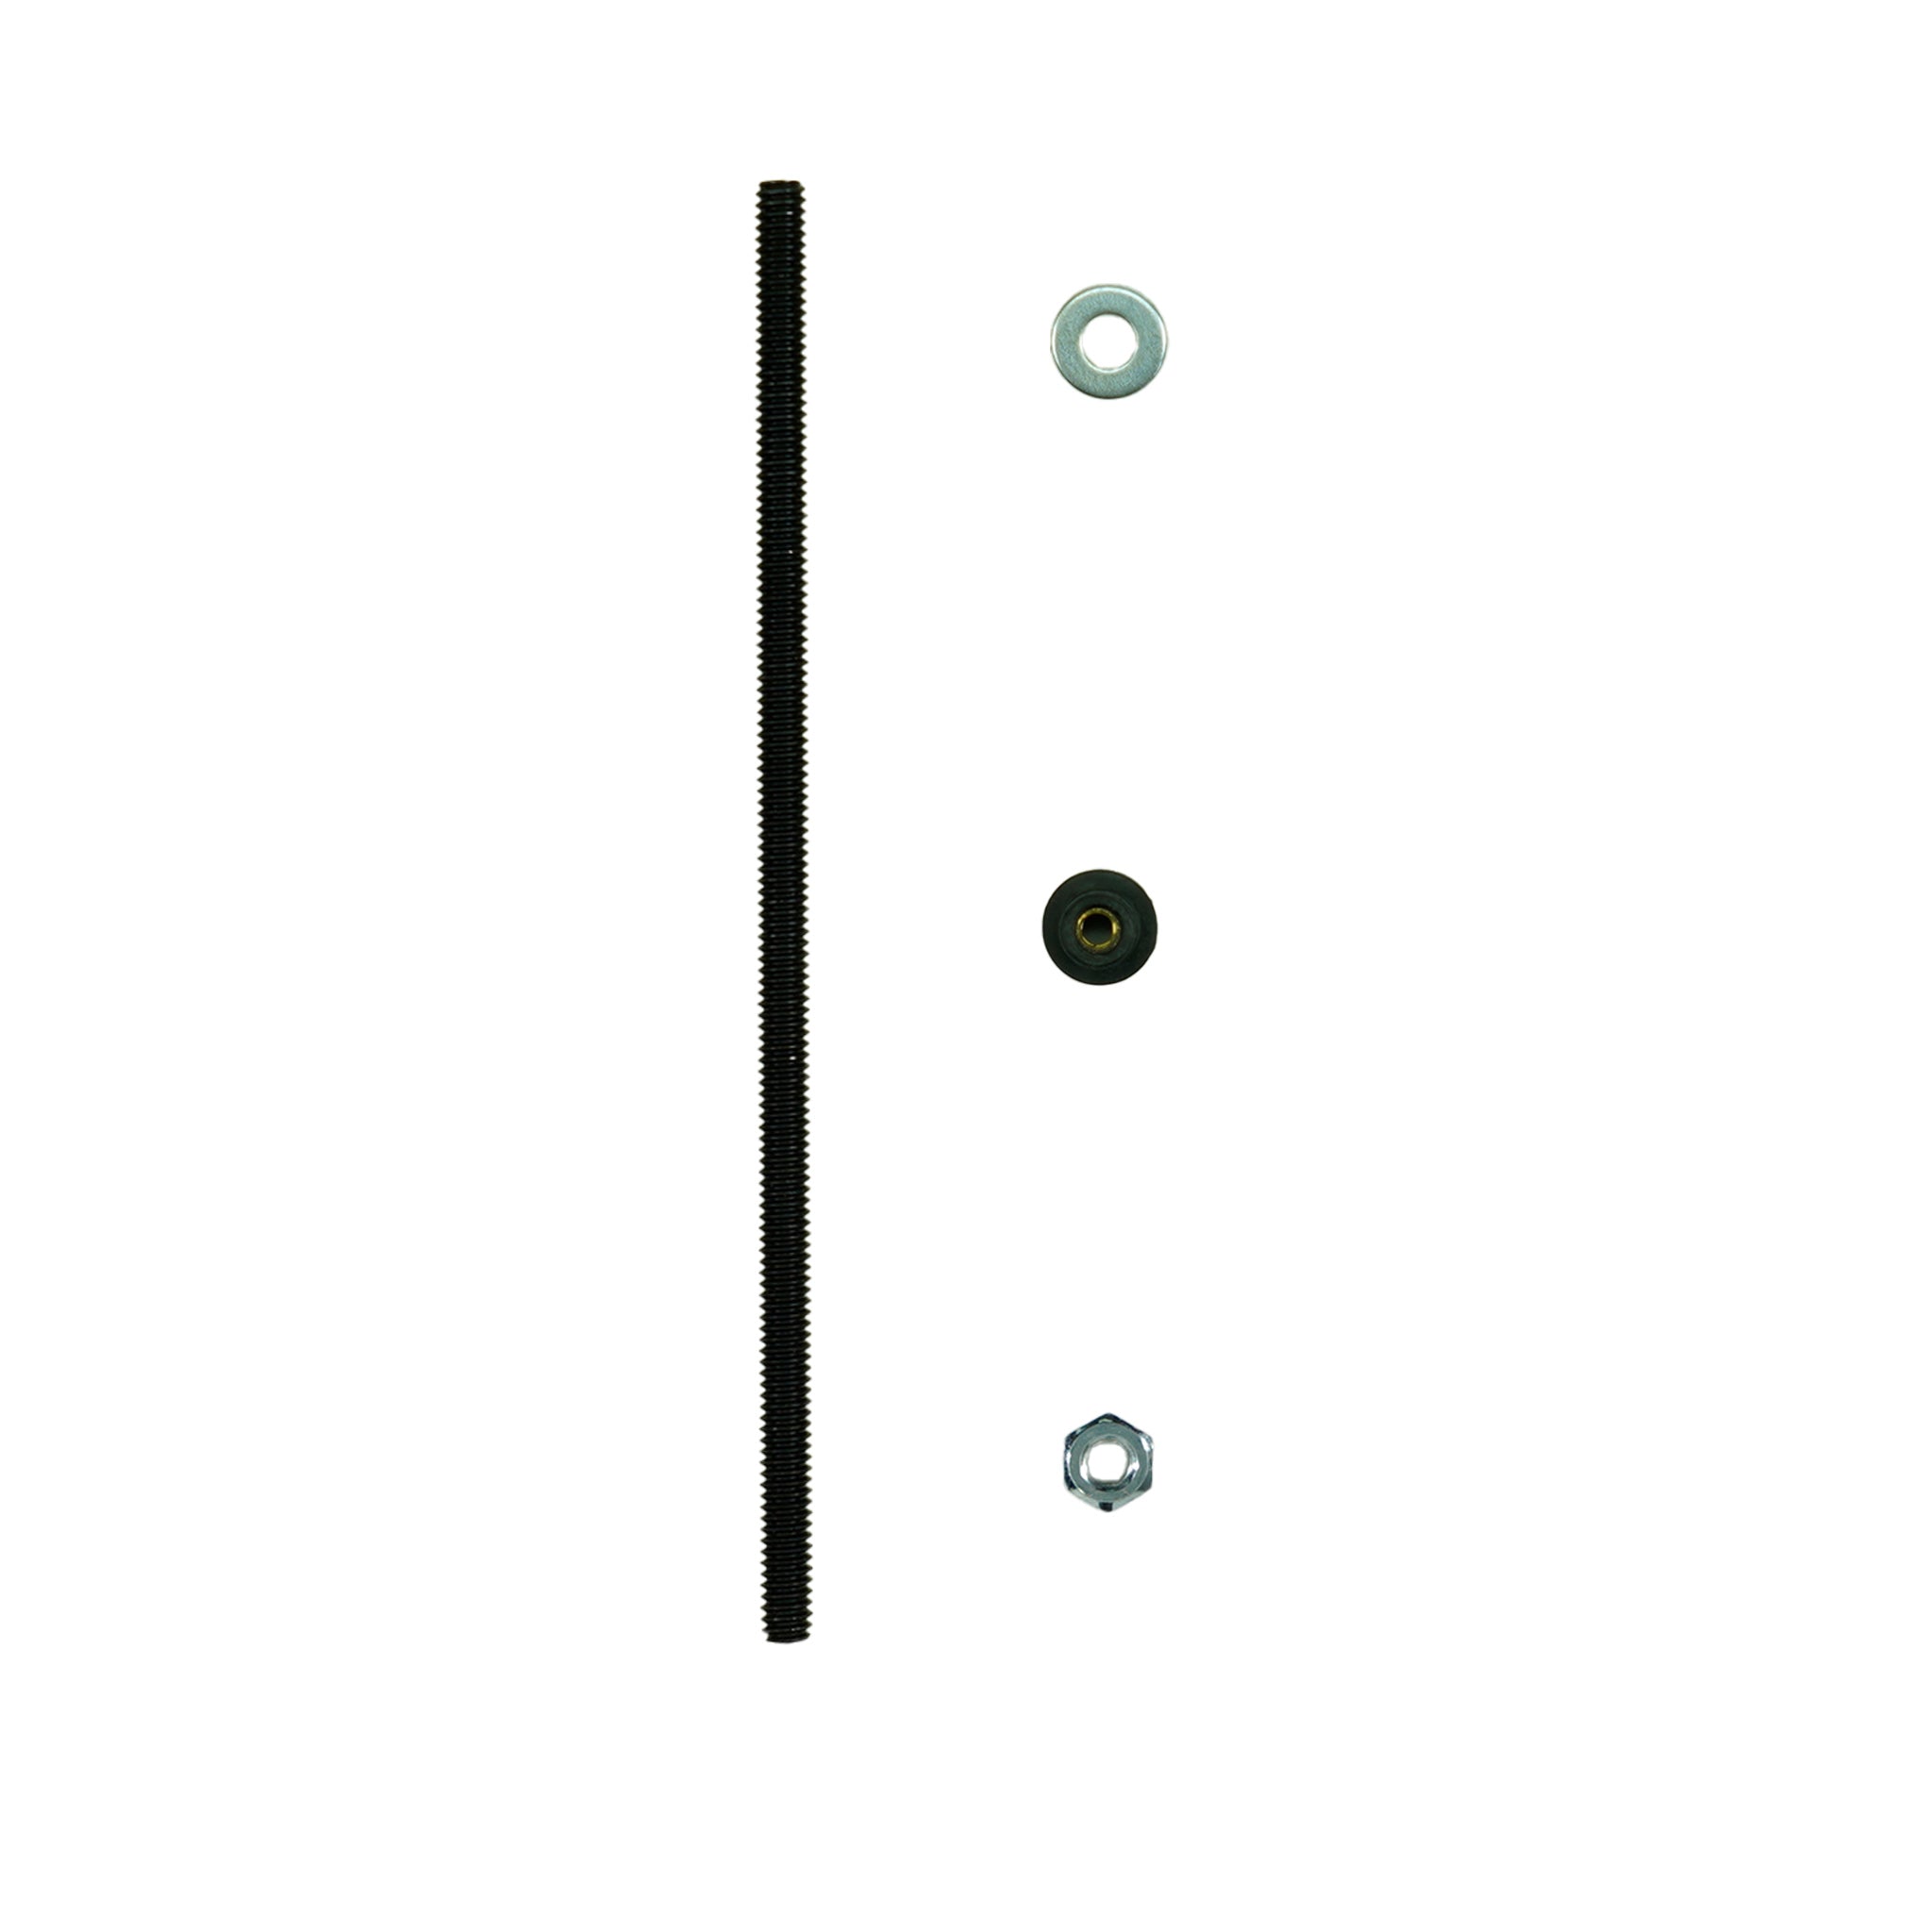
Extend shaft and insert washers
1. Loosen upper camlock by turning it right (clockwise) while holding the upper and lower stem assembly in front of you. 2. Extend lower stem. 3. Press mounting washers into place.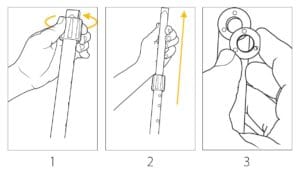
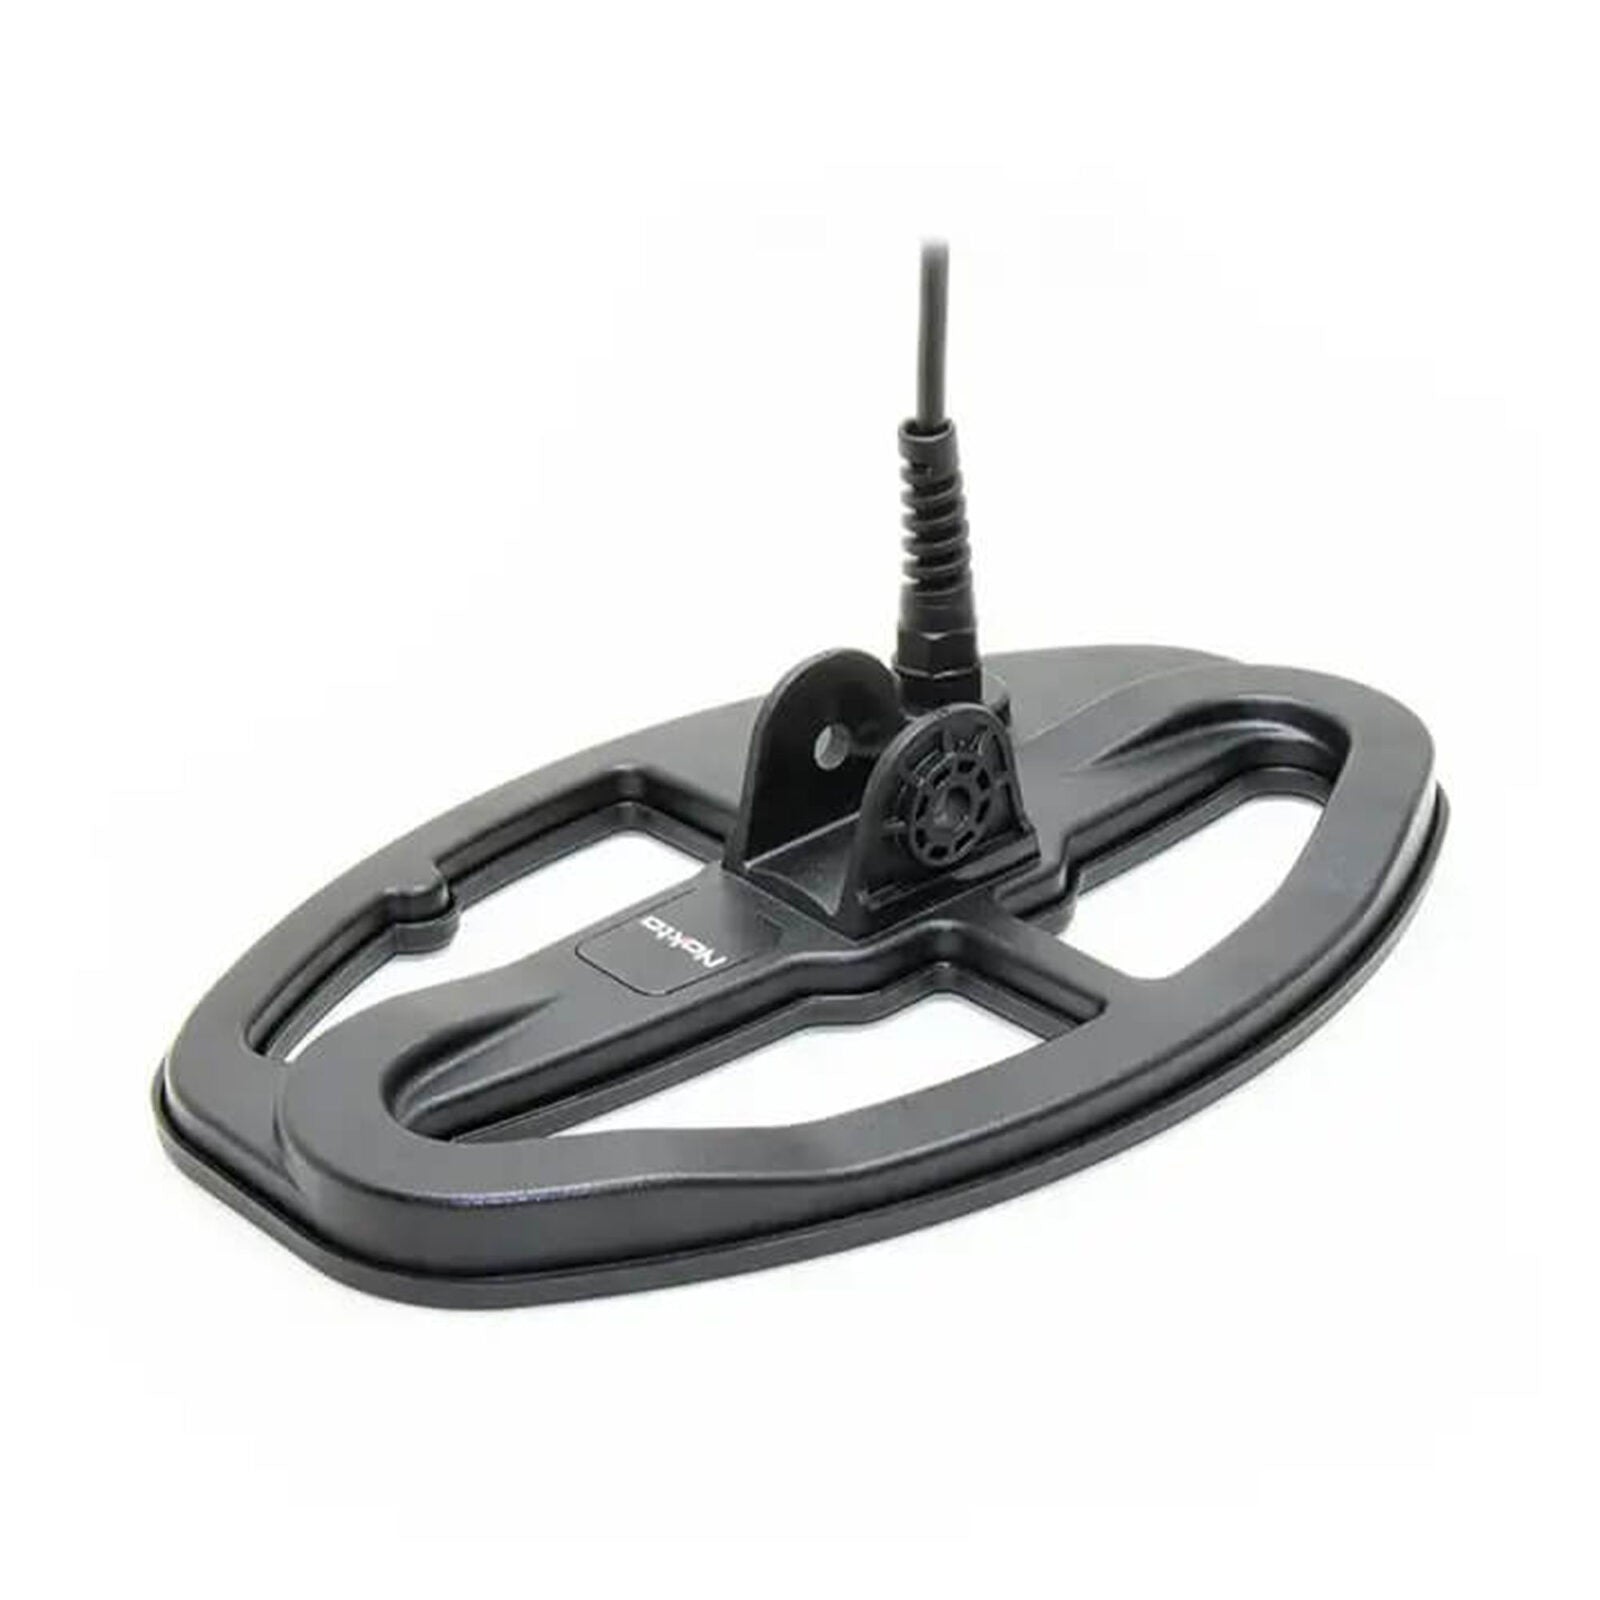
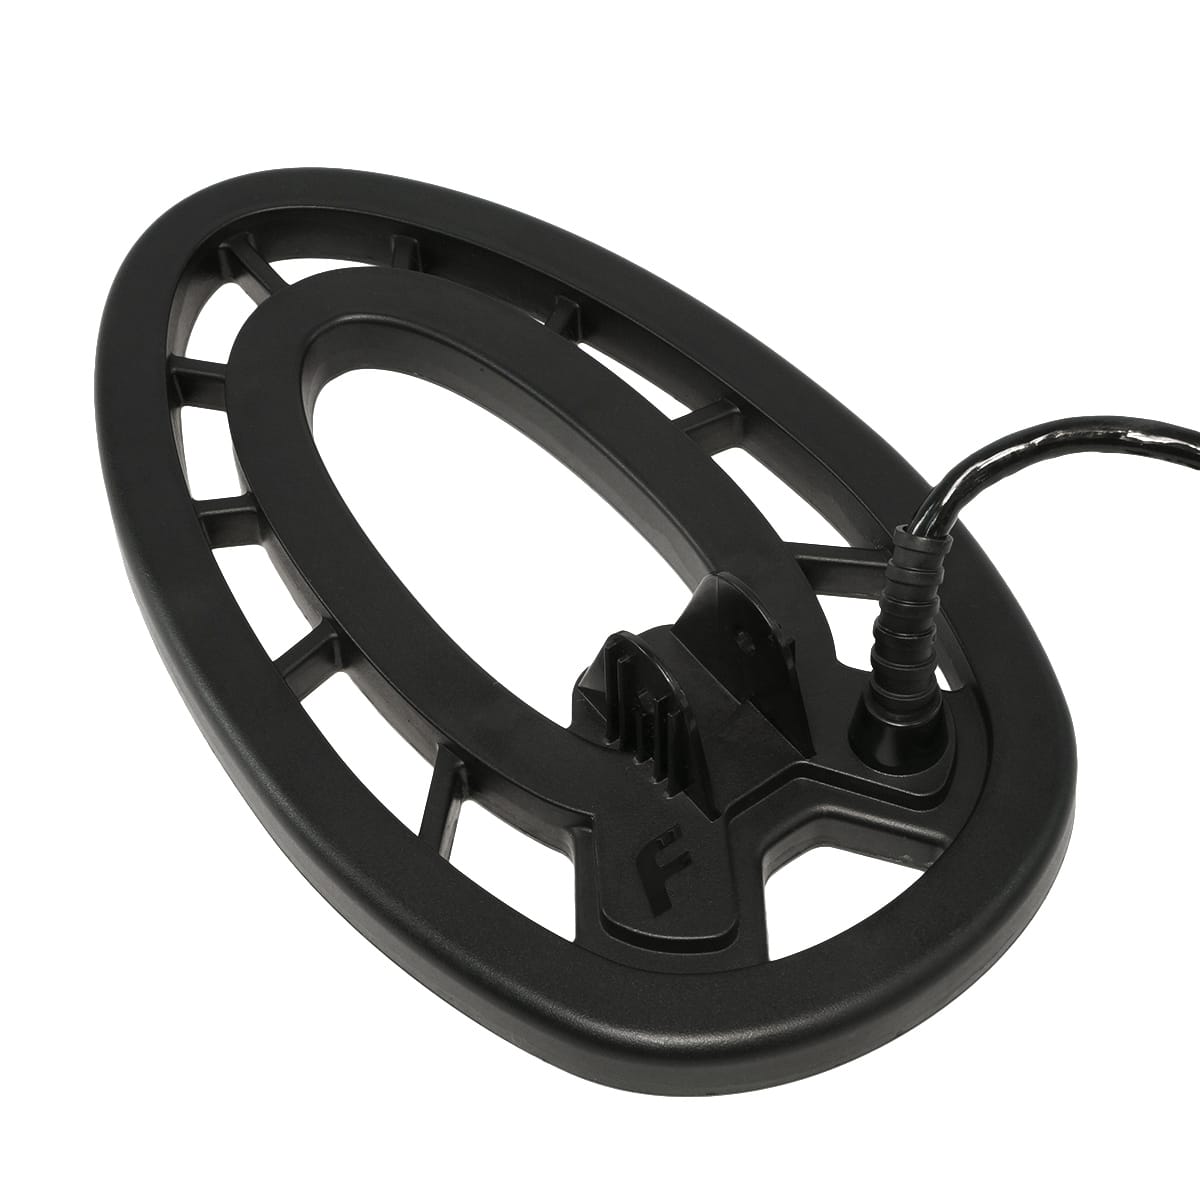
Attach the searchcoil
1. Insert the lower stem assembly into the searchcoil bracket. 2. Insert the bolt and hand-tighten wing nut.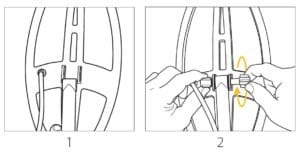
Attach the S-stem to lower shaft
1. Loosen upper camlock and insert S-stem with control housing. 2. Adjust lower stem to a comfortable length, and hand-tighten the camlocks. 3. Wrap cable snugly around the stem with the first turn of the cable over the stem. 4. Insert coil connector into the back of control box, making sure to properly line up 5-pin connector.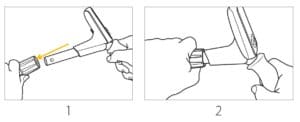
Adjusting arm cuff (if desired)
1. Remove the screw on the bottom. 2. Move the 2-piece cuff to the other position. 3. Reinsert screw and tighten.
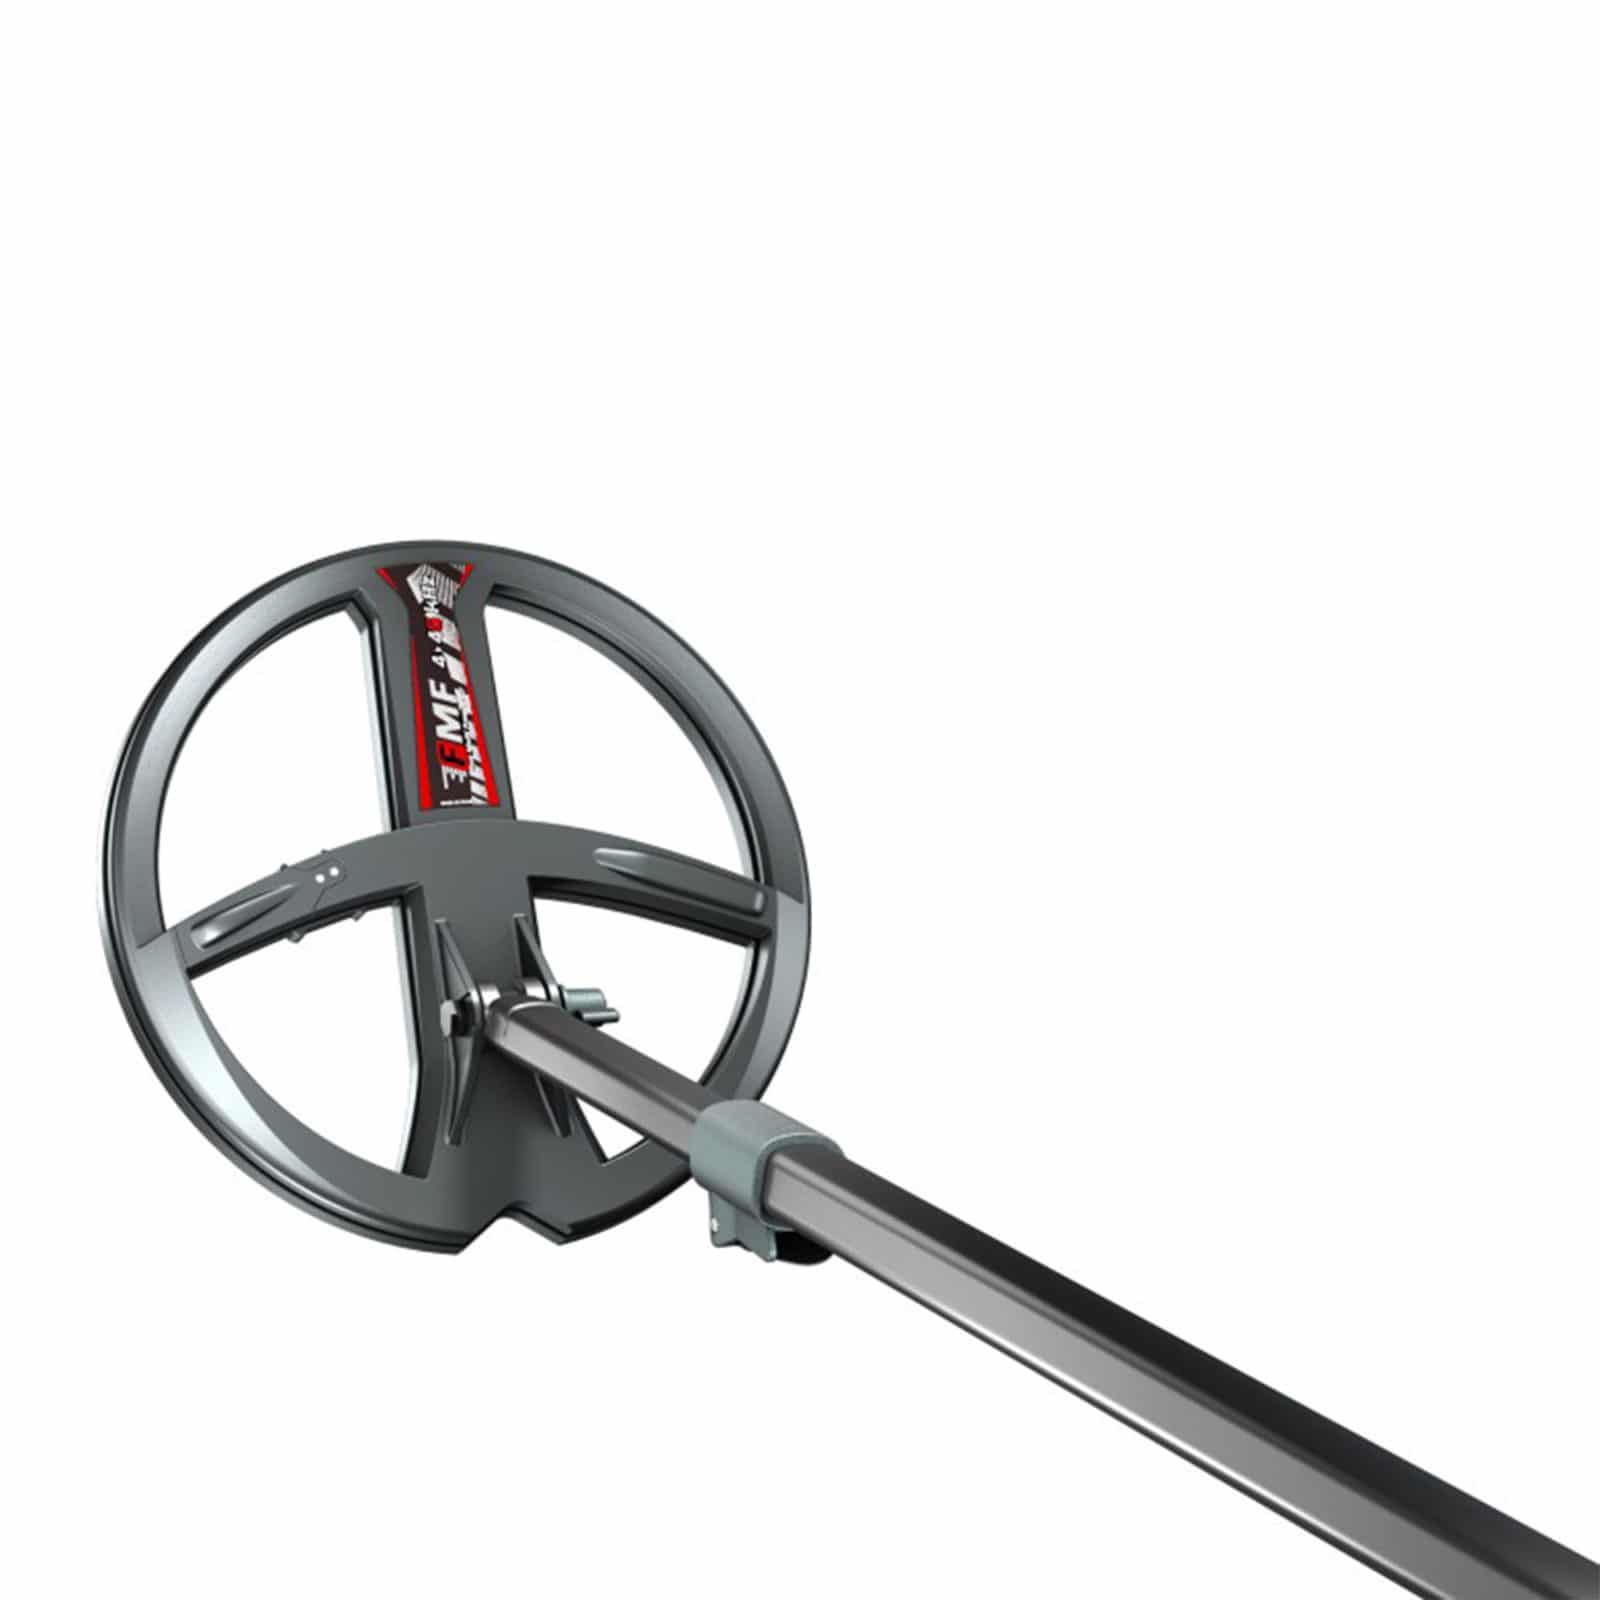
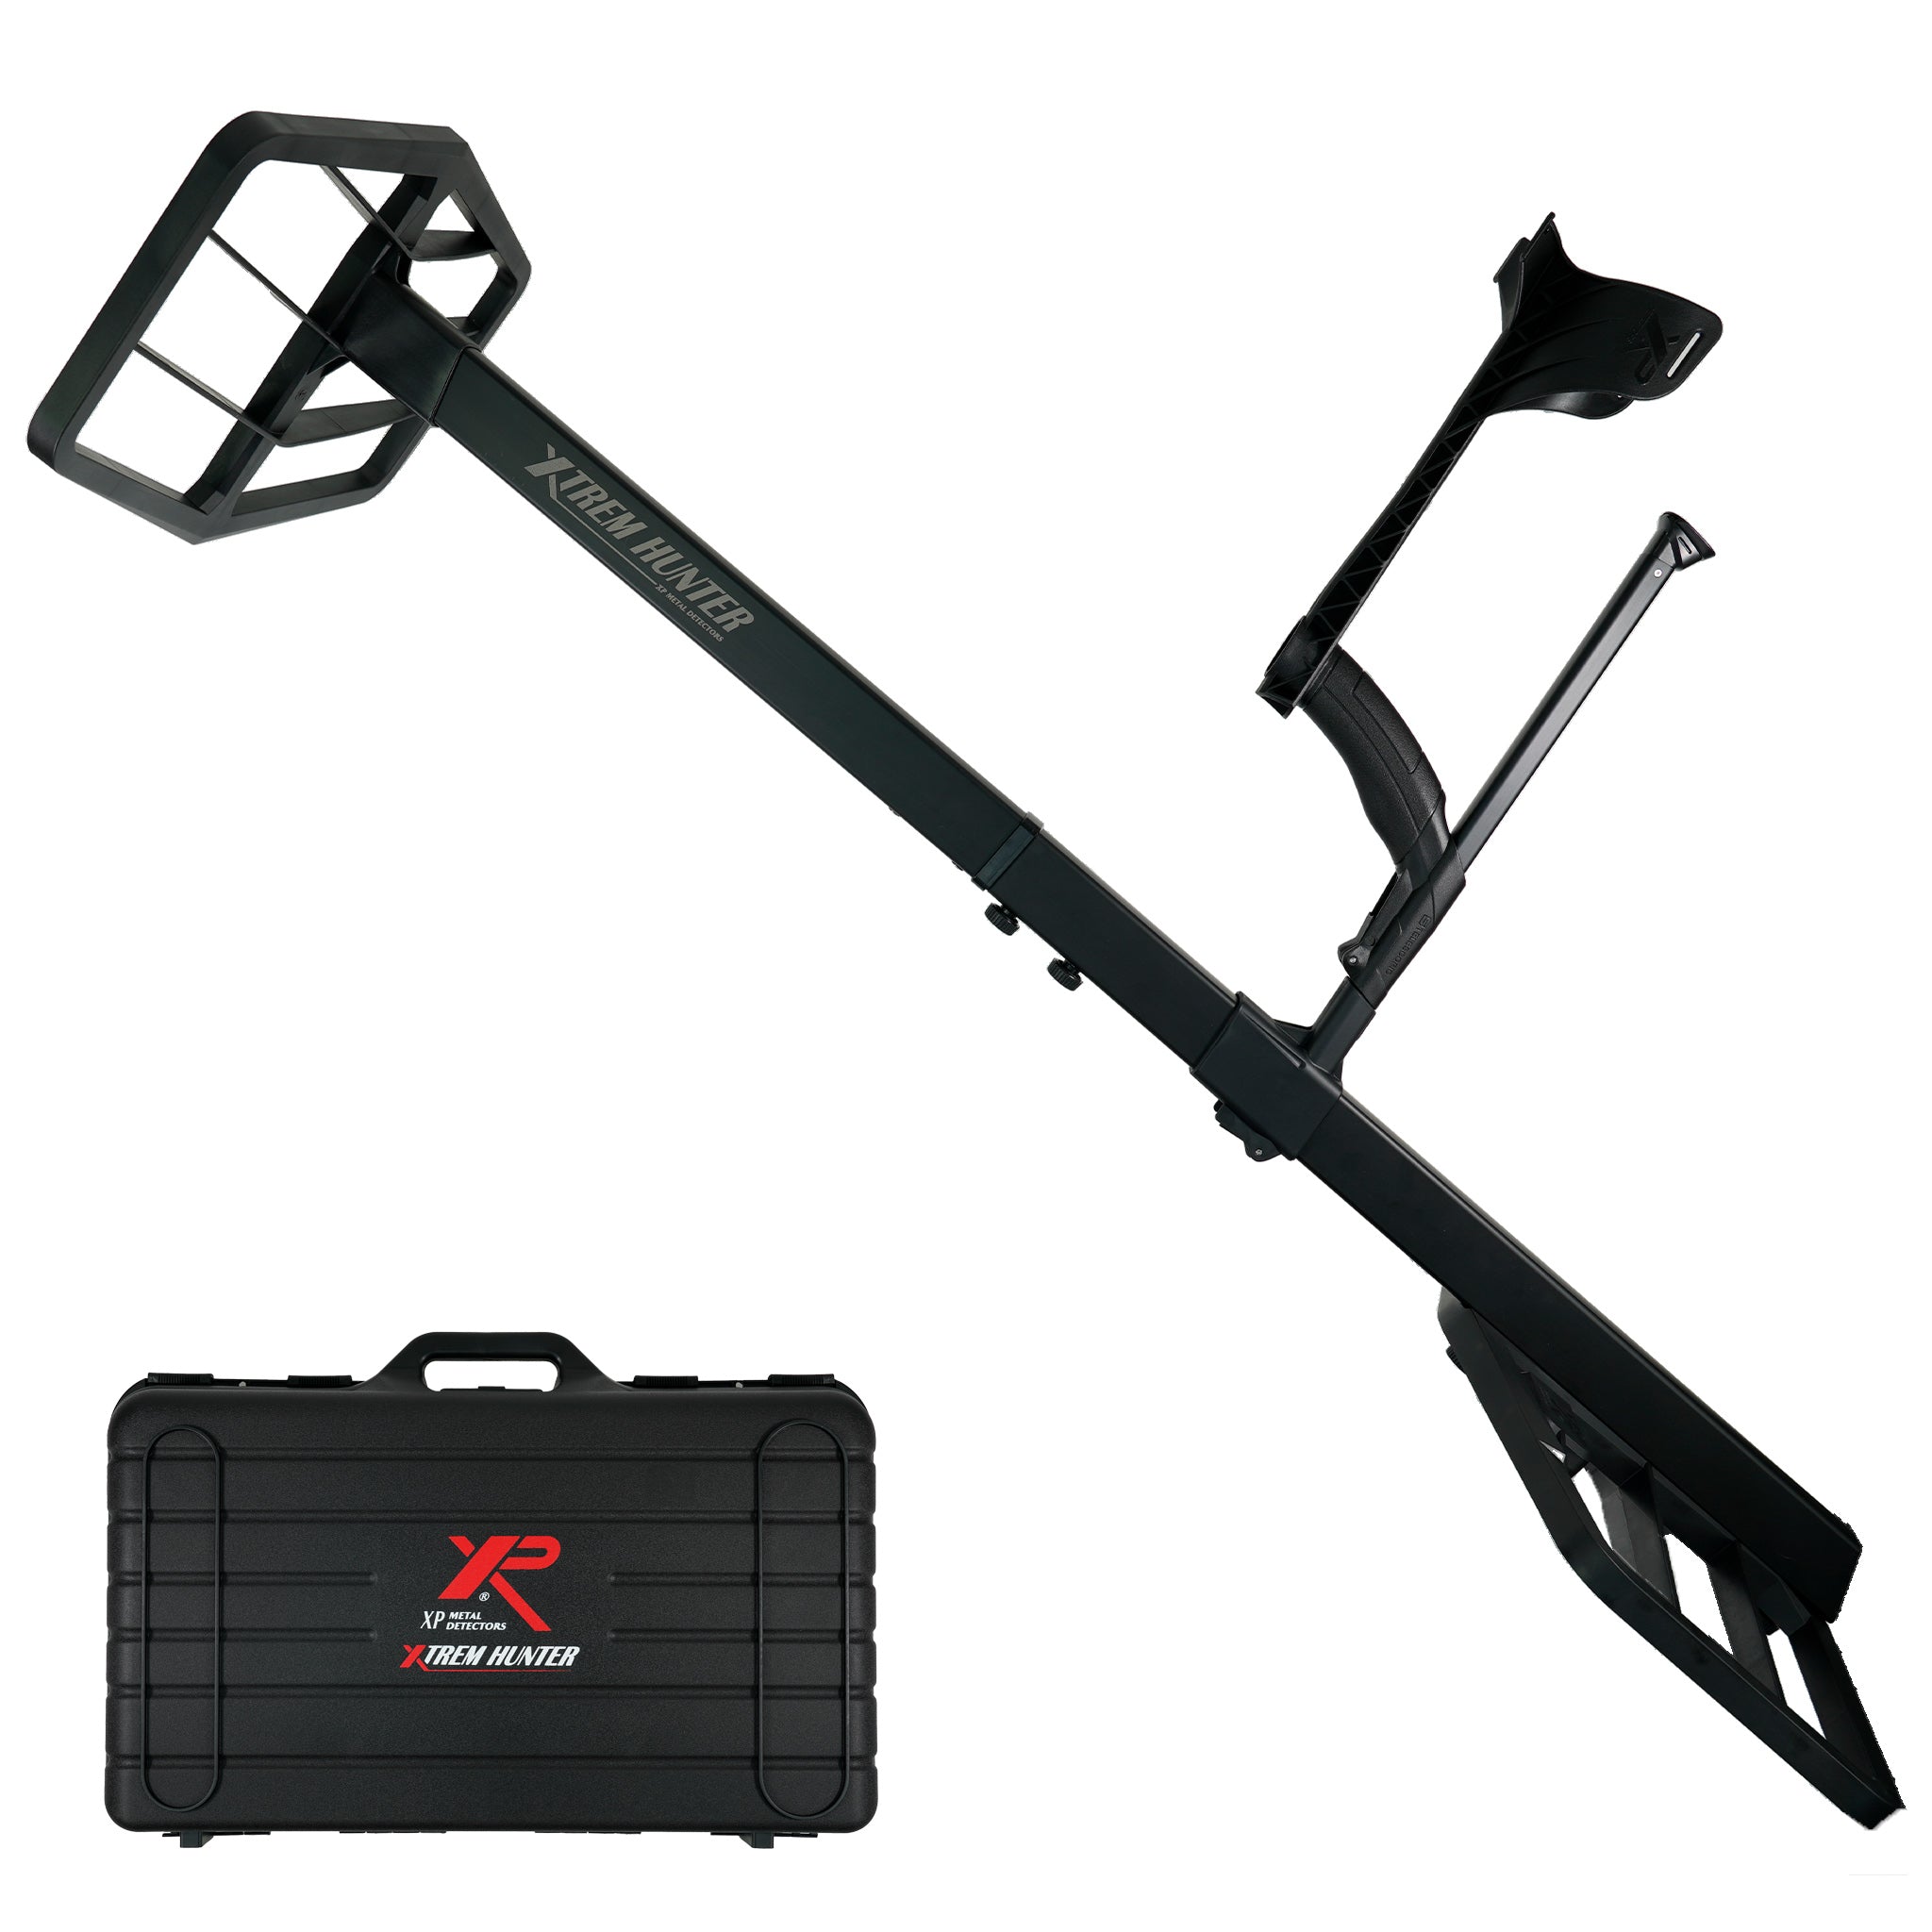
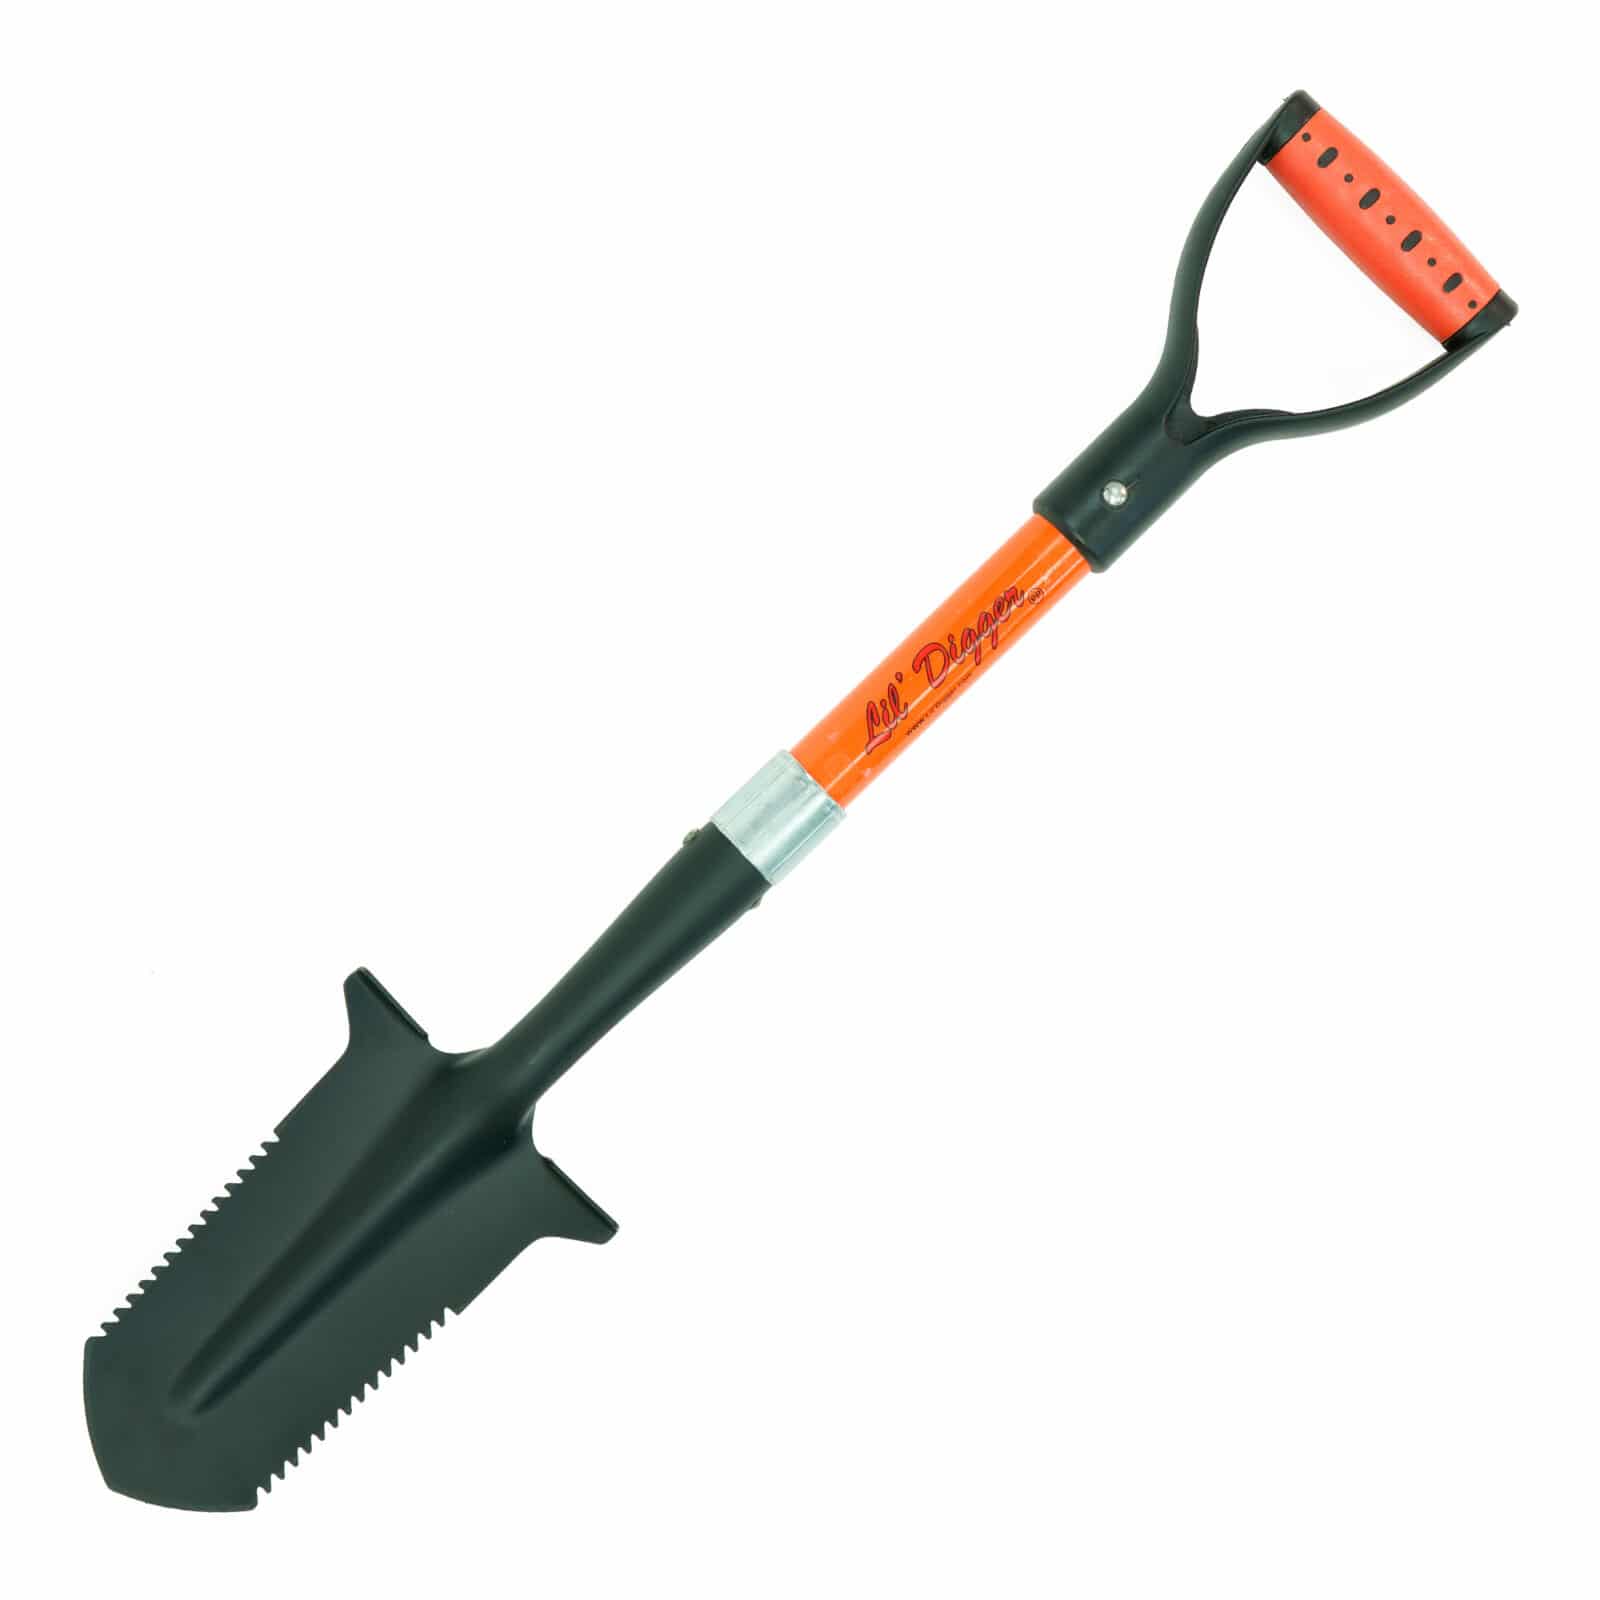
Assembled Detector