


Introduction
The PulseDive can be purchased in 2 models: Scuba Detector & Pointer 2-in-1 Set and as a stand-alone Pinpointer only. Both models have the same functions and operate the same way. The only difference between them is the scuba coil and some accessories included in the 2-in-1 set. If you bought the stand-alone pinpointer, you can purchase the scuba coil separately to add that functionality at any time.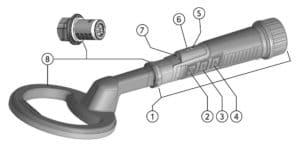


- Control Unit
- On-Off and Retune Button
- F - Function Button
- A - Adjustment Button
- Green LED
- Red LED
- LED Flashlight
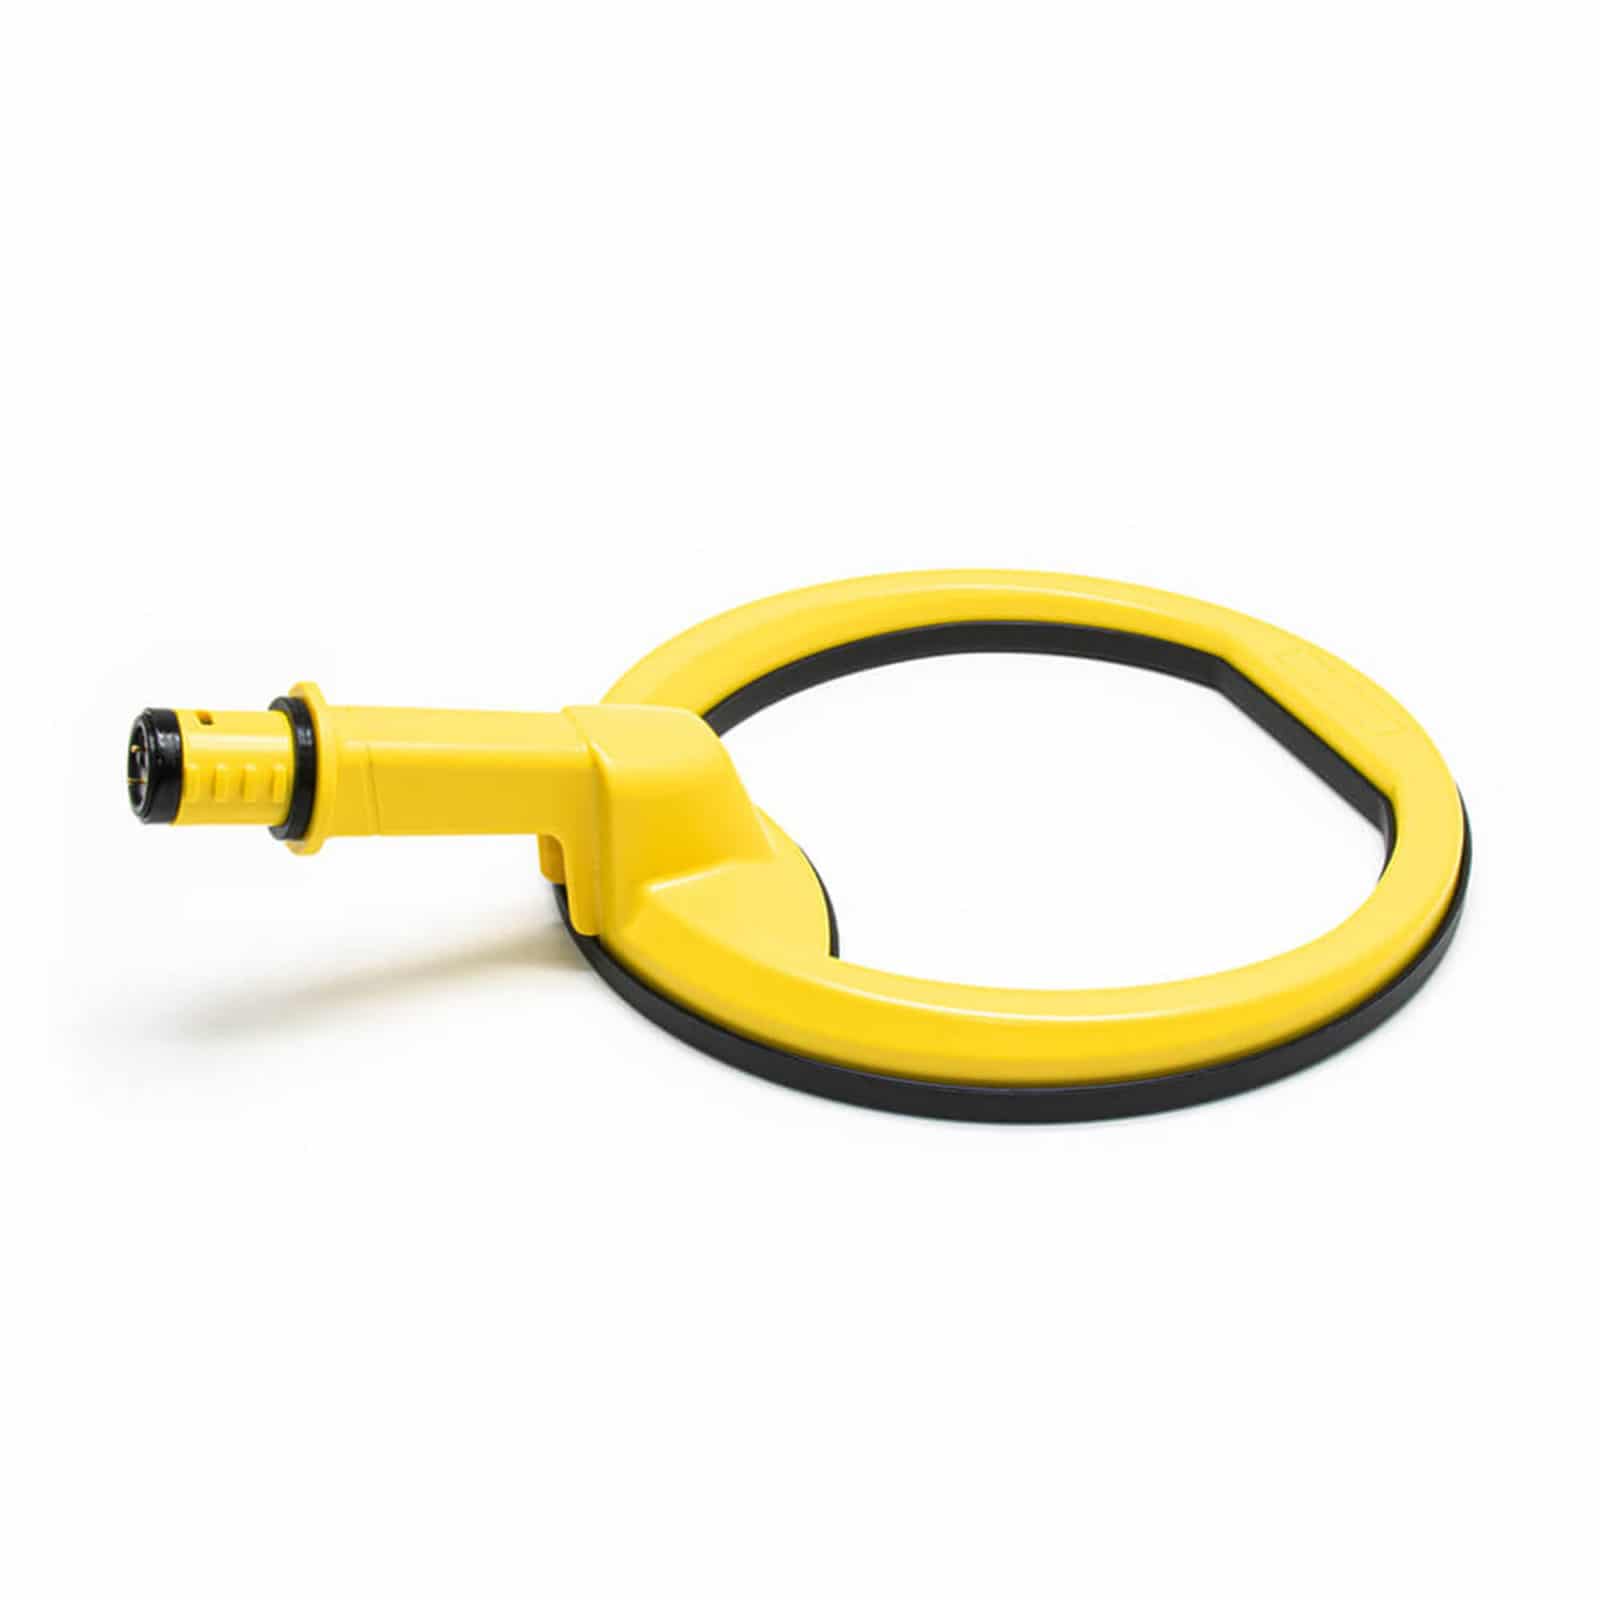
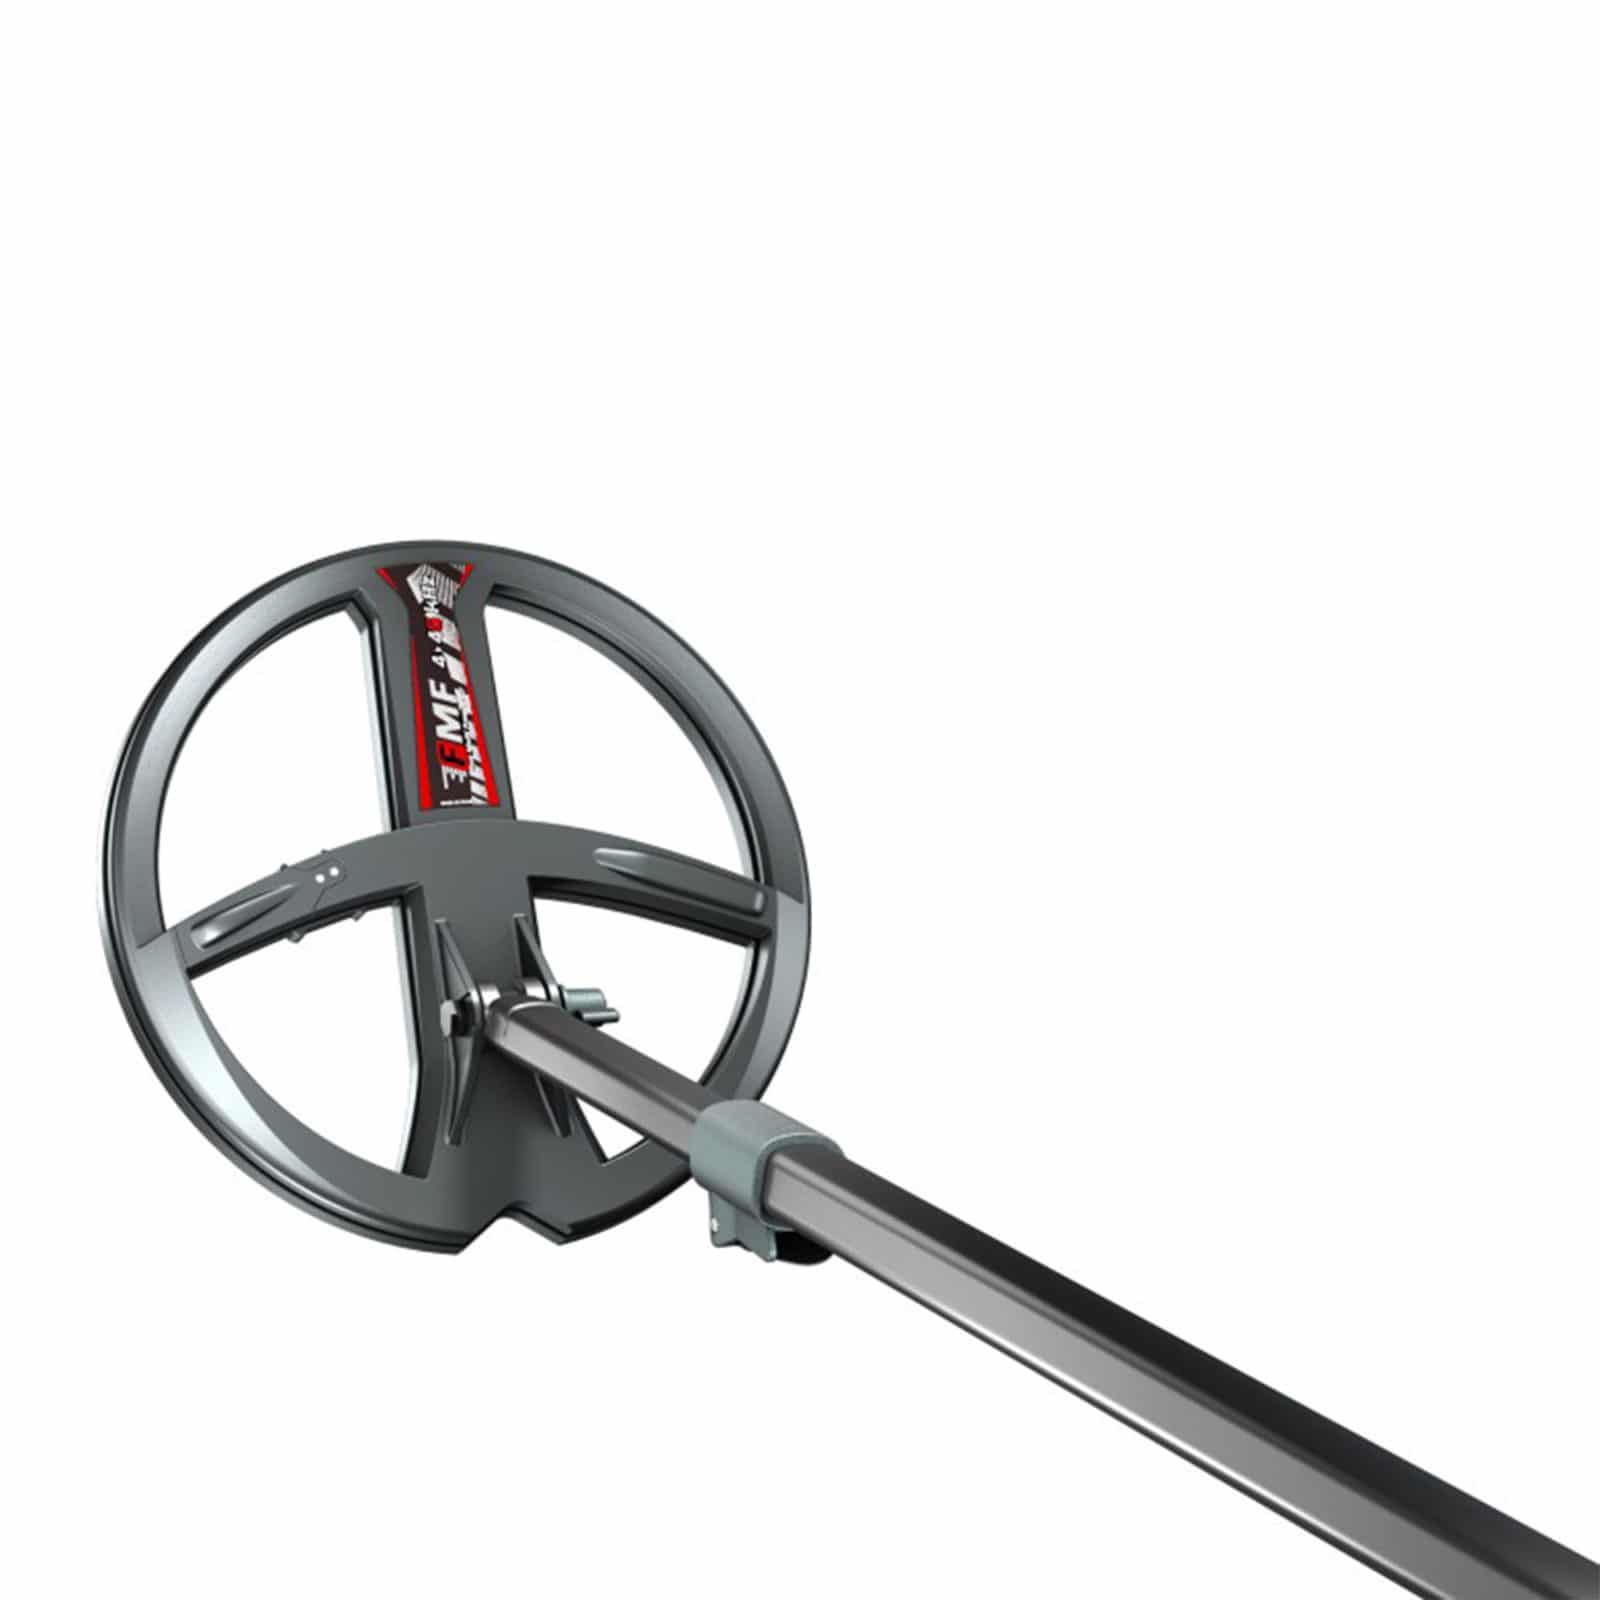
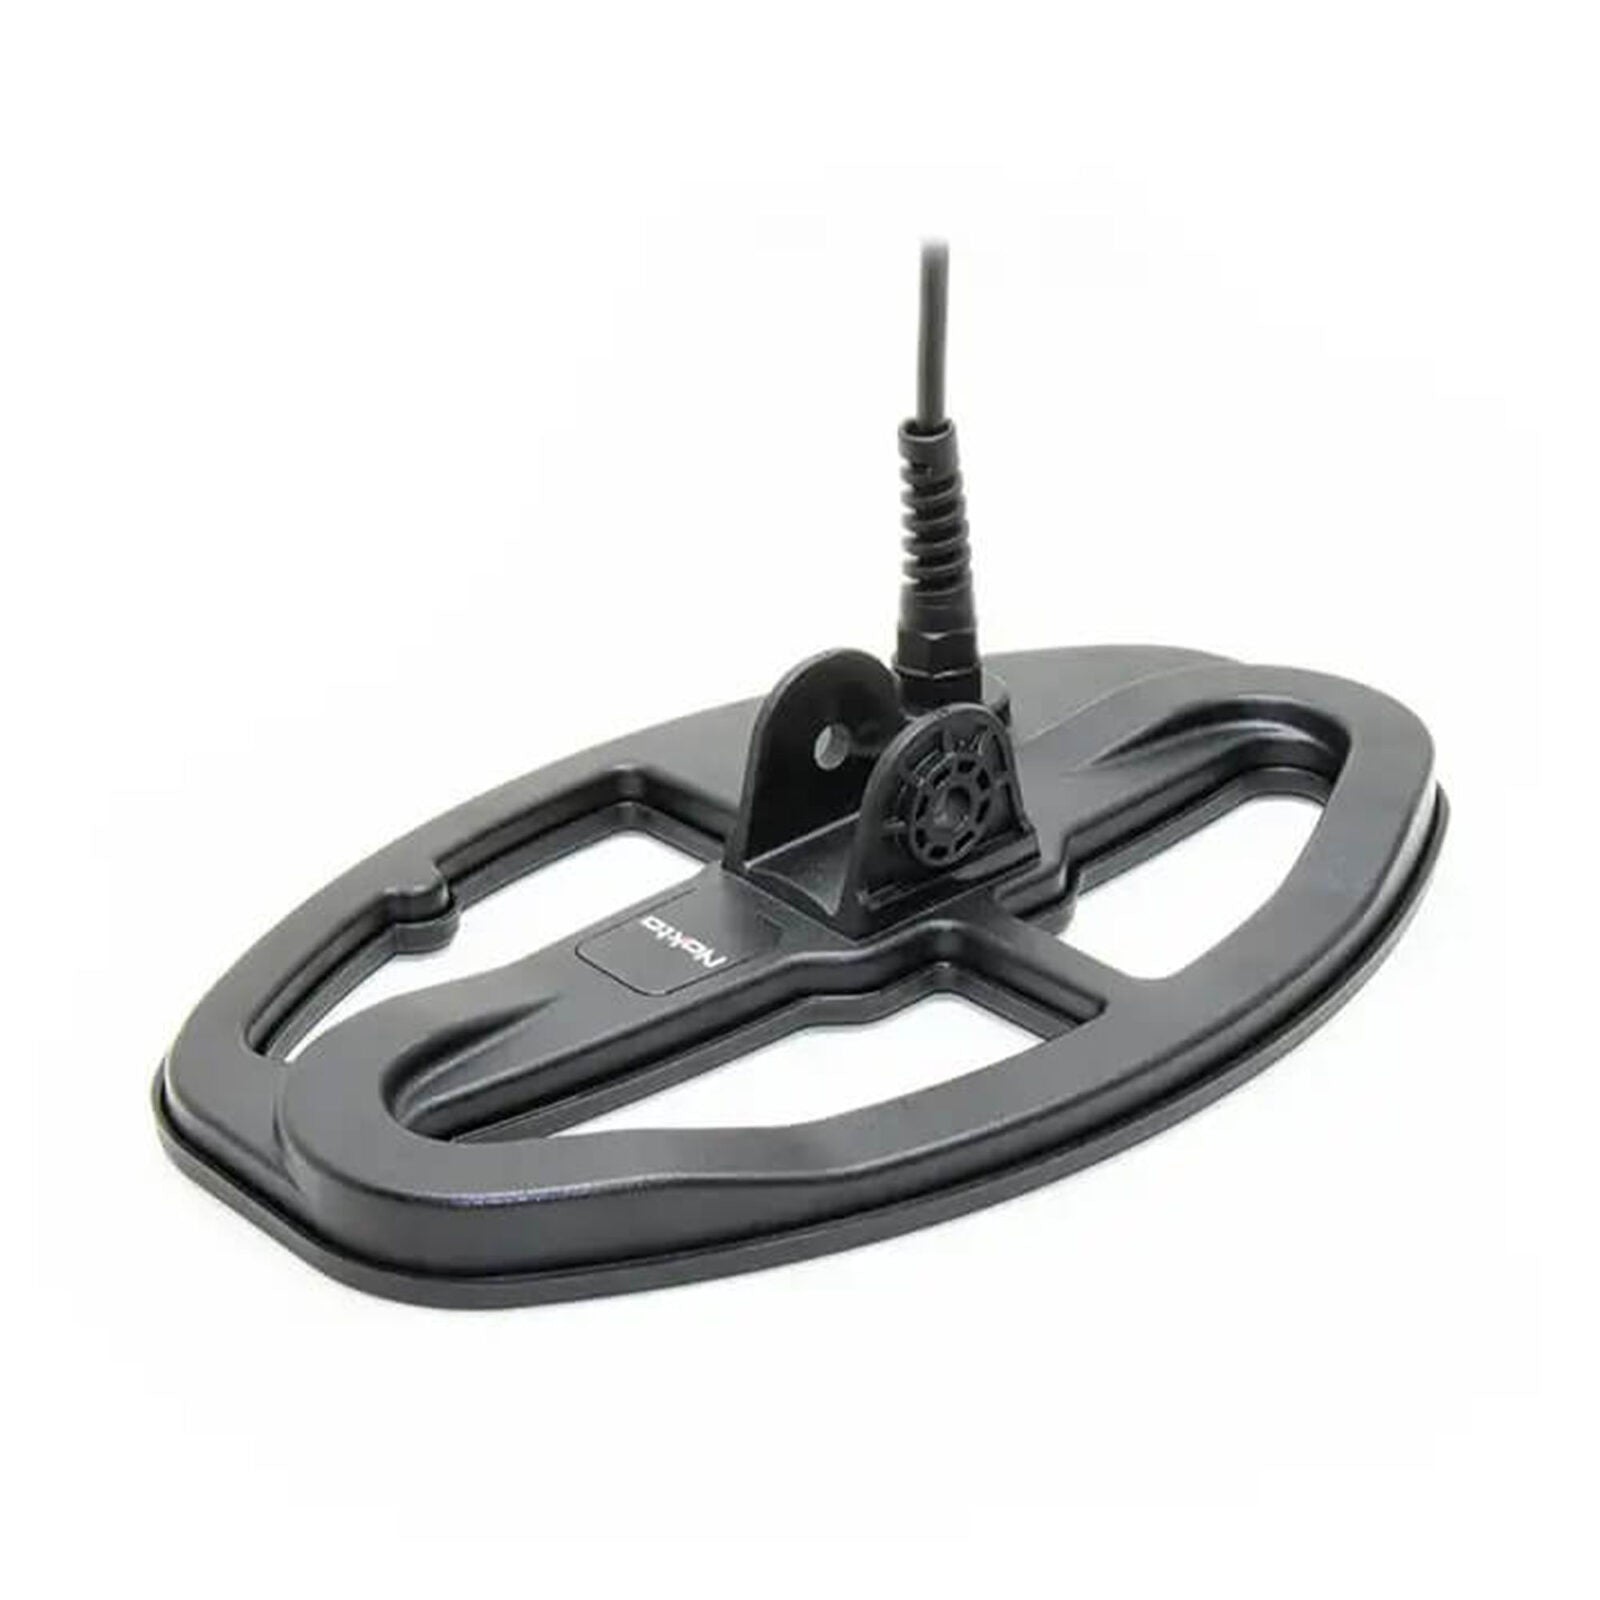
- Scuba Coil & Washer (white)
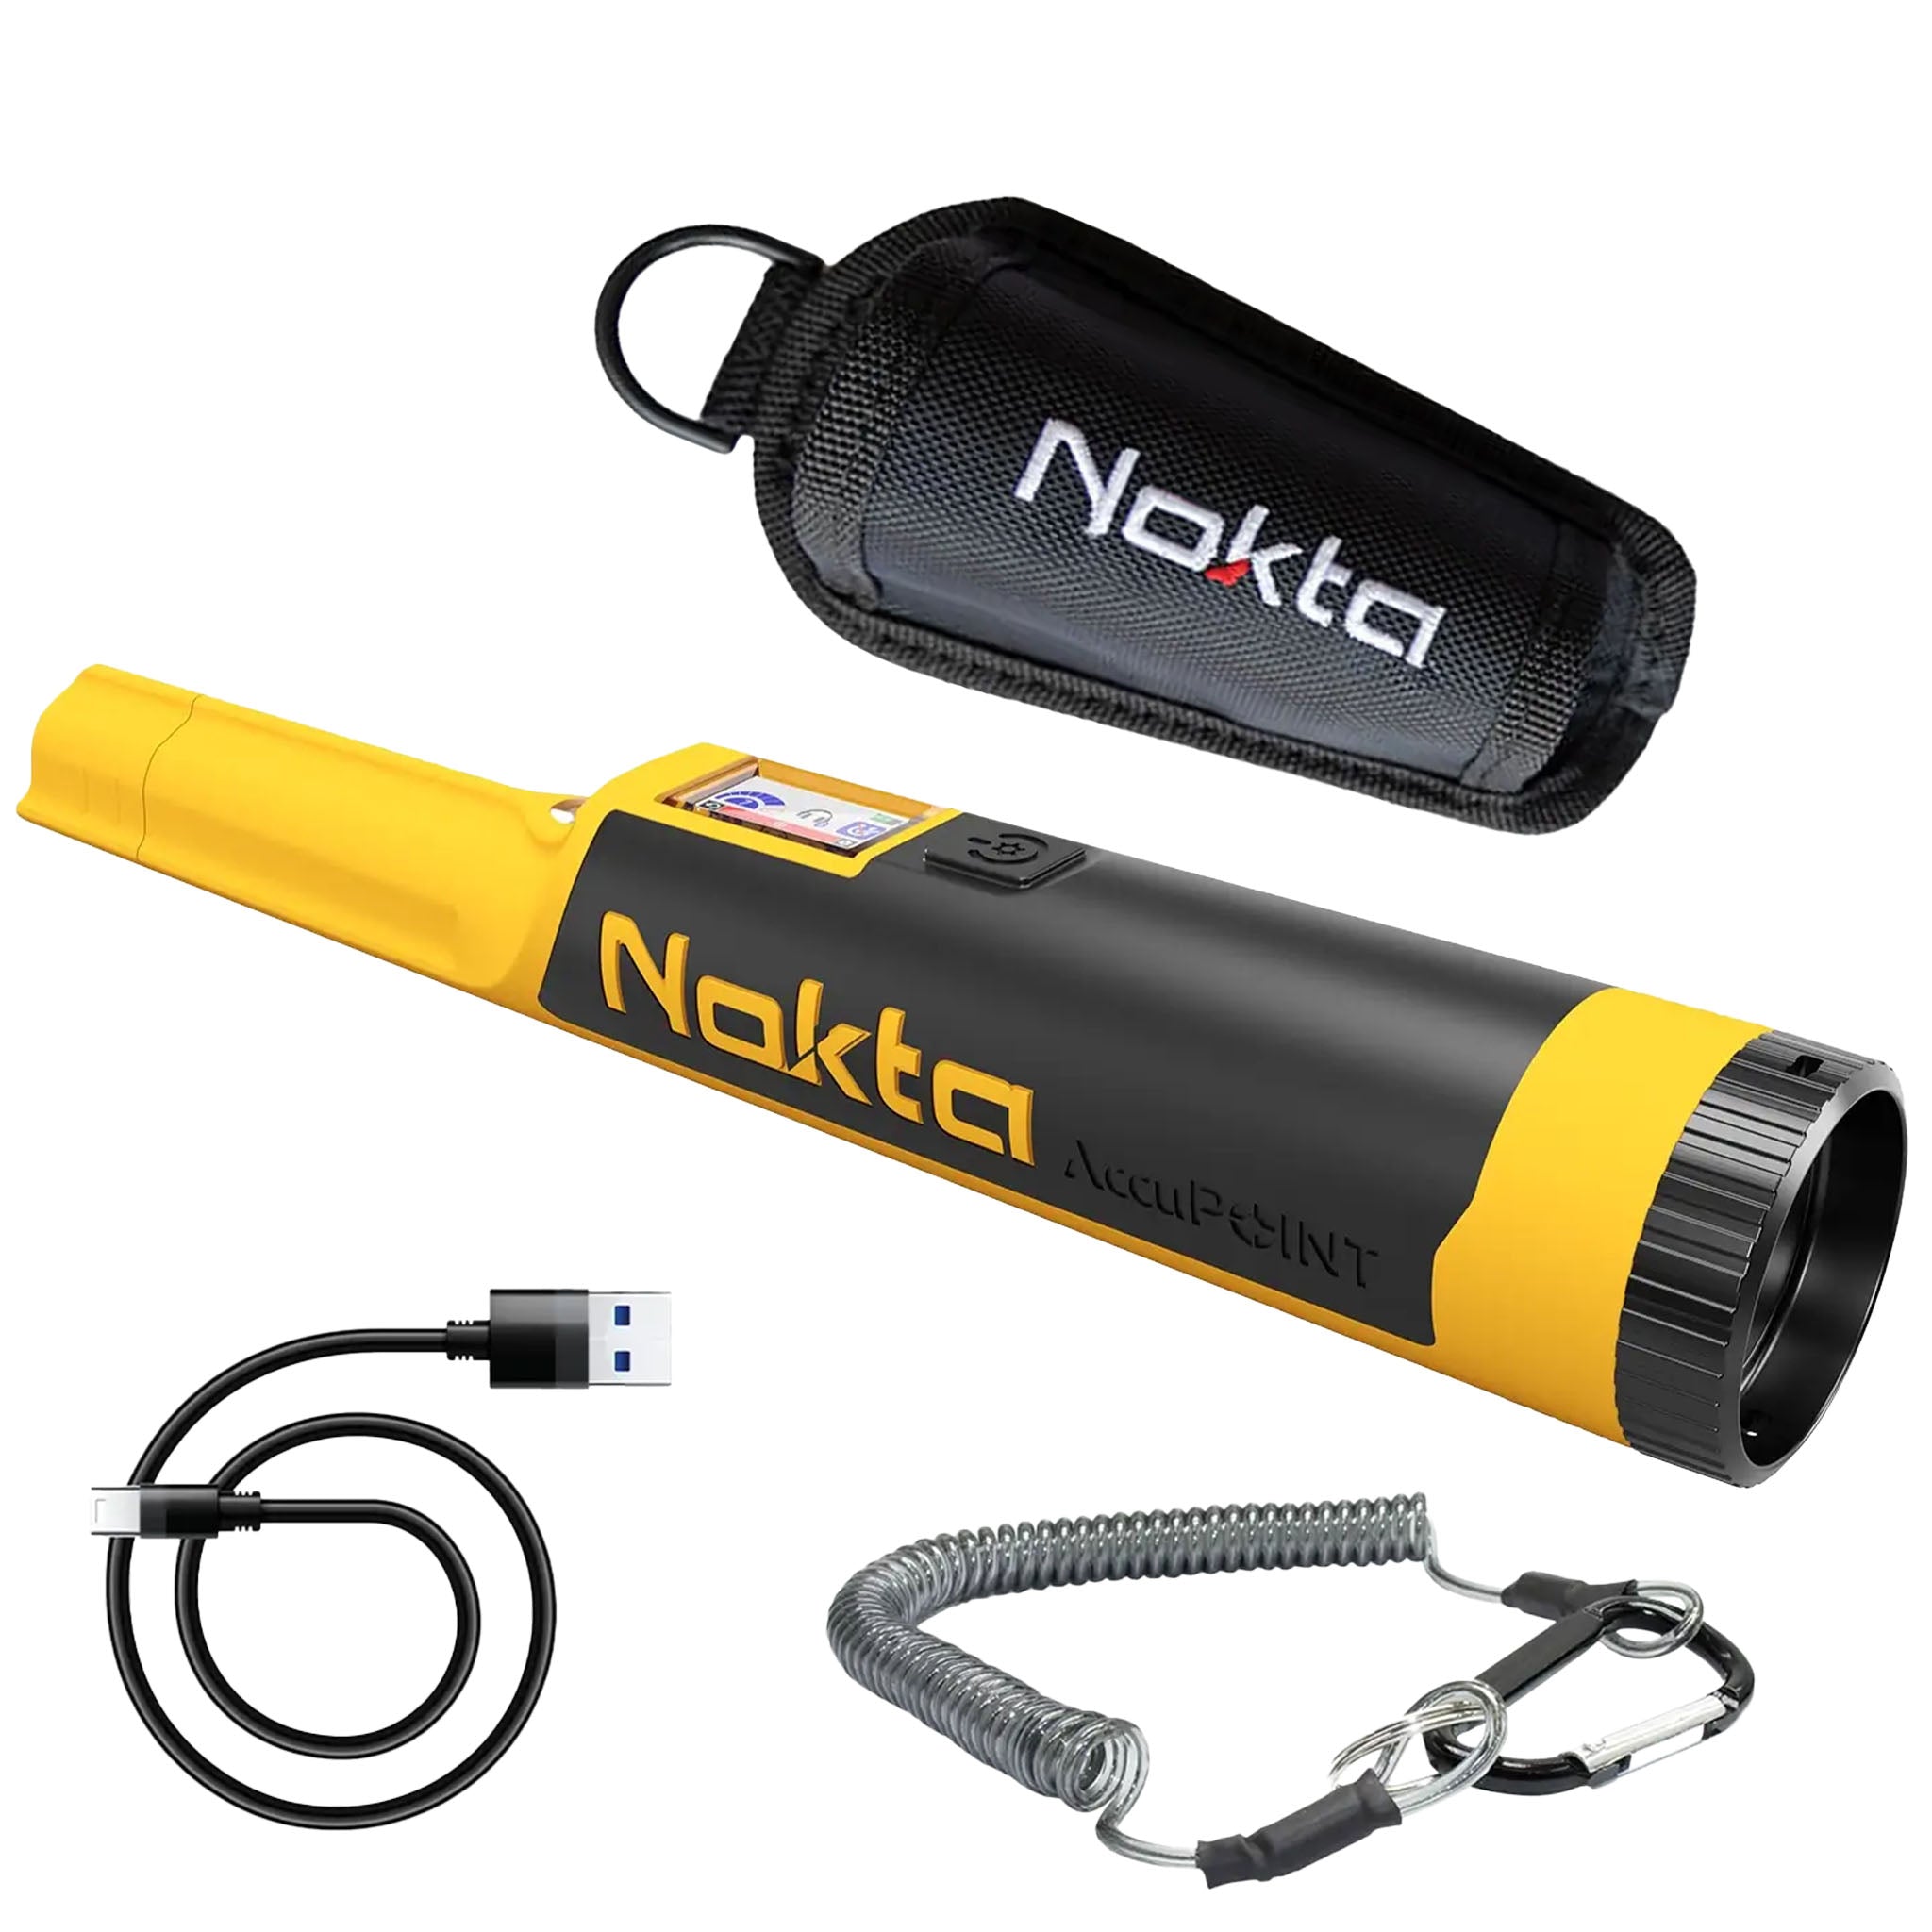
- Charging Port
- Speaker
- Battery Compartment Cover
- Battery Compartment Cover (for land use)
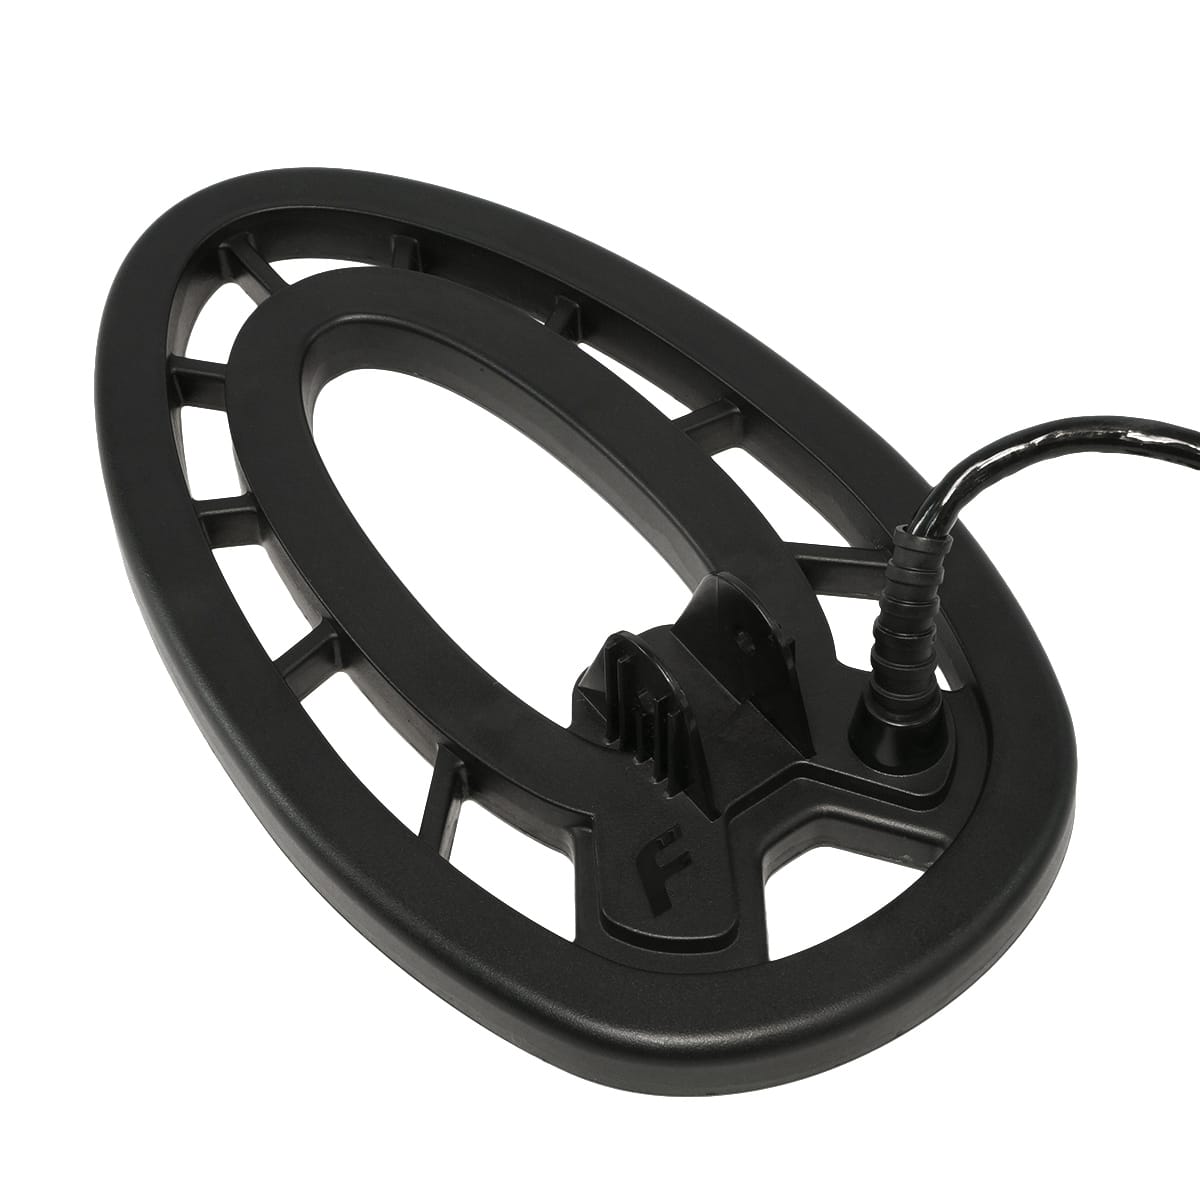
- Pointer Coil & Washer (black)
- Dust Protection Cap
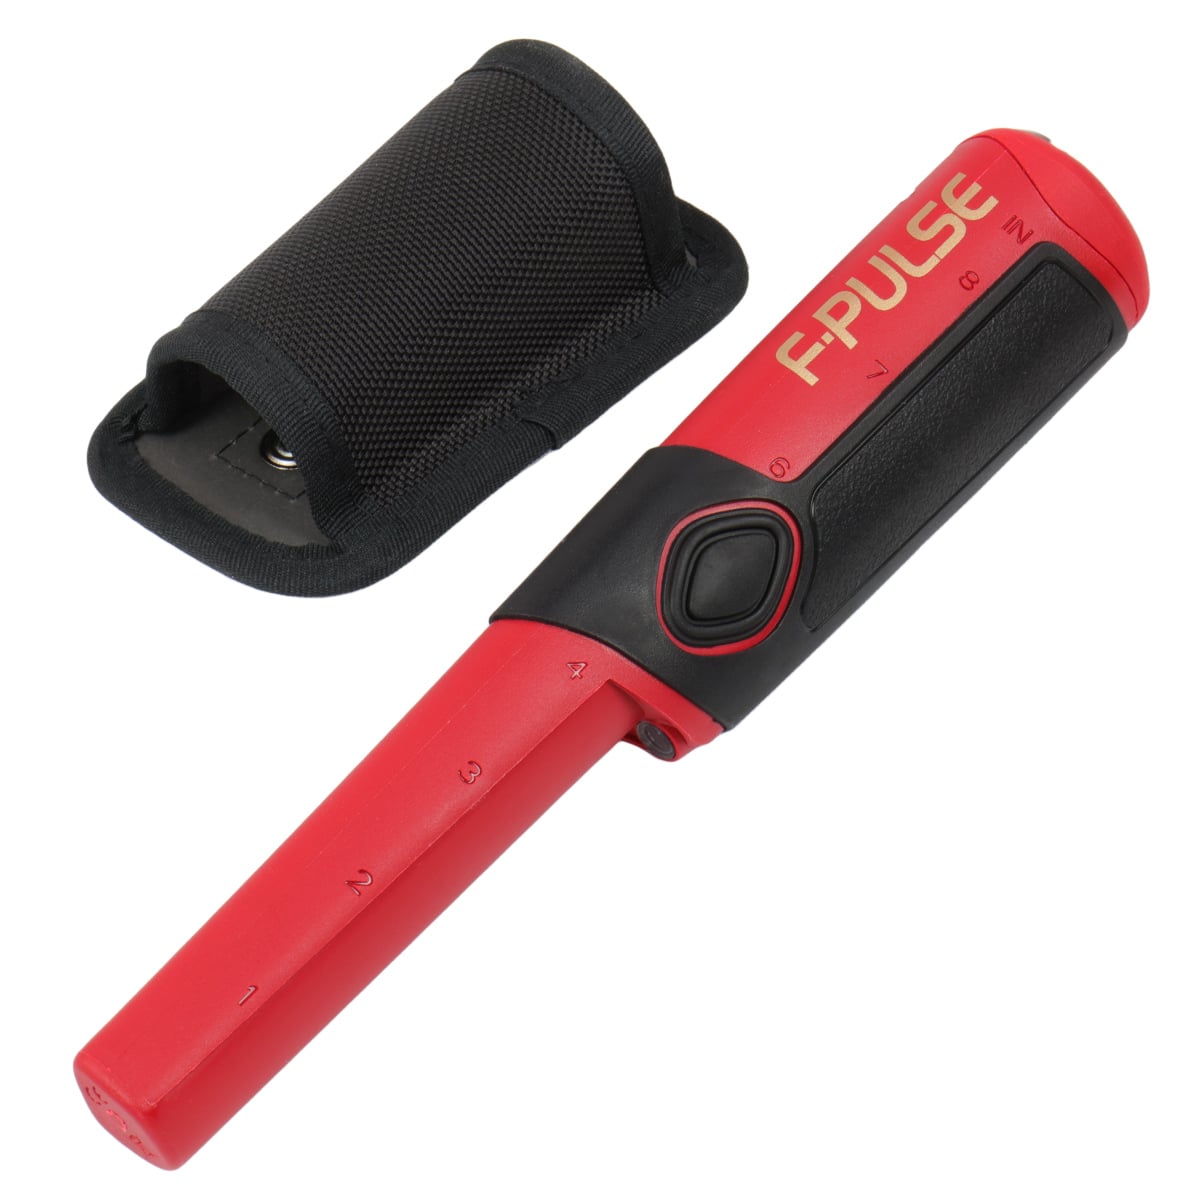
- Replaceable Hard-Shell Pointer Case
Assembly
The PulseDive comes with the scuba coil attached. If you want to use the pinpointer coil, please follow the steps in the pictures. If you want to re-attach the scuba coil, repeat the steps in reverse order. IMPORTANT! When changing coils, align the plastic tab on the control unit with the opposing groove on the coil and twist clockwise to secure. 1 - To detach the scuba coil, turn it counterclockwise. 2 - Pull the scuba coil out of the control unit.
 IMPORTANT! Do not hold the scuba coil cover from its front end while removing it. Hold it from the rear end as shown in the picture below to avoid breaking the coil.
  3 - Hold the pinpointer coil so that the threads are properly aligned. 4 - Insert the pinpointer coil into the control unit and push.
 5 - To attach the pinpointer coil, insert the hard-shell case over the pointer coil and push halfway forward. 6 - Then, twist the coil clockwise to tighten. Lastly, push the hard-shell case all the way so it clicks into place.

 IMPORTANT! The pinpointer coil is designed to fit very tightly to provide a waterproof seal. When you want to detach or attach the pointer coil, insert the hard-shell case over the pointer coil halfway and twist the pointer coil with the help of the hard-shell case. IMPORTANT! You must not detach and/or change the scuba or the pinpointer coil underwater! WARNING: If you change the coil while the device is on, you must retune the device by pressing the on-off / retune button once. In order to not lose the PulseDive while using it underwater or on land, we recommend you attach the security lanyard as shown in the below picture. 7 - Attach one end (a) of the security lanyard to the hole located at the back of the control unit and the other end with the snap hook (b) to your belt or wrist band.
  In order to carry the PulseDive on your waist and not to lose it, we recommend you to use the belt holster and the security lanyard as shown in the below picture. 8 - Attach one end (a) of the security lanyard to the hole located at the back of the control unit and the other end with the snap hook (b) to the belt holster loop.
Battery Information
The PulseDive has an internal 1650mAh Lithium Polymer battery. Charge the PulseDive before initial use. Charging will take approximately 2 hours.Charging
You can charge the device with a USB charger, a powerbank, on a PC, or in your car using the included charging cable. * The charging time may be longer for USB chargers rated less than 1 Amp or older types of PCs. While charging, the red LED will light up solid. When the battery is full, the green and red LEDs will light up together. If there is any problem during charging, the green LED will start blinking.Battery Indicators
At startup: Red and green LEDs blink once: Battery is full Green LED blinks once: Battery is half full Red LED blinks once: Battery is empty When the batteries are completely depleted, the red and green LEDs light up every 5 seconds. For a short period of time, the device will continue to work, and then it will emit a single beep and shut down.Battery Warnings
IMPORTANT! The device does not work while charging. Do not expose the device to extreme temperatures (for example a car's trunk or glove compartment) Do not charge the battery in temperatures over 35° C (95° F) or below 0° C (32° F). The PulseDive battery can only be replaced by Nokta Makro Detectors or its authorized service centers.Operation of the Device
POWER ON-OFF
Press the on-off button once to turn the device on. A beep will be heard and the LEDs will light up according to the battery life status. To turn the device off, press and hold the on-off button. Double beeps will be heard, regardless of the mode used, and both LEDs will light up simultaneously. The device automatically retunes itself when it is turned on. Therefore, keep the device away from metal objects while powering it on. If you are going to use the device on wet beach sand or on highly mineralized ground, it is recommended to turn the device on by placing the search coil on the ground or to turn the device and retune it over the ground. Although this results in a slight loss of depth, it provides a more stable operation. You can also retune your device instantly when the device emits false signals. In order to retune the device, press the on-off button once. Do not retune the device over metal objects. Otherwise, the device will experience a loss of depth. When the device is turned off and on, it will start with the last saved settings.DETECTION MODES
The device has 3 detection modes: Audio, vibration, audio, and vibration. Press the (F) button to change the mode.Red LED
In addition to the above detection modes, PulseDive also has a red LED that indicates metal detection. When the red LED is activated, it flashes once upon metal detection regardless of the mode used. As you get closer to the target, it flashes faster and more frequently. To turn on / off the red LED, press and hold the adjustment button (A).SENSITIVITY
There are 5 levels of sensitivity. To adjust the sensitivity, press the adjustment button (A) while holding the function button (F) pressed down. Each time you press the A button, the sensitivity increases 1 level. Each level is indicated by a number of beeps and/or vibrations depending on the mode used. For example level 4 is indicated by 4 beeps and/or vibrations. At the maximum sensitivity -level 5- the device emits a long beep and/or vibration. If the red LED is active, it lights up solid. Inside highly mineralized holes, the device may produce false signals. In such a case, reduce the sensitivity.LED FLASHLIGHT
To activate the flashlight, press the adjustment button (A) once while the device is on. Press it again to turn off.DIVE MODE
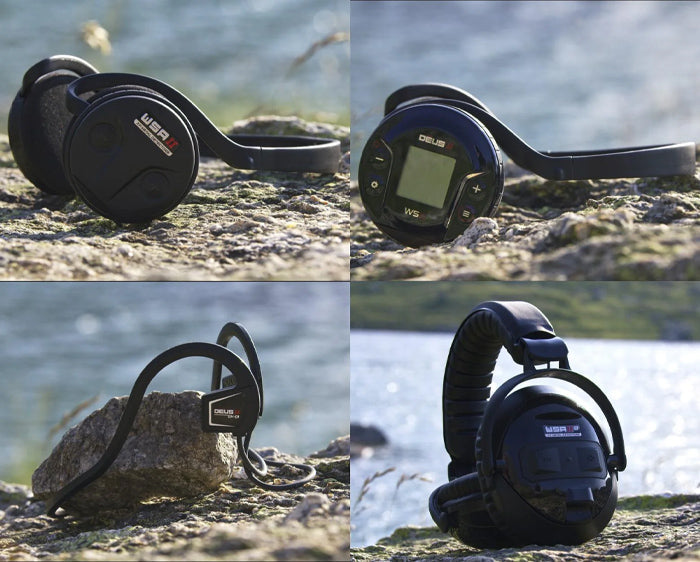
If you are diving with the PulseDive, you need to switch the device to dive mode in order to prevent the buttons from being pressed by water pressure. While in the dive mode, the buttons are locked and do not work. Therefore, make sure that the device is set to the desired settings before switching to dive mode. Recommended settings are vibration and the red LED to be on. Hold the device upside down (LEDs facing down) as shown in the picture and press the (A) and (F) button simultaneously. The green LED will light up and a beep will be heard and/or the device will vibrate depending on the mode used. If the red LED is on, it will also blink once. In dive mode, the device will not detect any targets while you hold it upside down. It will detect targets when you flip and hold it the right way. Repeat the steps above to exit the dive mode. When exiting the dive mode, only a beep will be heard, and/or the device will vibrate depending on the mode used; the green LED will not light up. If the red LED is on, it will also blink once. IMPORTANT! The PulseDive will not switch to dive mode while detecting metal! NOTE: The wireless headphones will not work if the device is switched to dive mode while it is connected to the wireless headphones. The wireless headphones will connect automatically once the device exits the dive mode. IMPORTANT! The PulseDive comes with 2 battery compartment covers. While using the device in dive mode, use the battery compartment cover that comes attached to the device and while using the device on land, use the one that is designed for land use to obtain a louder volume. The cover for land use is waterproof and can be washed. However, it cannot be used for diving. To prevent the filter, which is used on the cover for land use, from any damage, do not insert any sharp objects into the holes for cleaning or any other purposes.