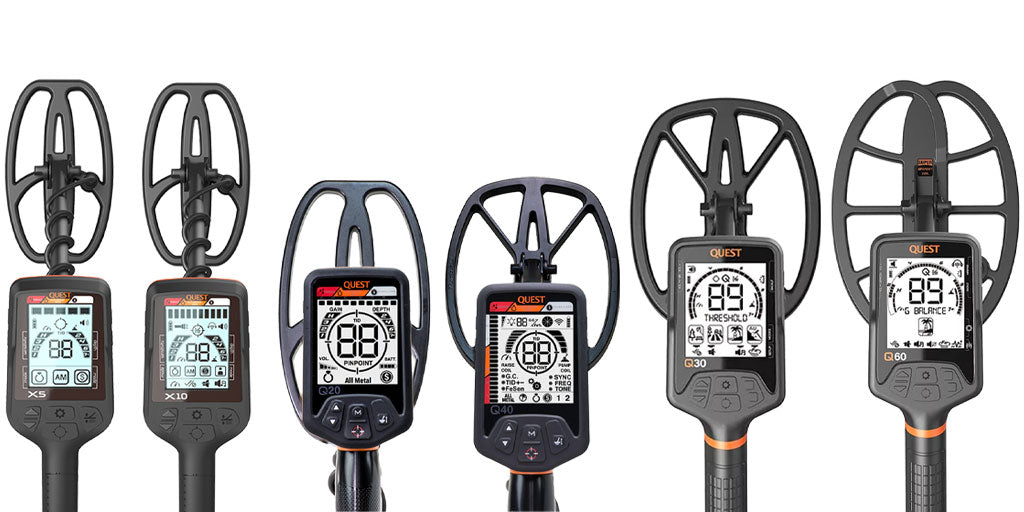
All Quest Metal Detectors
- Recharge the detector.
Quest Q60 Metal Detector
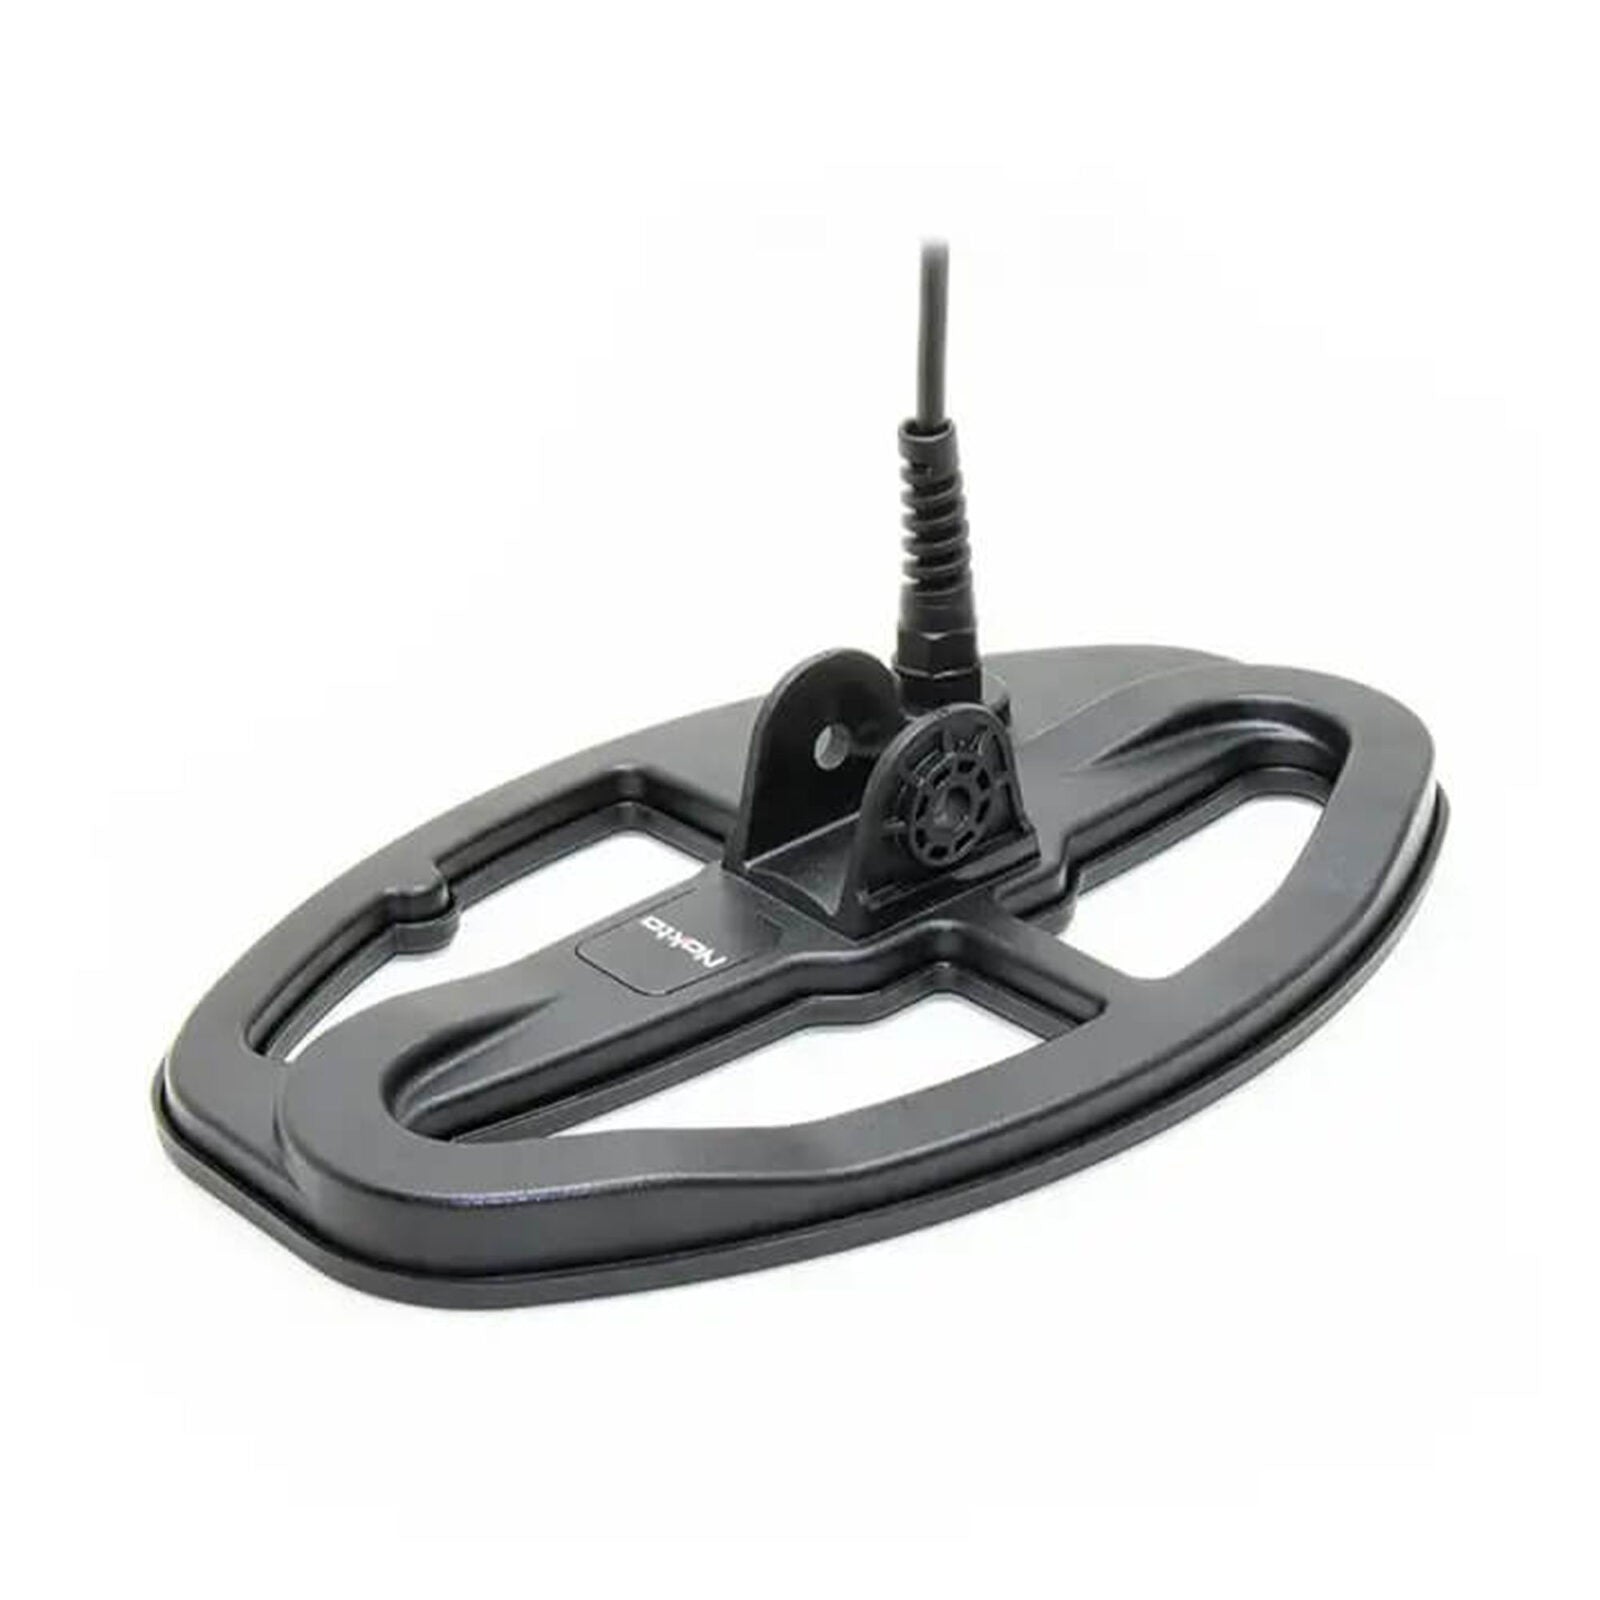
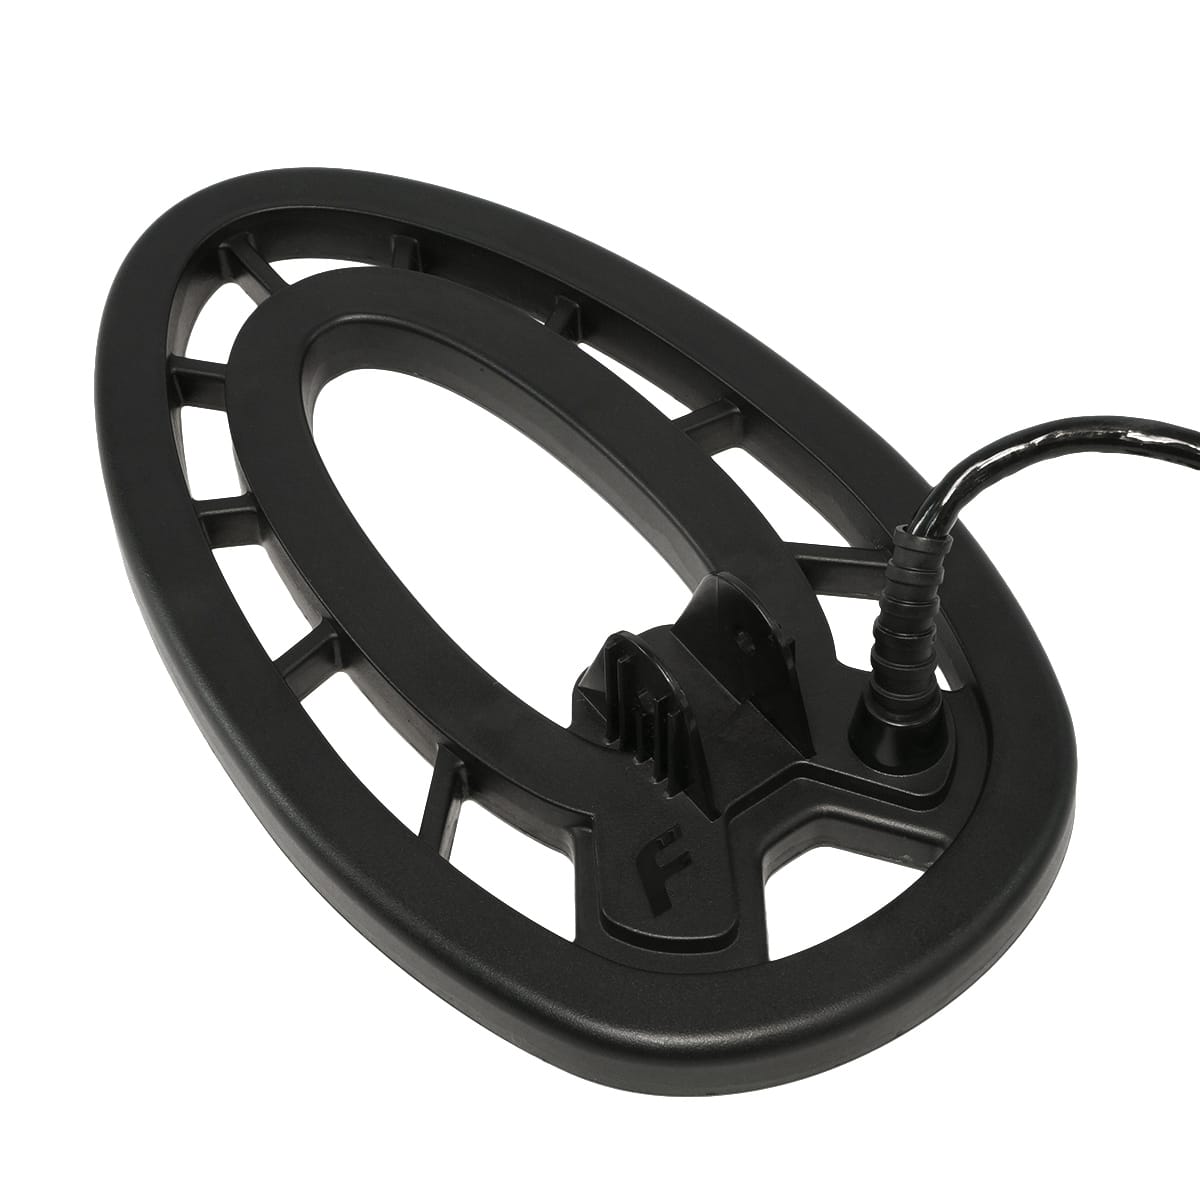
The metal detector doesn‘t make a sound- If the detector shows no conductance number in the middle, the coil might not be connected to the control unit. Check the cable between the coil and the control unit.
- If it just doesn‘t make a sound, check if the volume is set to zero or the wireless headphones-mode is activated.
- Perform an automatic or manual Ground Balancing, set the sensitivity lower, or try it at another place with less interference.
- Check if the coil cable is broken.
- Turn to WET BEACH or SALT WATER MODE if you are detecting on the beach or high mineralized ground.
- When the detector is turned off, press and hold the power button until the display restarts to reset the detector to factory settings.
Quest Q30 Metal Detector
The detector turns on but will not detect metal- Ensure the search coil is properly connected to the control housing
- Check the Sensitivity level – if set too low, detection depth will be greatly limited
- Ensure the volume is not set too low
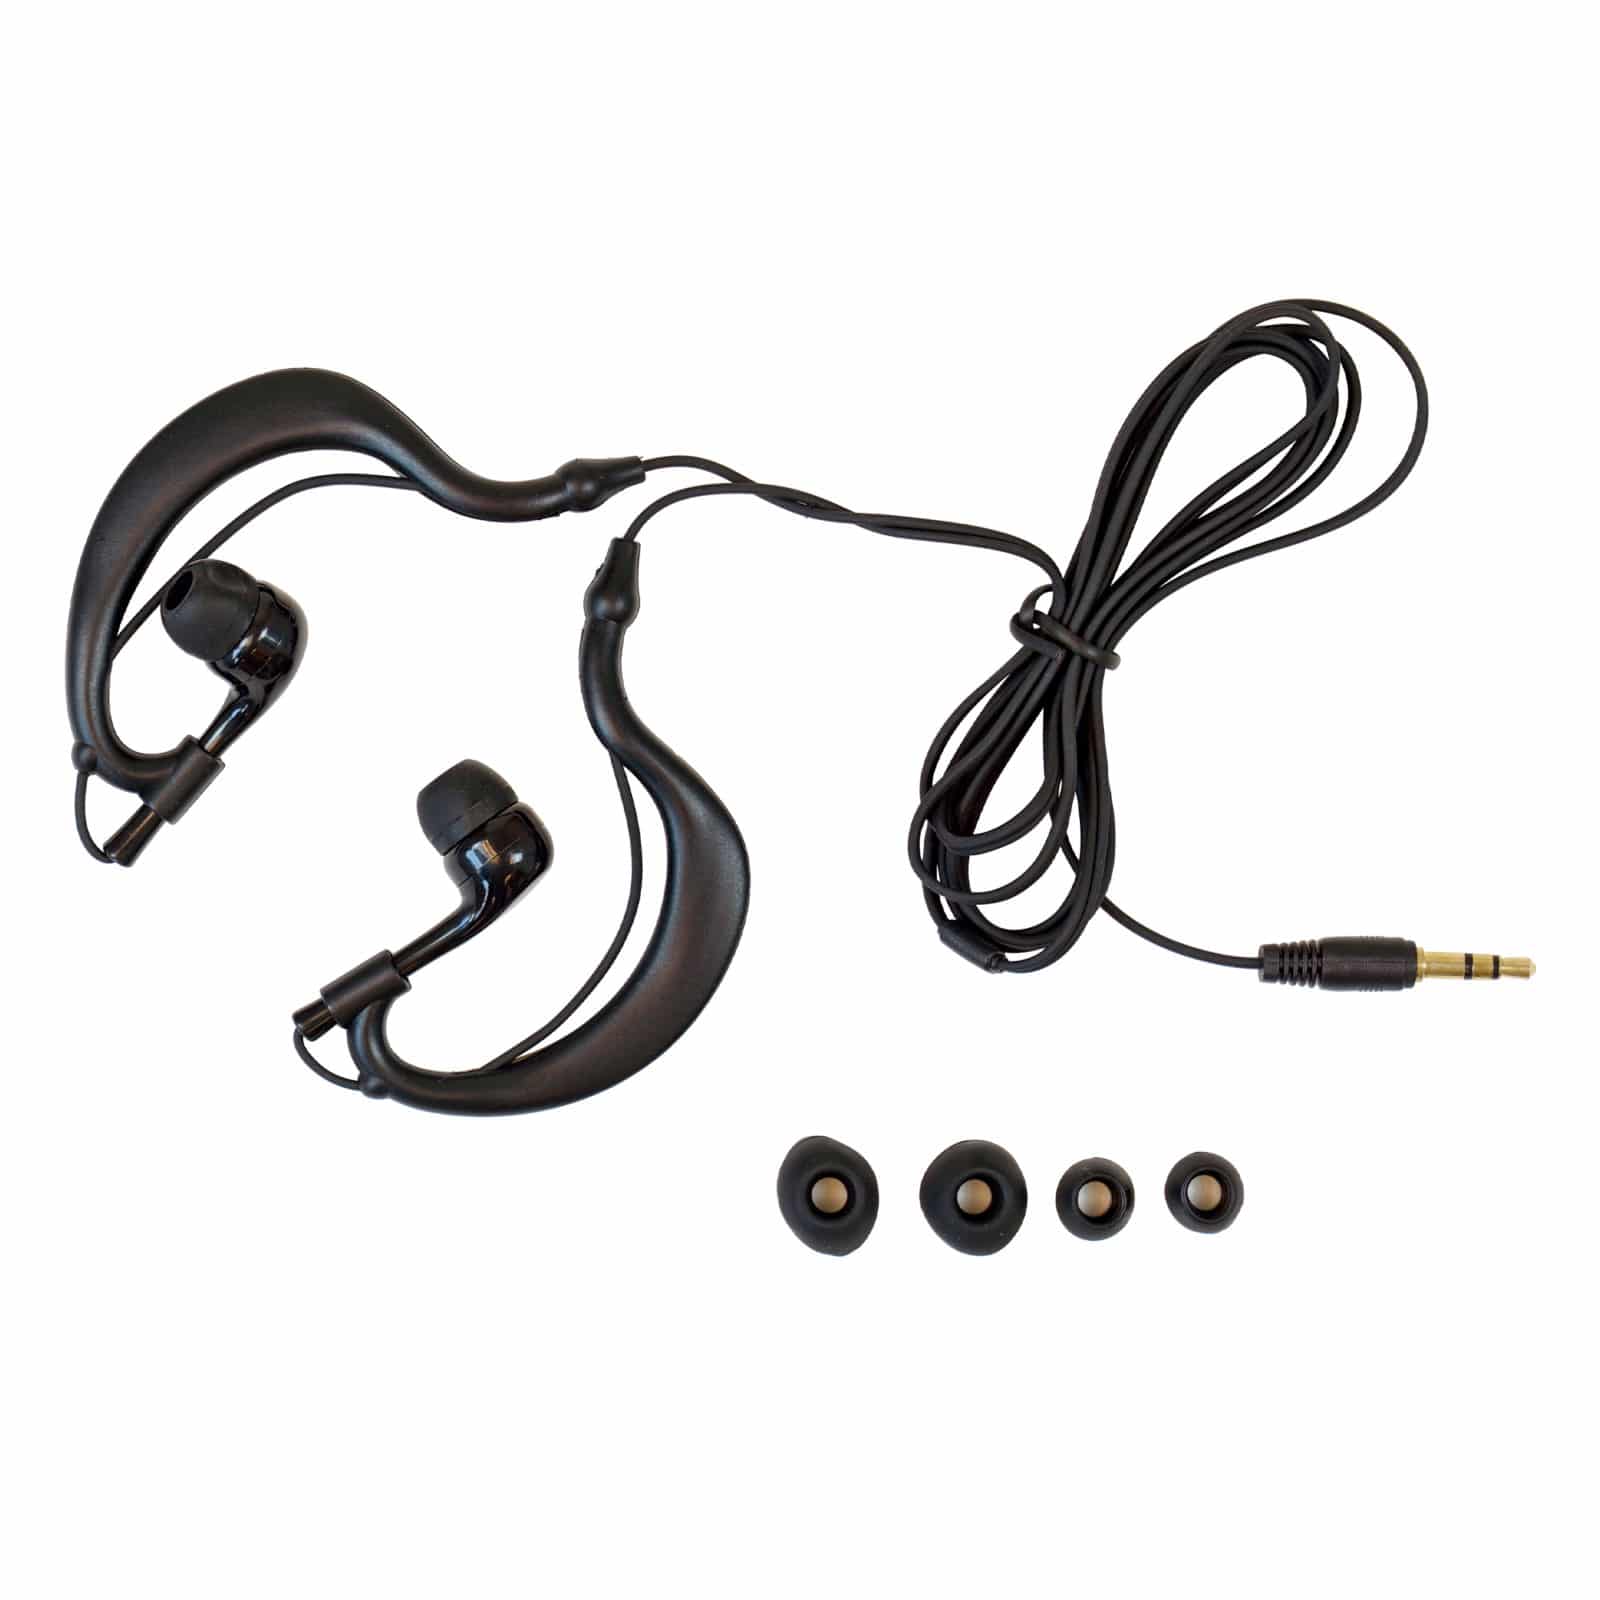
- Check to see if there are headphones connected to the back of the control housing
- Plug in a set of headphones to see if there is a problem with the internal speaker
- Ensure the wireless option has not been activated (see flashing icon on the upper right side of the screen)
- Reduce the Sensitivity level
- Try using the Frequency Shift function to minimize or eliminate the chatter
- Check the Ground Balance as ground conditions may have changed
- Try another part of the site you are searching – there may be a large number of targets present
- Electrical interference in the area may be the cause. If reducing Sensitivity does not help, you may need to come back at a different time to see if the cause is no longer present.
- The overload signal indicates that the detected target is either very shallow or very large. Try lifting the coil a few inches and recheck the area.
- Typically this indicates the coil is either passing over multiple targets, an irregularly shaped object, or trash. Turn 90 degrees and wiggle the coil across the target side-to-side an inch or two. This will help you separate multiple targets or determine if it is a larger piece of trash.
Quest Q40 | Q20 Metal Detector
No alarm- Check that the coil is connected to the control box.
- Ensure the Volume is not at ZERO level.
- Try another area with less interference.
- Confirm the coil cable is not broken.
Quest X10 | X5 Metal Detector
Factory Reset- If the solutions above do not address the issue you are experiencing, reset the X10 | X5 to its factory settings. Turn the detector off and hold the POWER touchpad for 5 seconds. All of the icons on the screen will illuminate indicating the detector has been reset.
- Ensure the search coil is properly connected to the control housing
- Check the Sensitivity level – if set too low, detection depth will be greatly limited
- Ensure the volume is not set too low
- Check to see if there are headphones connected to the back of the control housing
- Plug in a set of headphones to see if there is a problem with the internal speaker
- Reduce the Sensitivity level
- Check the Ground Balance as ground conditions may have changed
- Try another part of the site you are searching – there may be a large number of targets present
- Electrical interference in the area may be the cause. If reducing Sensitivity does not help, you may need to come back at a different time to see if the cause is no longer present.
- This is the overload signal. Lift the coil a few inches and recheck the area.
- Typically this indicates the coil is either passing over multiple targets, an irregularly shaped object, or trash. Turn 90 degrees and wiggle the coil across the target side-to-side an inch or two. This will help you separate multiple targets or determine if it is a larger piece of trash.

