How to Assemble the Quest X10 & a Look at the Display
Assembling the Quest X10
The Quest X10 assembles initially in less than 10 minutes. It can be assembled in either an adult or youth configuration with the only difference being the overall length of the detector itself.- Attach the armrest assembly (consists of two pieces - an upper and lower half) to the end of the upper shaft by pressing the two pieces into place and securing them with the screw included in the package.
- Remove the four (4) screws visible on one side of the control housing handgrip and take off the section that is now loose. Line up the pins inside the handgrip assembly with two of the larger holes in the upper shaft piece. Replace the section removed to line up with the screw holes/ pins and reinstall the screws. NOTE: The distance between the armrest and the handgrip can be adjusted based on the arm length of the user.
- Select the number of shaft assemblies needed based on the desired configuration; i.e., Adult or Youth. Put them together as shown below:

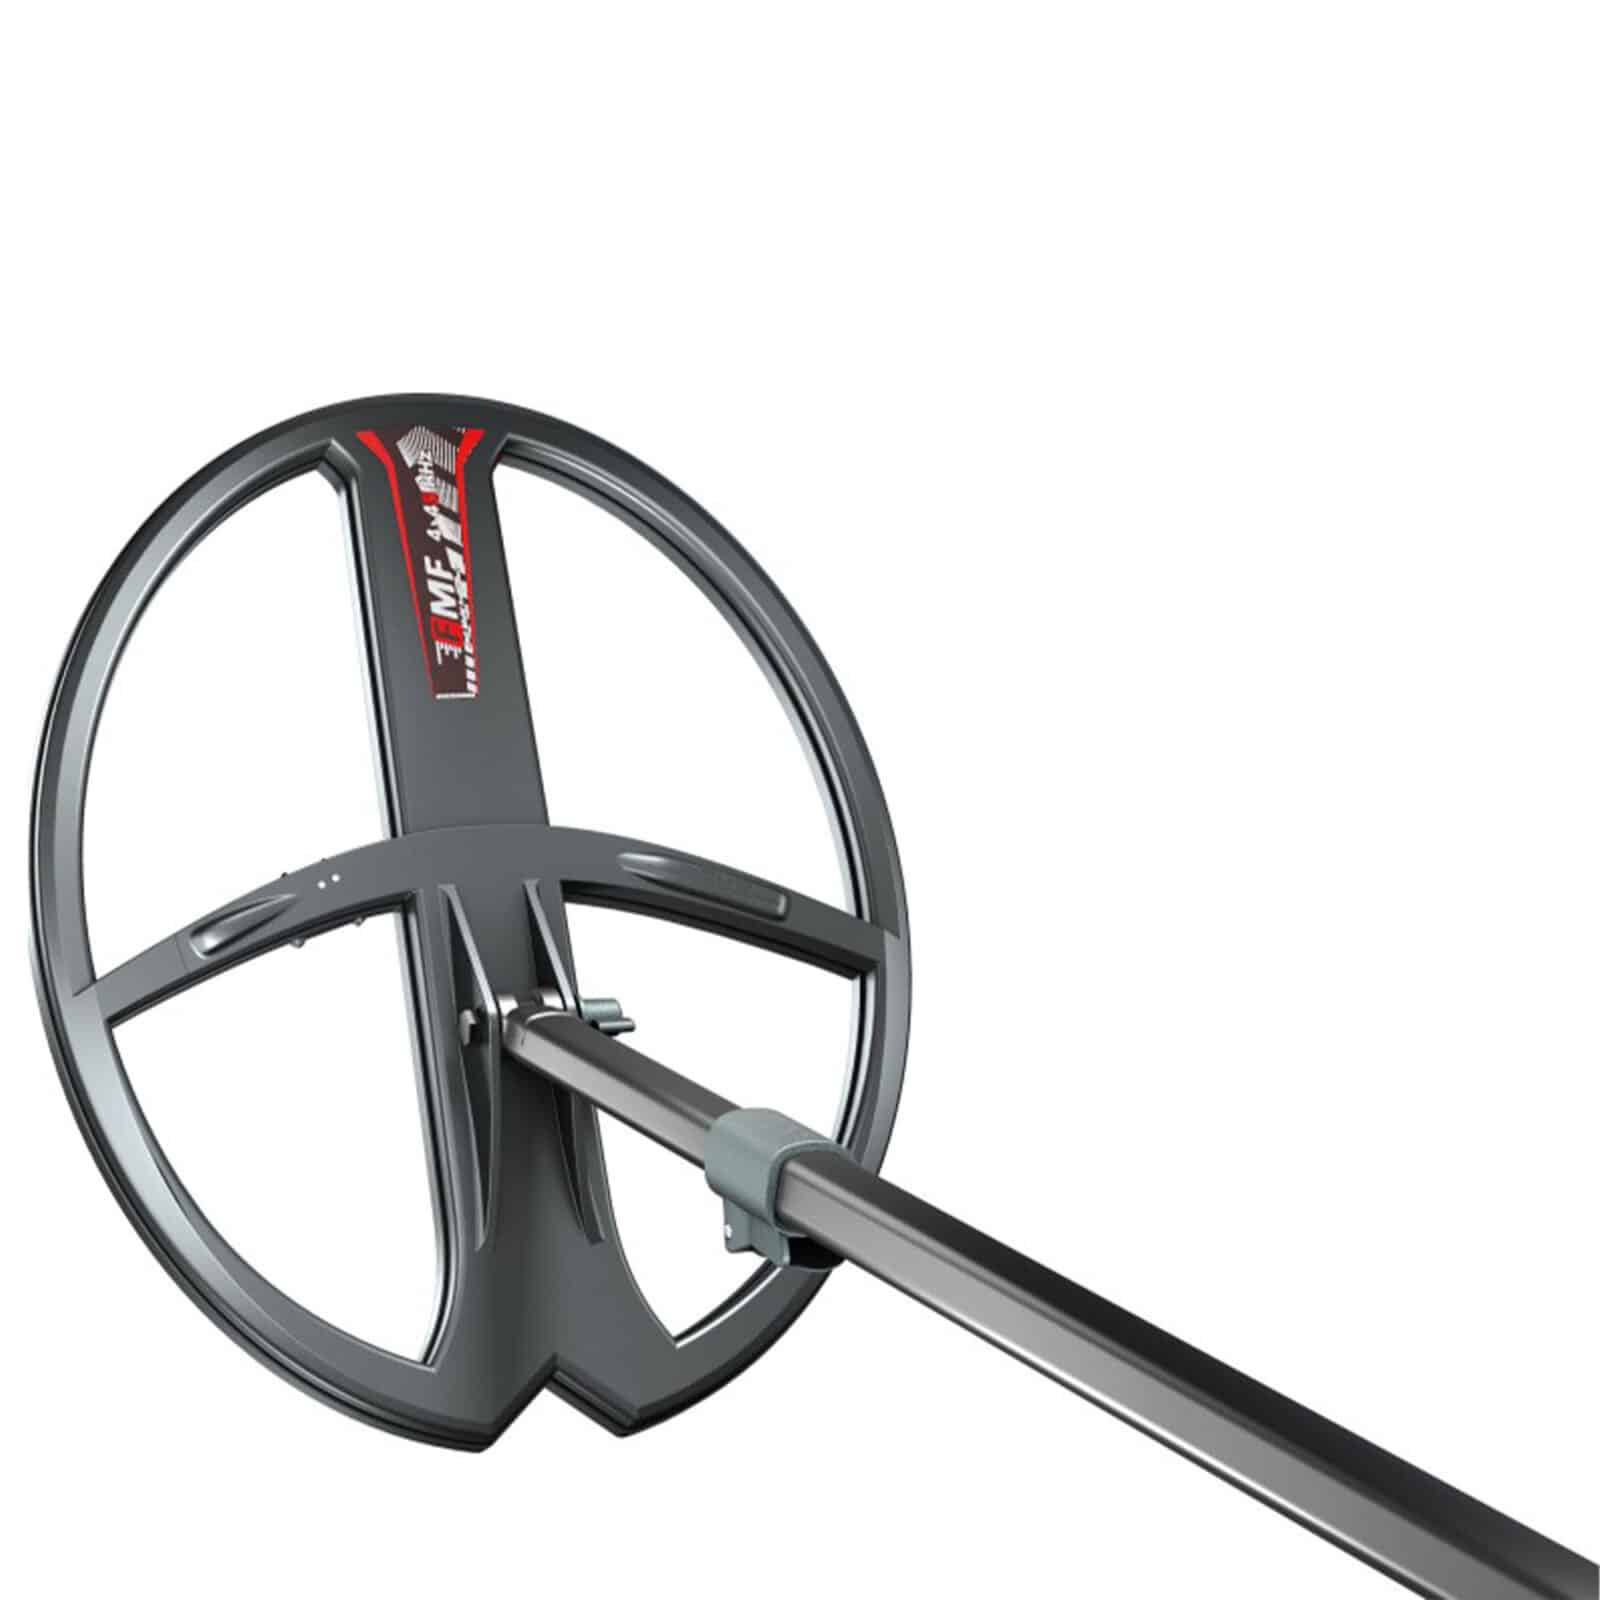
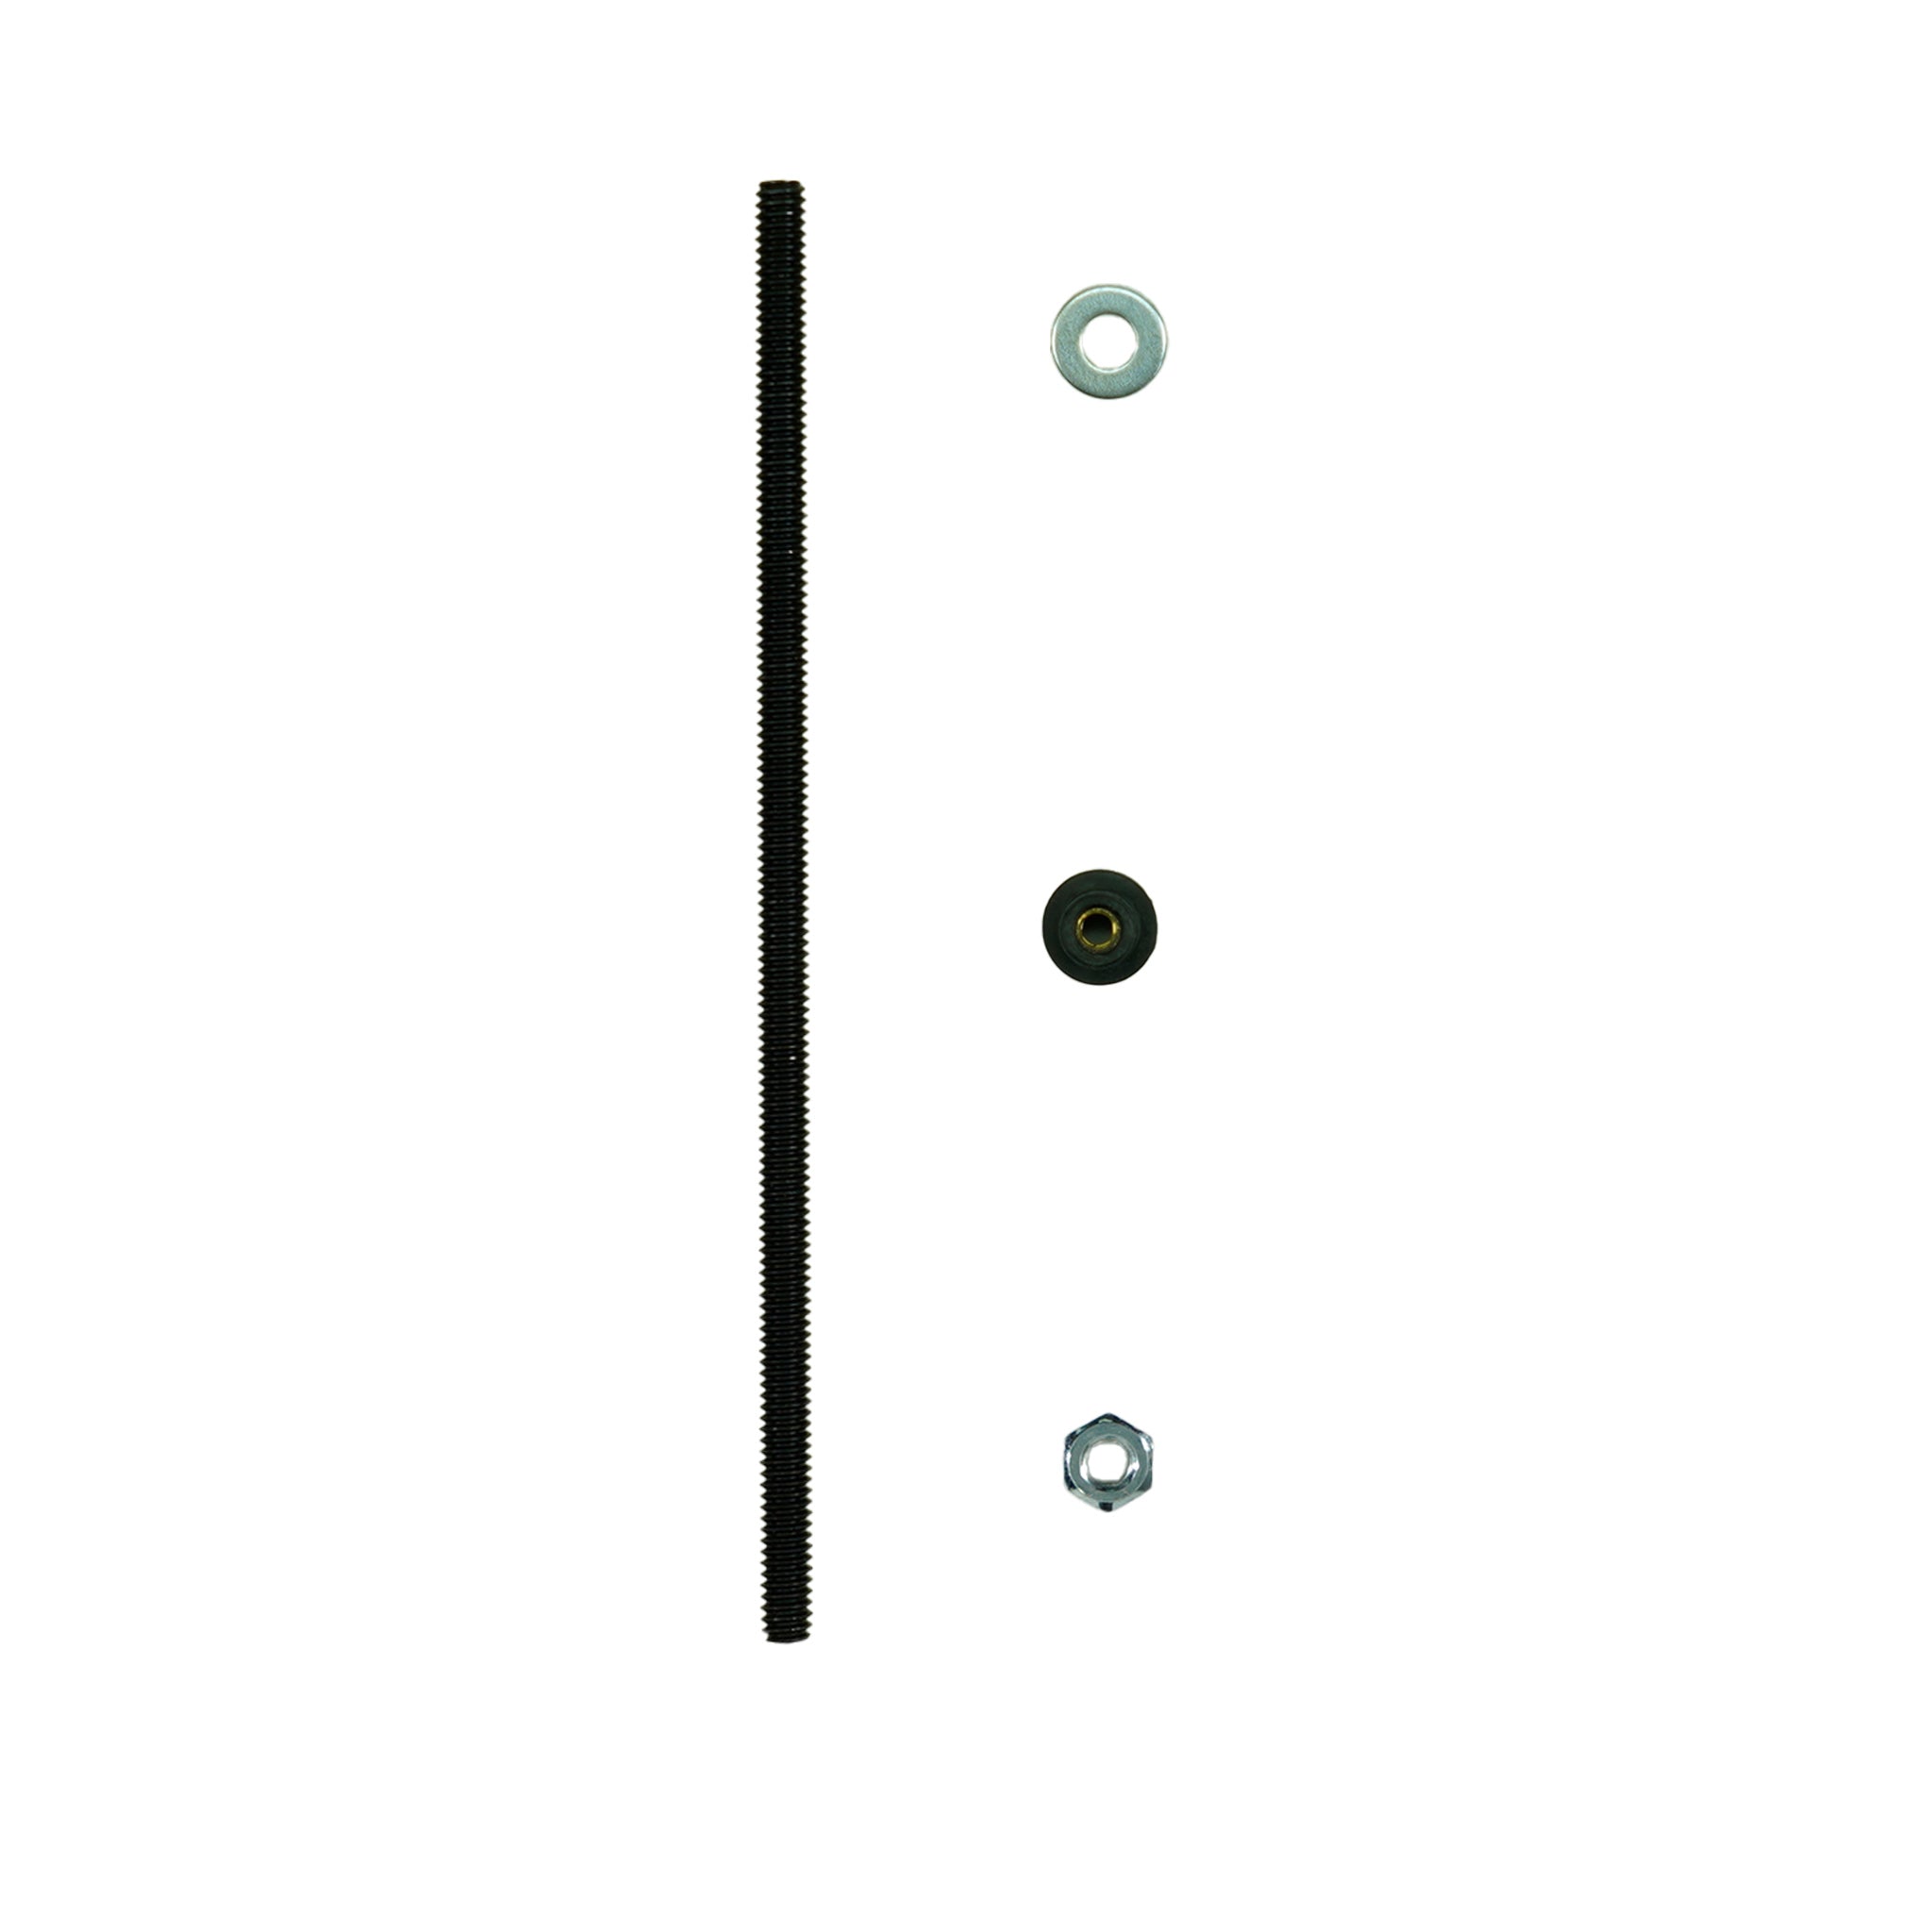
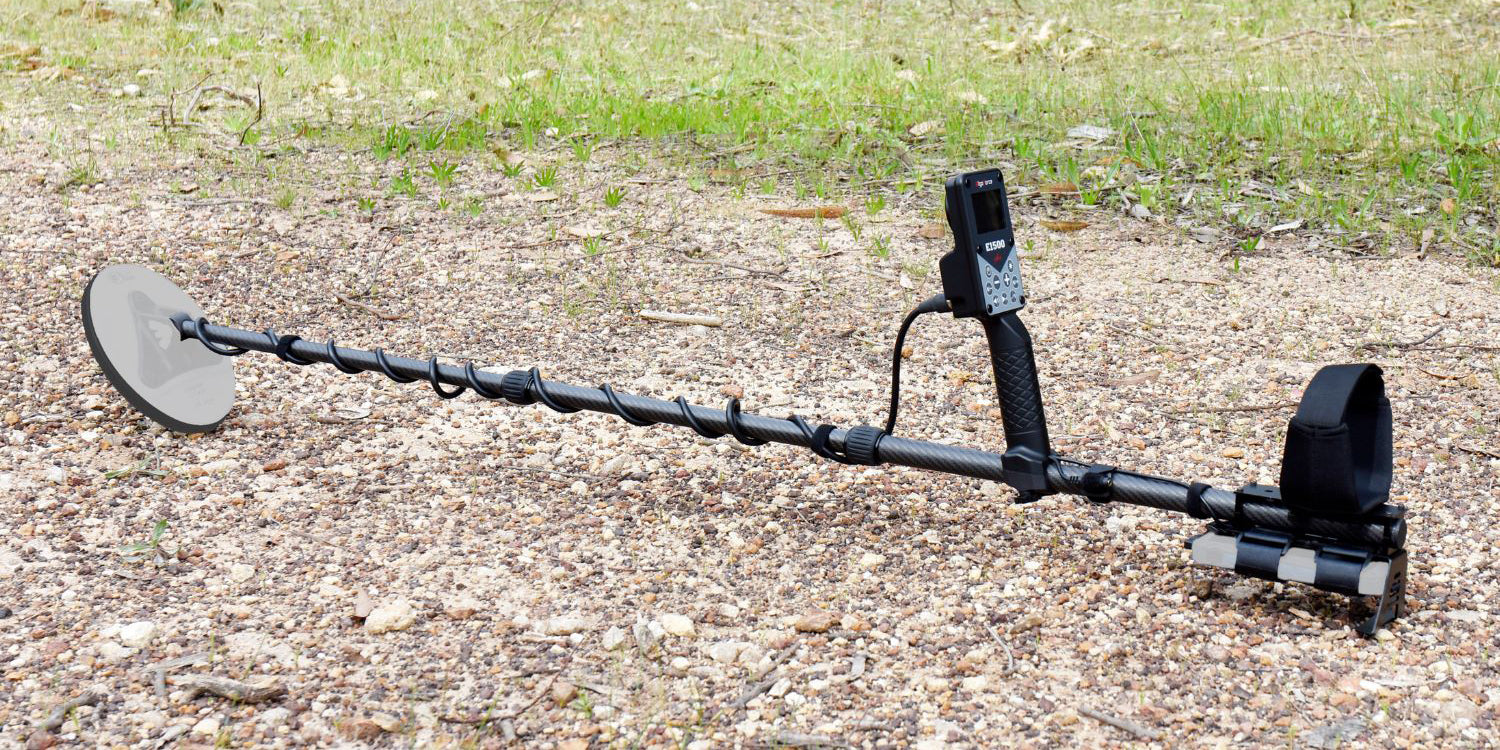
- Attach the search coil to the lower shaft using the bolt, cap and washers included. Wind the cable around the shaft and connect it to the control housing. NOTE: There is an alignment pin in the housing for the cable connector. Do not force the cable into the connector. When you wrap the cable around the shaft, you want it to look like the picture below but do not make it too tight so that the cable is pulled from the coil when it is moved.

The Quest X10 Controls and Display
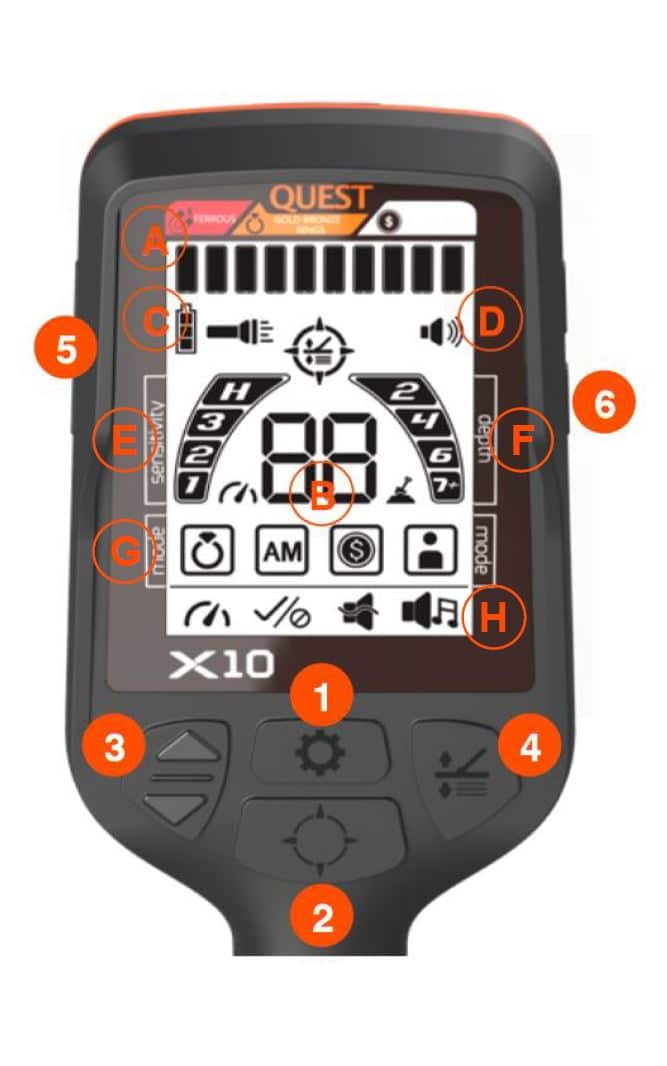 Display Icons
A. Target ID bars that are used to determine what targets are accepted and what targets are rejected. B. Two-digit target ID value used to provide a more accurate assessment of what you have detected to aid in determining if you want to recover it. C. The first icon shows the current battery strength remaining. The second icon shows if the flashlight/headlight on the rear of the housing is active. D. This icon shows the current audio level heard through the speaker or headphones. E. This shows a rough indication of the current Sensitivity level (1, 2, 3, or H). When adjustments to Sensitivity are being made, the actual value is shown in the center of the screen (see Area B). F. This shows a rough indication of target depth (2", 4", 6", or 7"+). When the Pinpoint function is activated, a more accurate indication is shown in the center of the screen (see Area B). G. SHows the 4 available search modes and which one has been selected for use. H. Shows the 4 functions that can be adjusted on the X10 and which function is active.
Controls
- Turns the power On & Off and scrolls through the menu options.
- Activates the non-motion Pinpoint function.
- Changes search modes and is used to adjust specific functions.
- Used to set the Ground Balance for search locations.
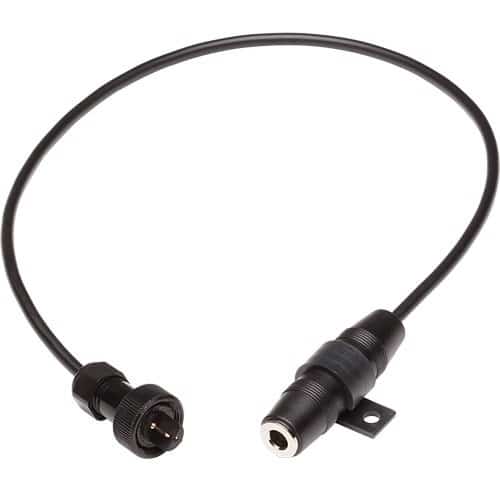
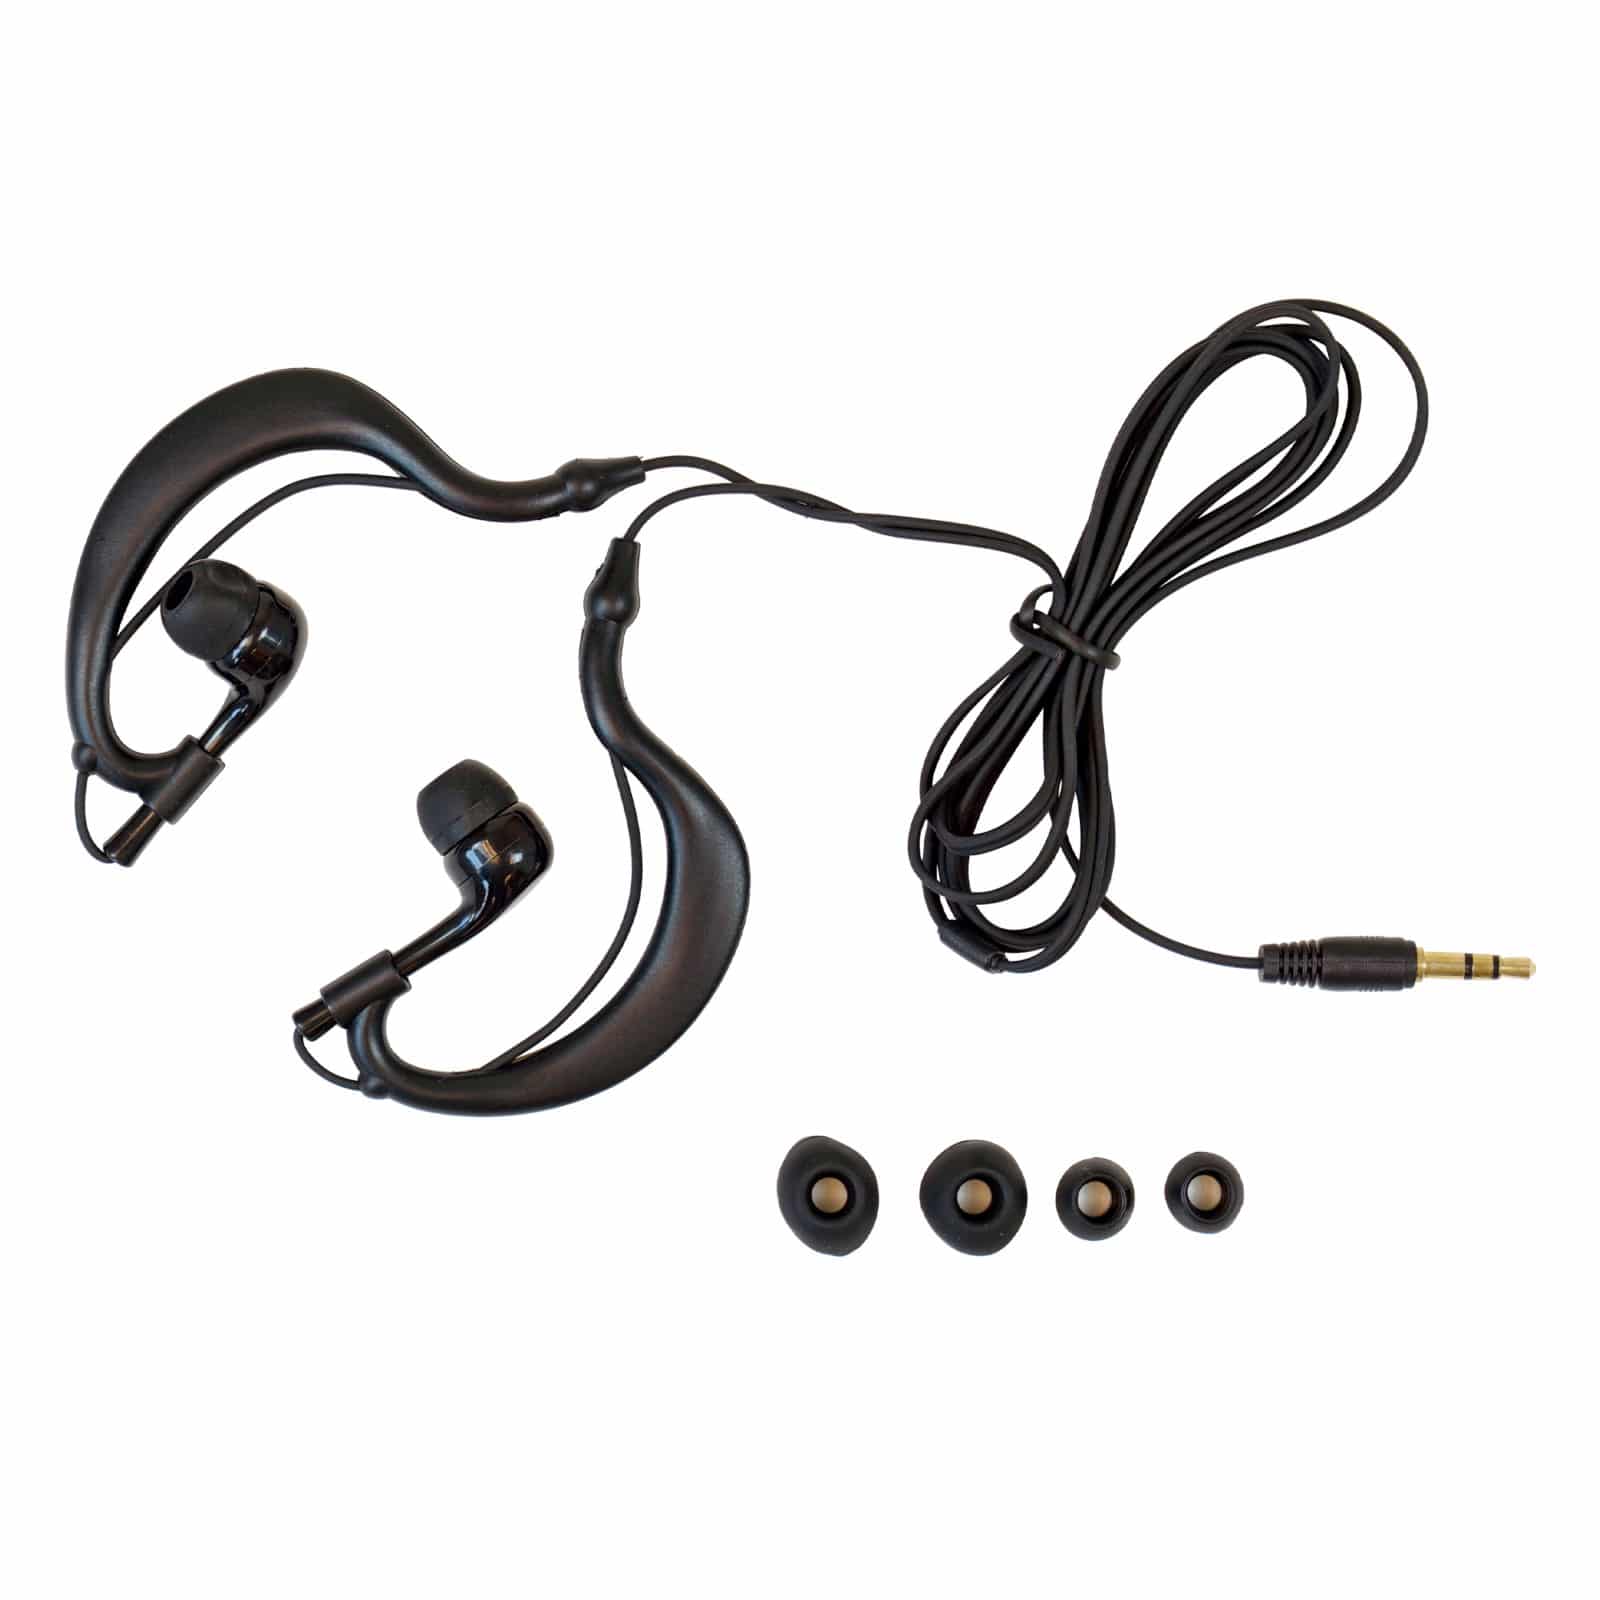
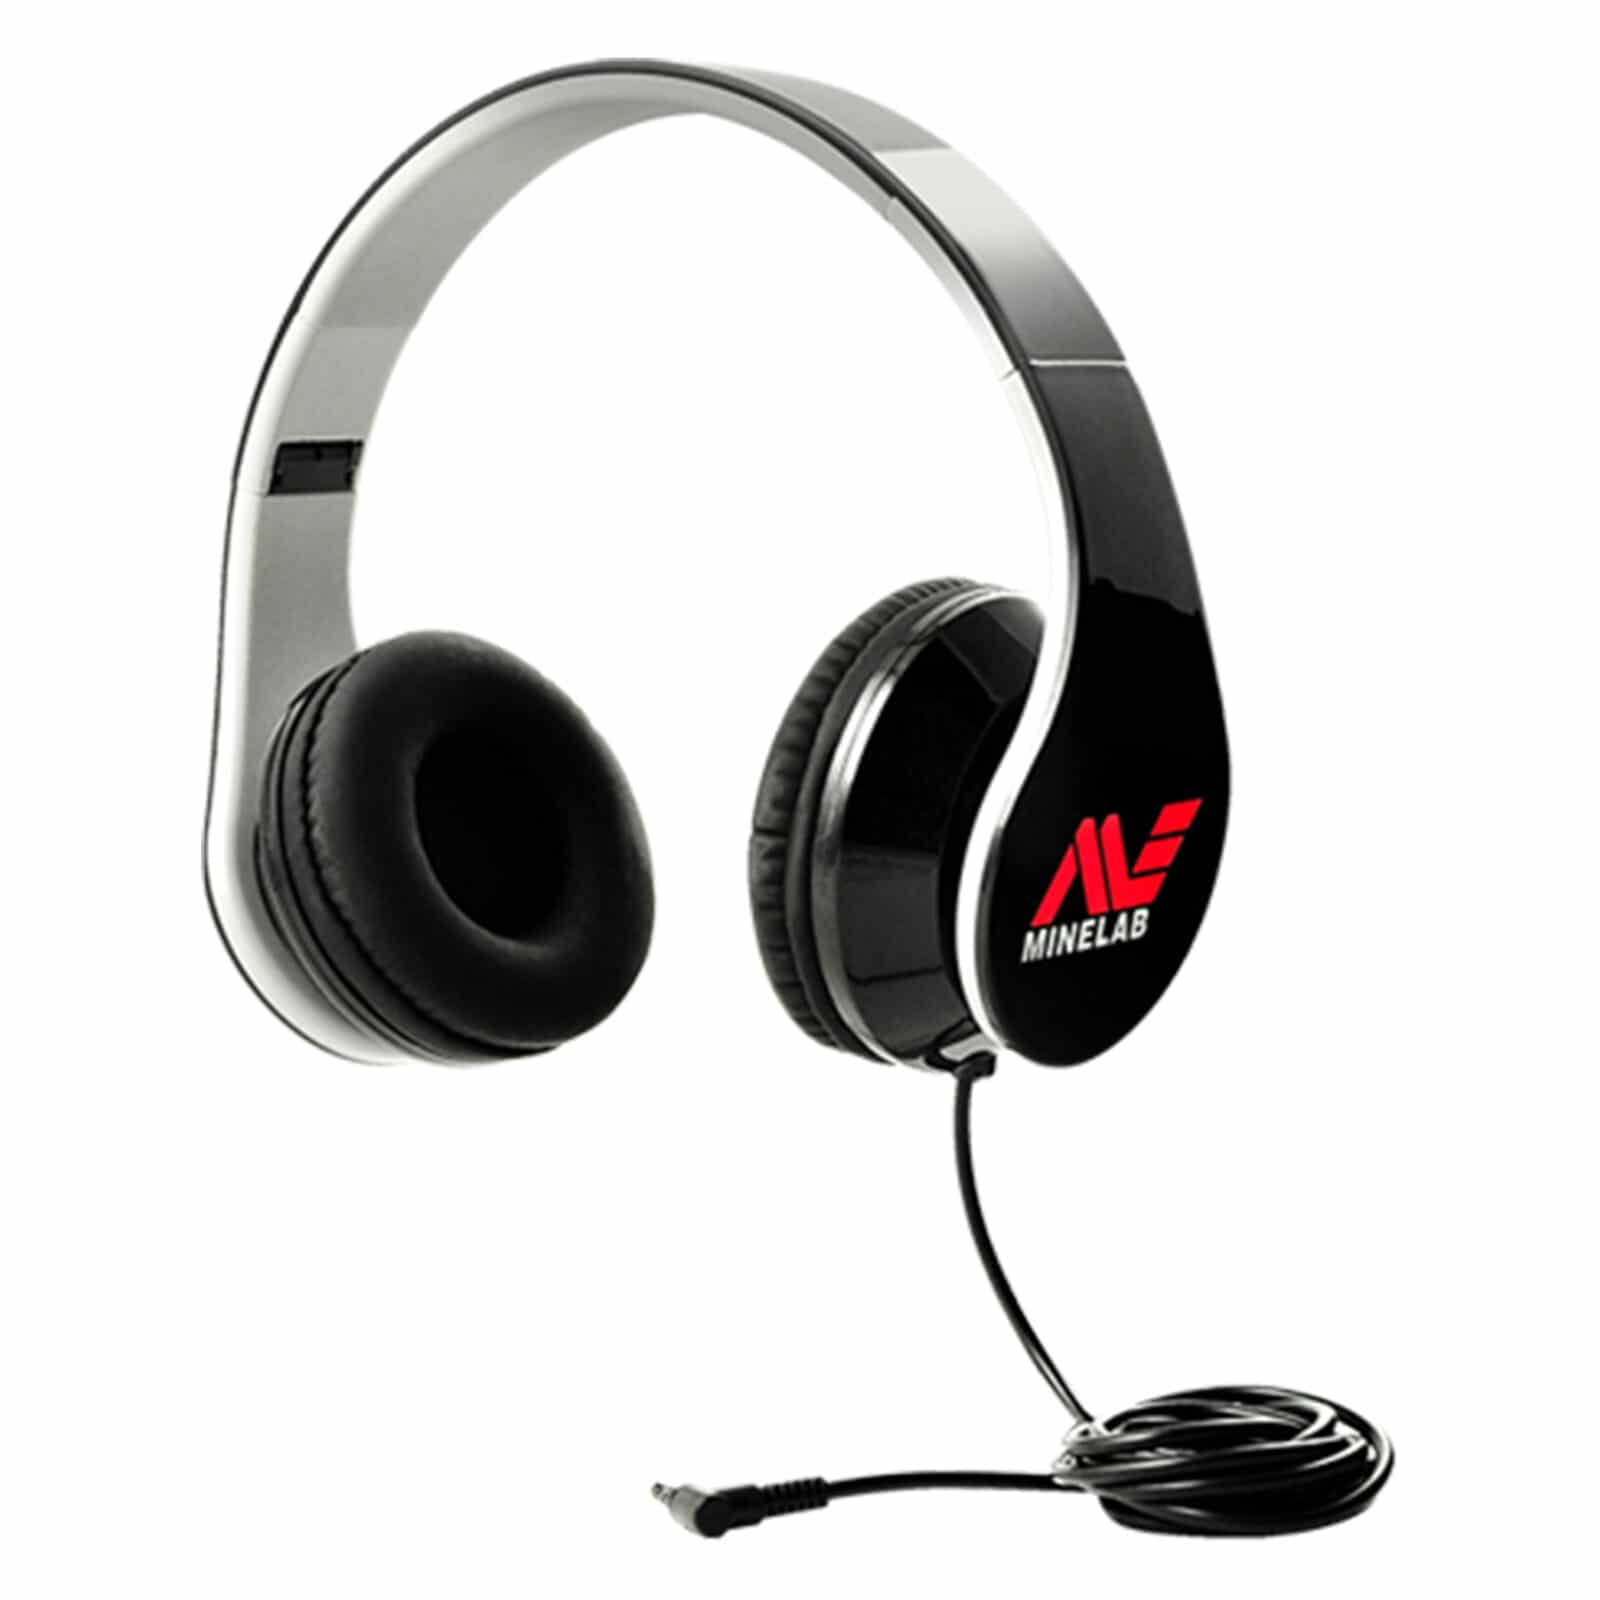
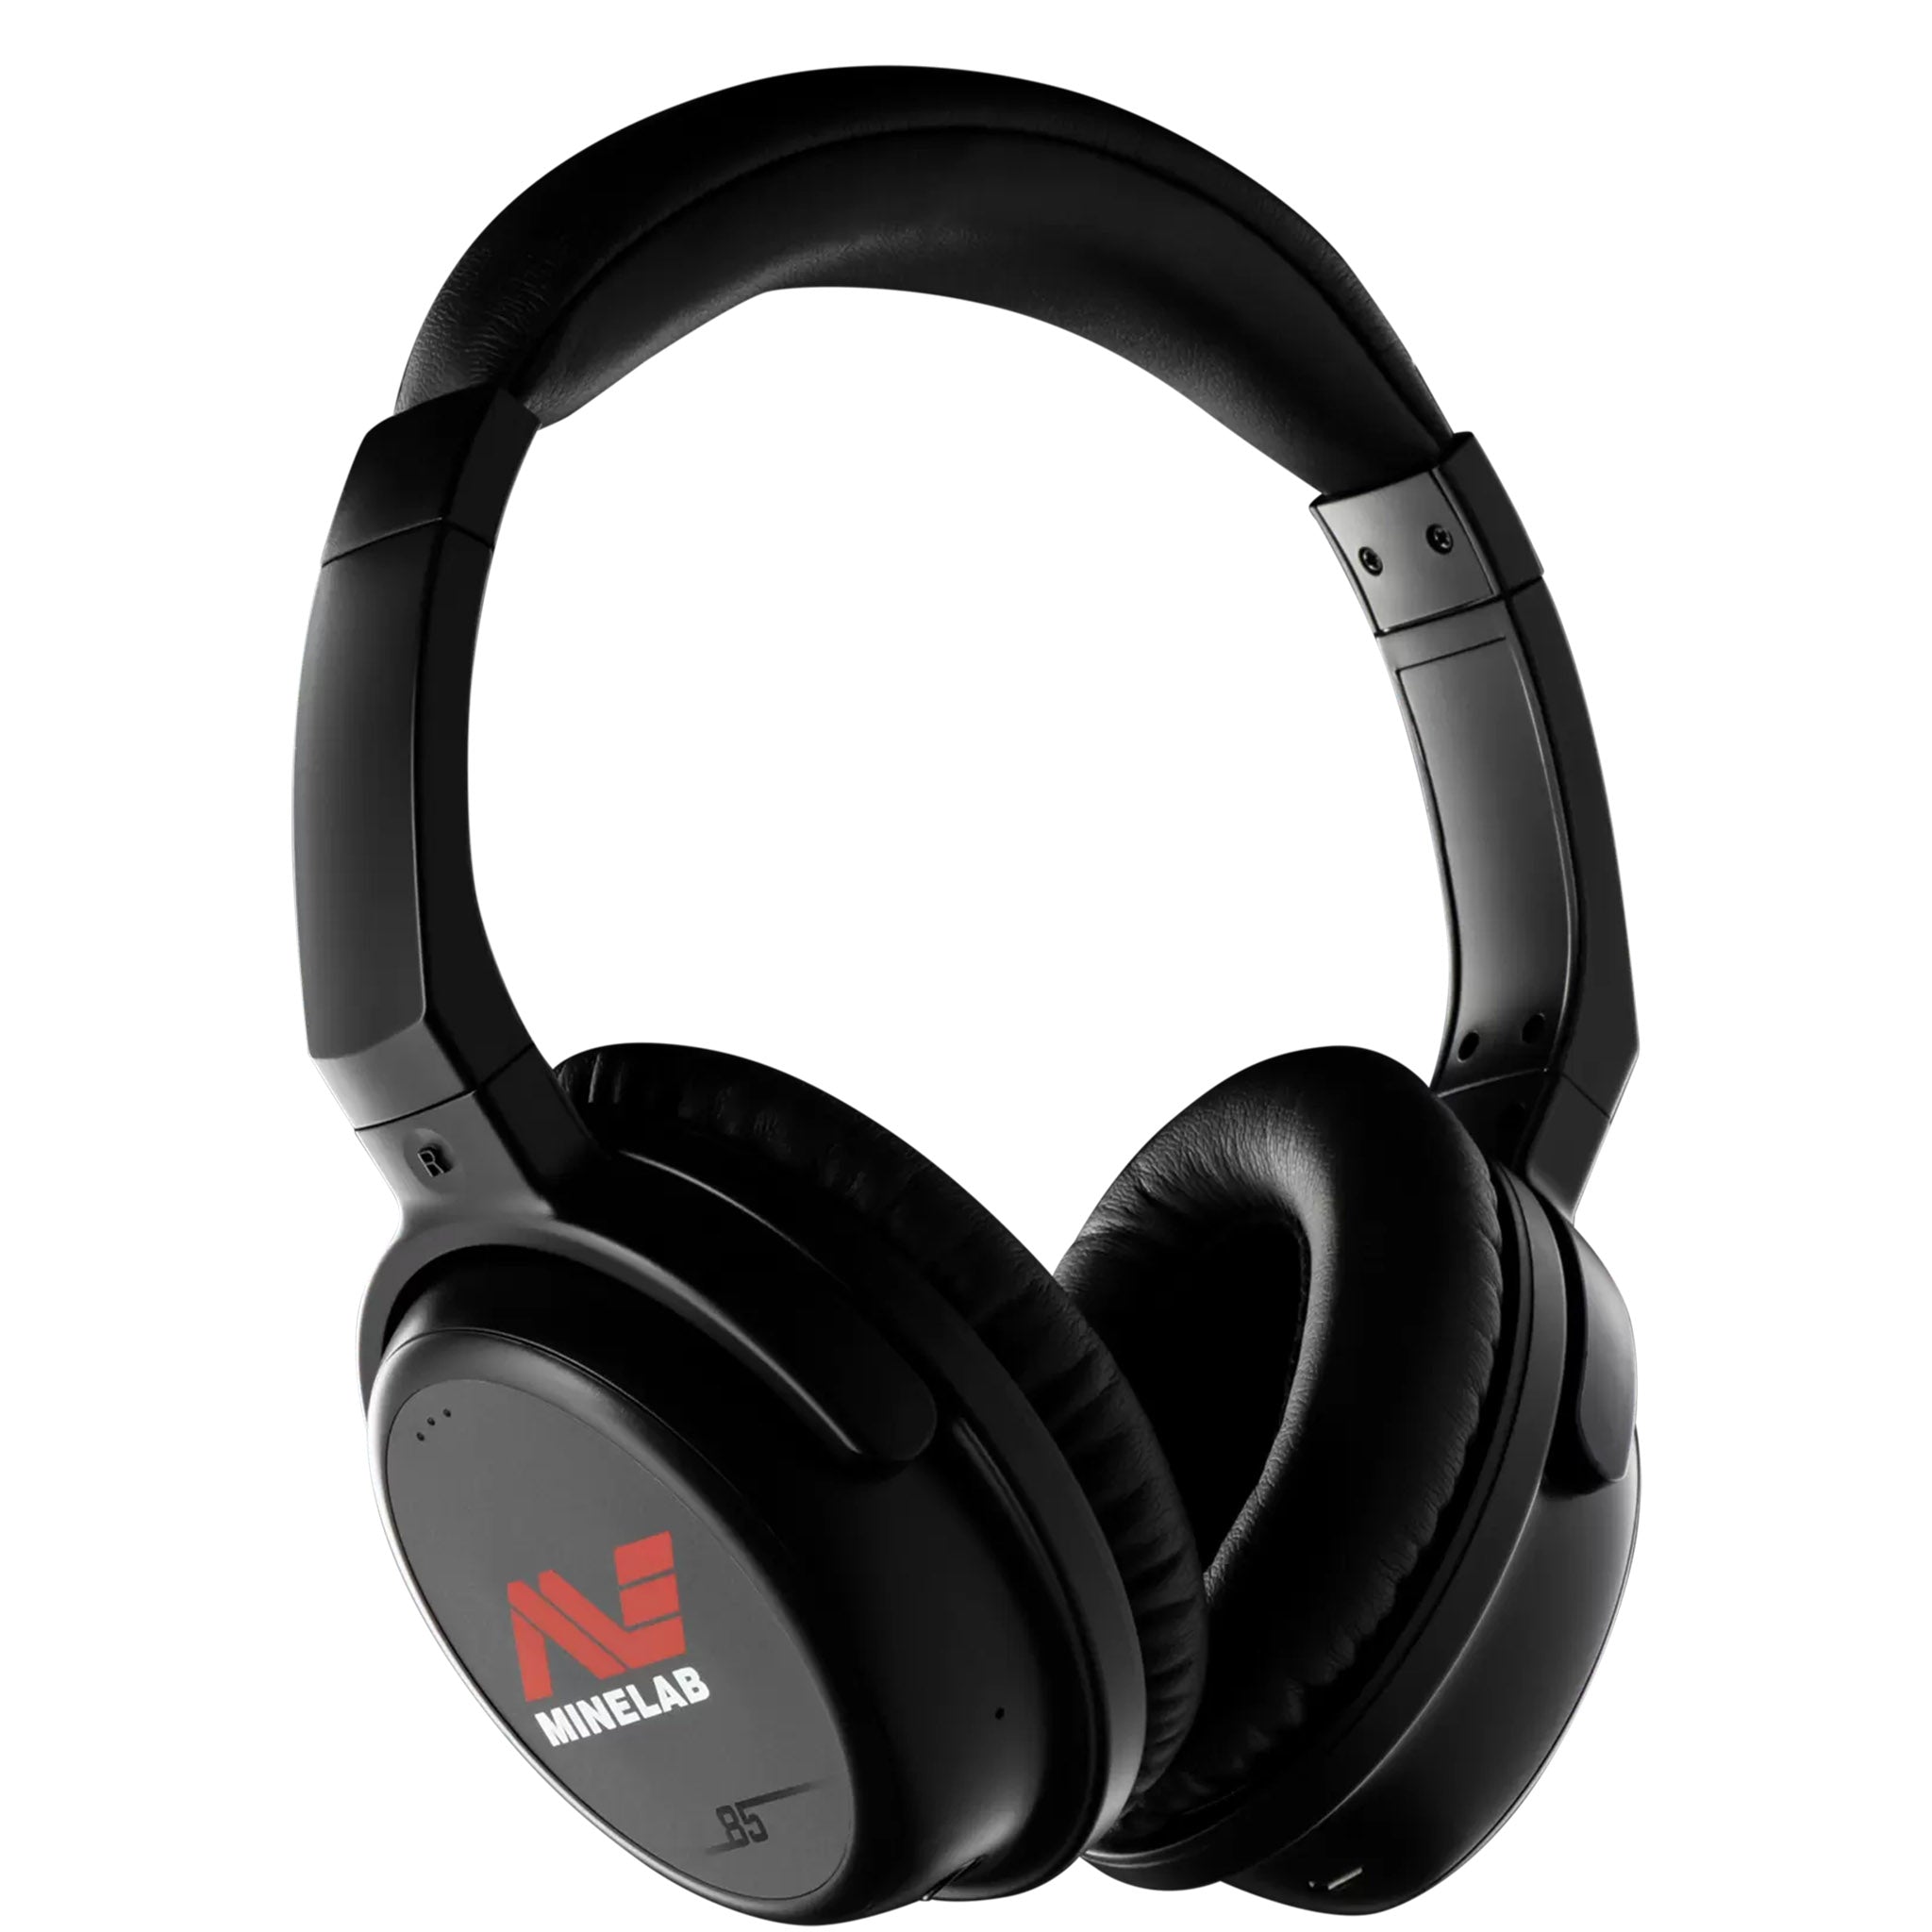
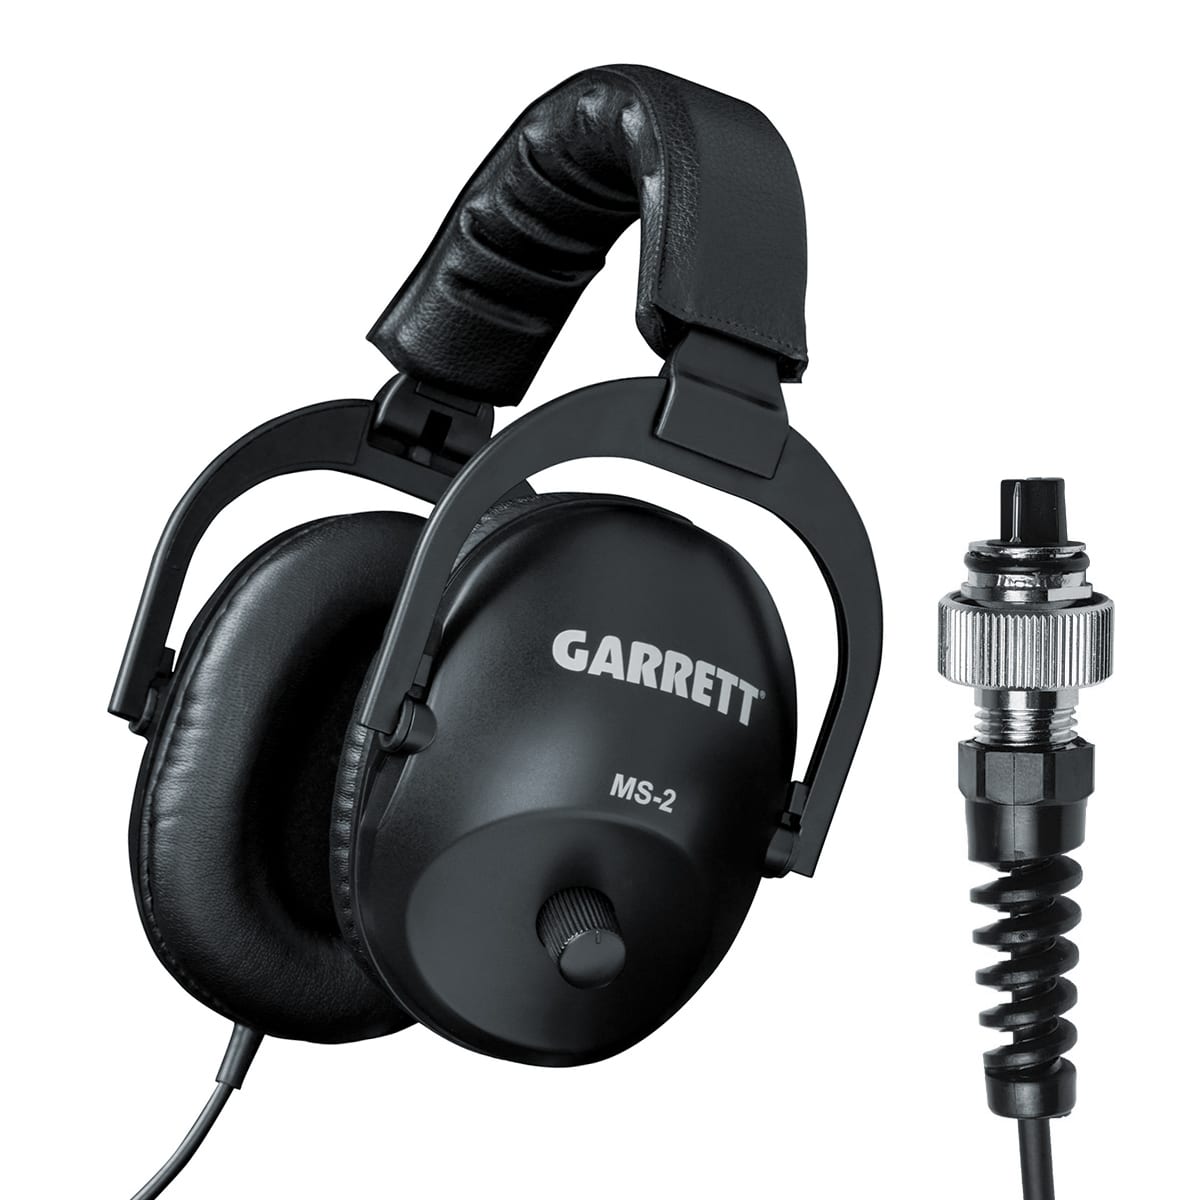
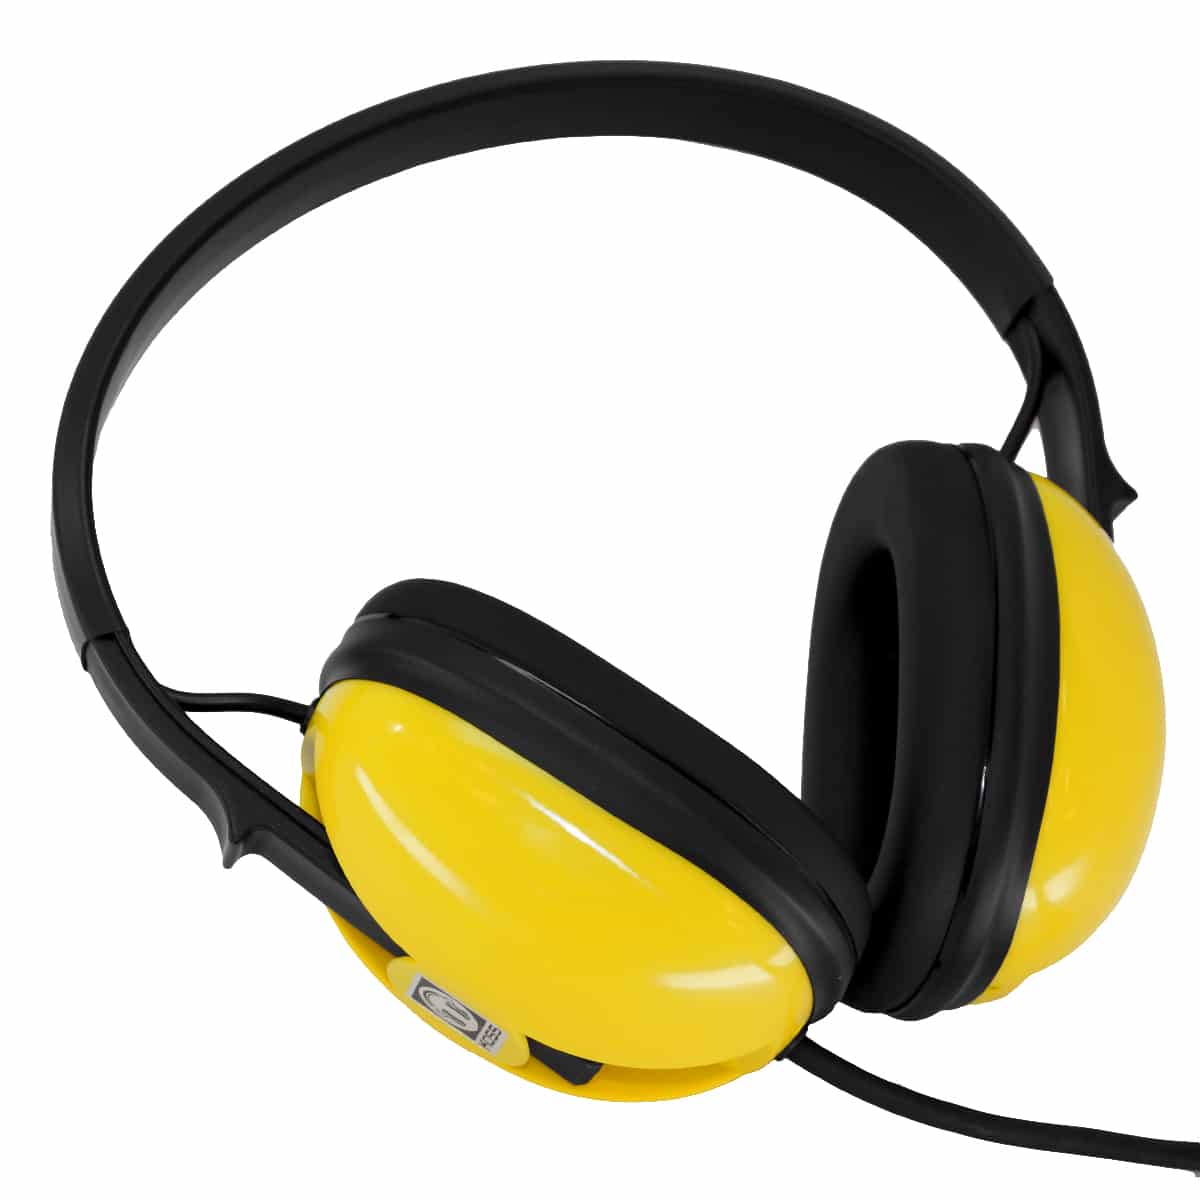
- Adjusts the volume from the internal speaker or optional headphones.
- Activates the backlight function and/or the rear-mounted flashlight feature.
Charging the Quest X10 Battery
The Quest X10 features an internal Li-Po rechargeable battery which eliminates the cost of buying batteries for your detector. To initially charge the battery or recharge it when you are heading to the hunt site or coming in from the field, pry off the moisture/ dust cover on the back of the control housing. Connect one end of the micro USB charging cable to the lower plug in the control housing and the other to a wall or car charger that accepts the USB connector. NOTE: Depending on the wall/ car charger used, it should take around 4 hours to fully charge the theX10.
Quick Start Operation
Before you head out looking for lost items, spend a few minutes getting familiar with the X10's controls and the response it produces to known targets. A little time invested after you unpack the detector will pay off in the field as you will know how to adjust it and what the type of targets you are looking for will sound like.- Place the X10 on a table with the coil away from any metal
- Turn it on by pressing the POWER touchpad
- Pass a range of targets across the coil about 2"-3" away at a normal sweep speed. Use both good targets such as coins, jewelry, and relics as well as trash targets such as nails, tinfoil, bottle caps, pull tabs, etc. Write down the Target ID# that each produces as this will help you determine if a signal in the field is worth recovering.
- Repeat the tests in the different search modes by scrolling through the 4 options using the UP/ DOWN touchpads. You will see that in the JEWELRY, COINS, and USER modes that some of the trash targets are rejected and will not produce a response.
- If you are getting chatter or false signals when there is no target passing across the coil, press the MENU touchpad and reduce the Sensitivity after the Sensitivity icon has been selected using the UP/ DOWN touchpads.

