Not For Rings With Stones.
Not to worry about your size... you will know if your ring fits on the top/first highest “bench.” If your ring is too small to slide on the first/highest up bench, your ring is too small for this machine. (Smaller rings have less surface area to “give” so you are safer at a jeweler with small, or low karat rings. The higher the gold or silver content, the safer and better it will stretch. High karat gold such as 18k., is quite a bit more malleable than say 10k.
Protecting Your Investment
These are precision made machined parts. Take care of them and they can be passed down in your will. Keep the following protective rules in mind:- Keep them in a protective box
- Keep away from children - there are sharp edges, this is no toy.
- Keep the parts lightly oiled and in a dry place.
- Do not let the drive rod to be stored down inside the expanding collet - Light rust from moisture in the air could cause it to seize, ruining its accuracy.
There are 3 Parts to the Kit
- 1. Wooden stand
- 2. Expanding Collet
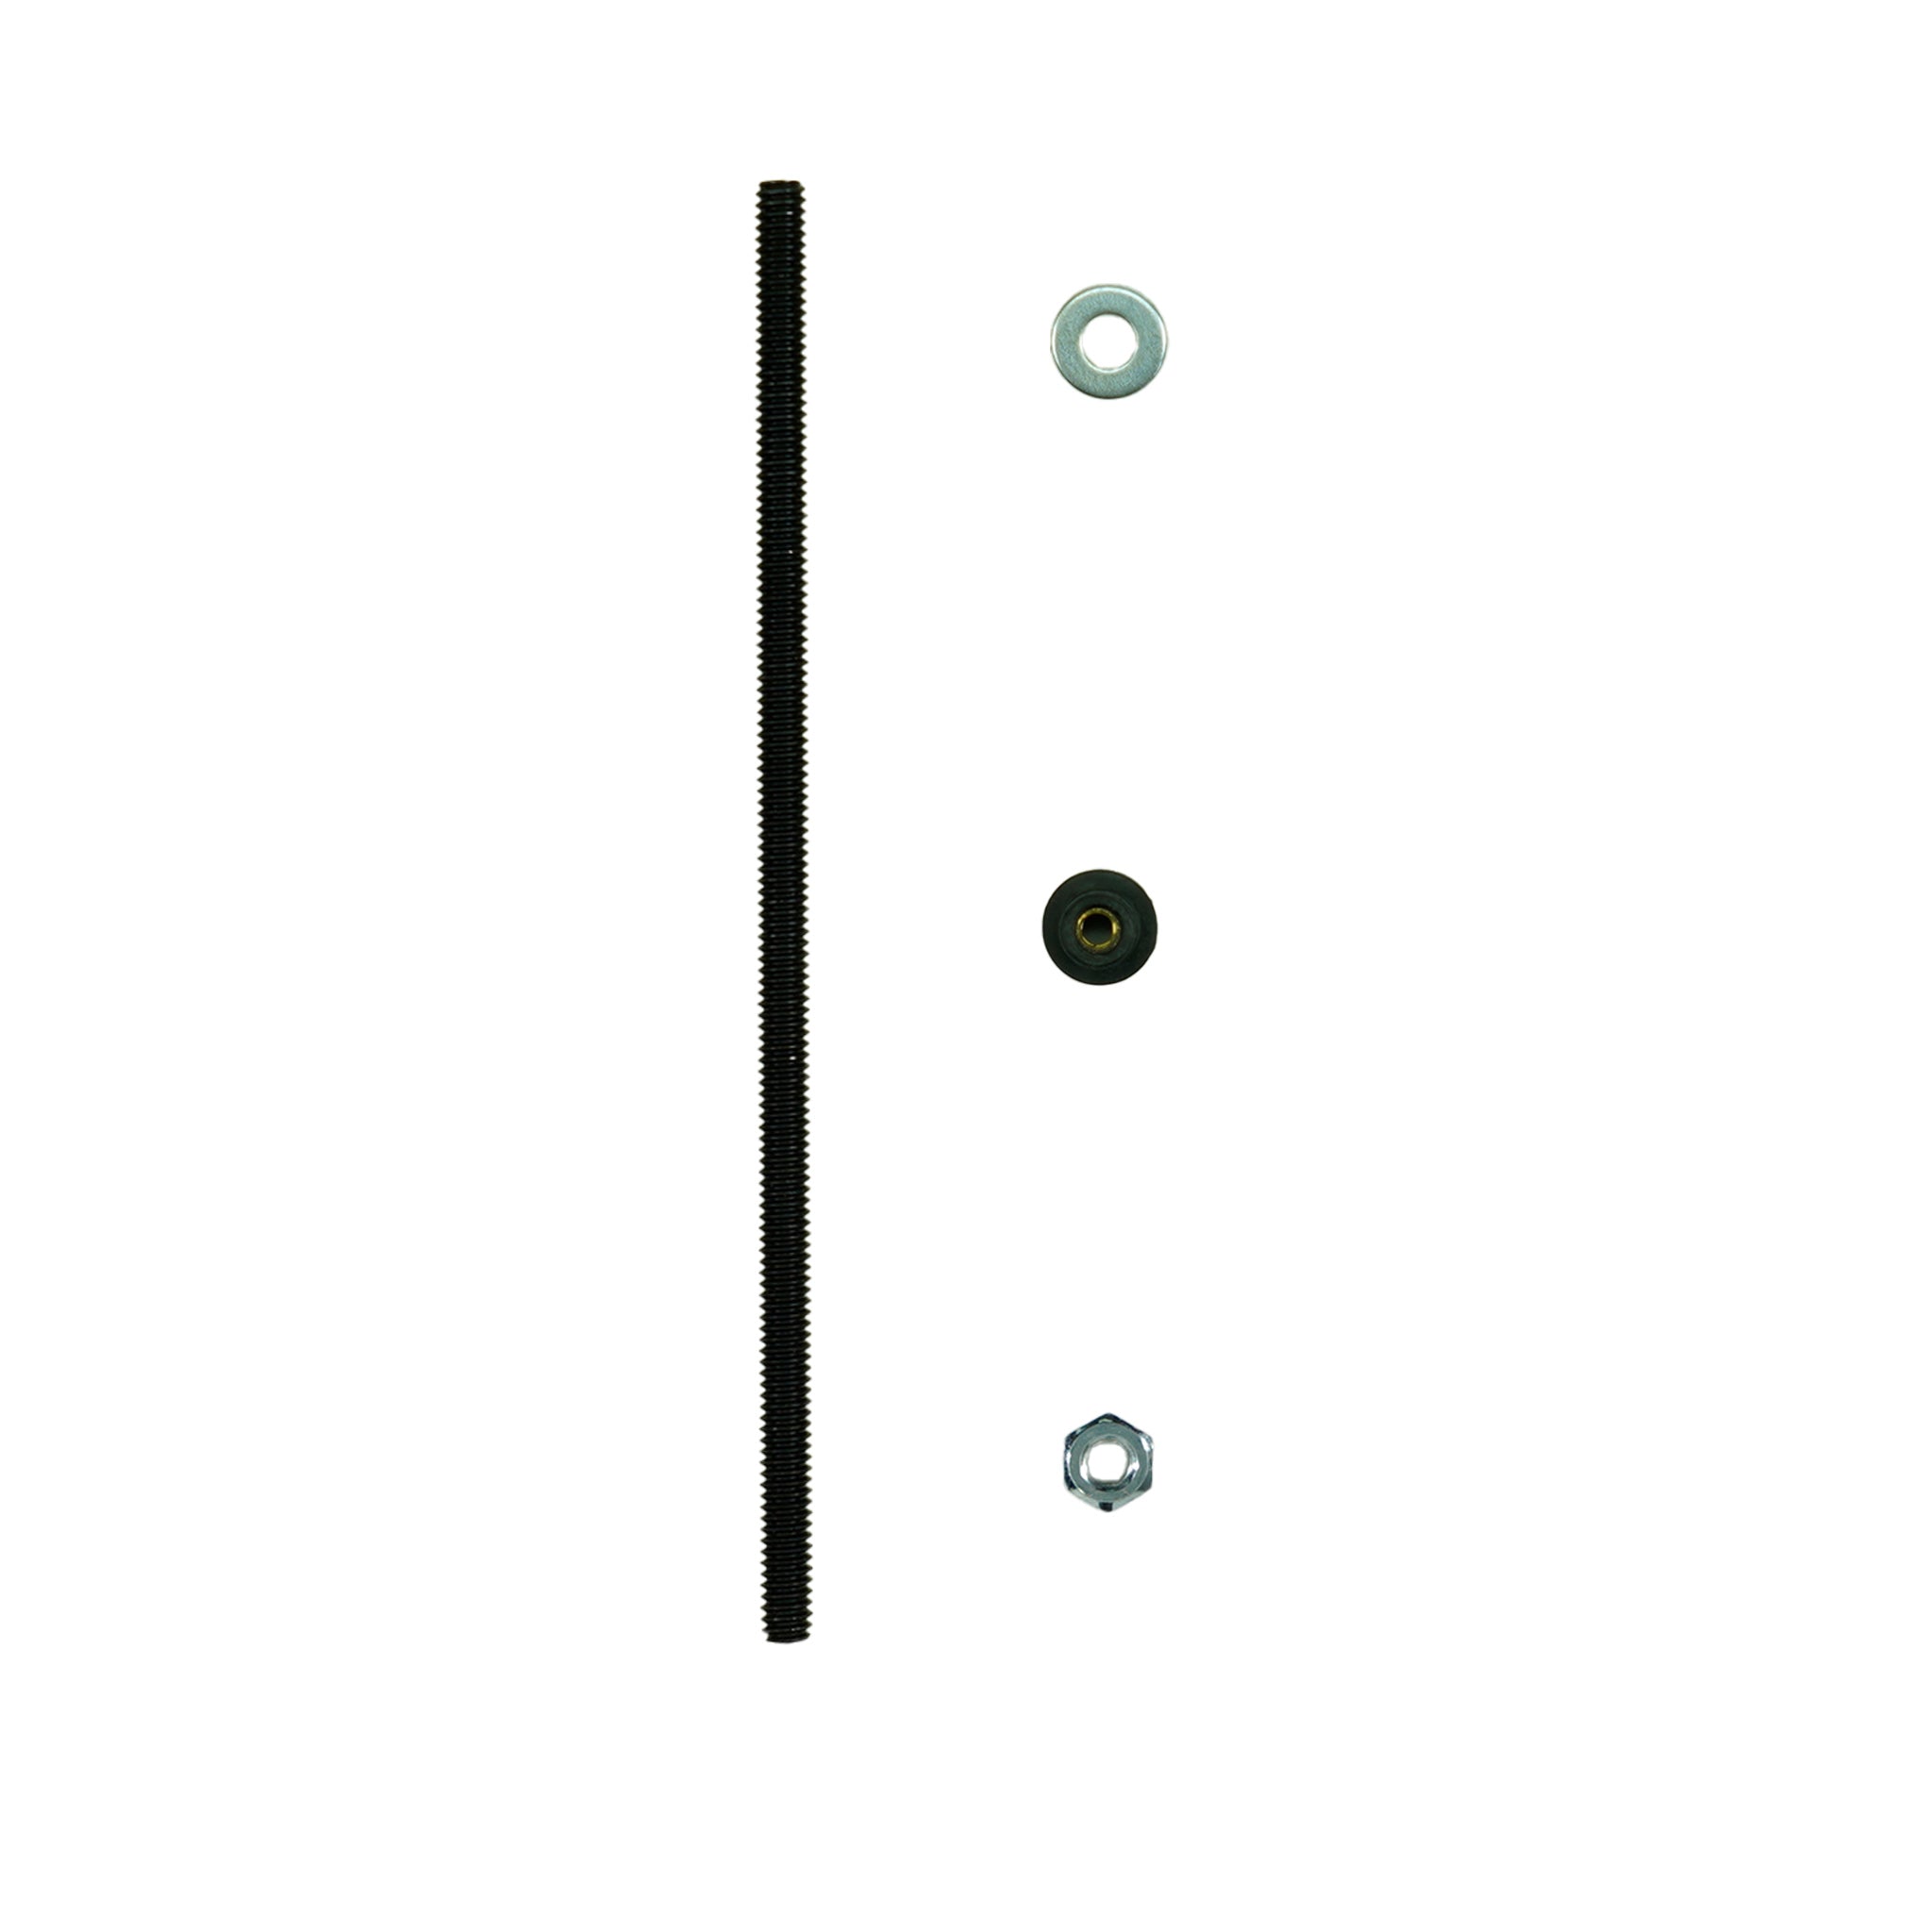
- 3. Drive/Ram Rod
Caution Is Warranted
The operation of expanding a ring is simple enough and straight forward. However, caution is advised! You certainly do not want to ruin your wife’s wedding band, passed down from her grandmother. Do this work with a clear, rested mind...with no distractions whatsoever. You need a good solid work surface, in a well lit space. You MUST have a brass hammer. Do not use a carpenter’s hammer as that will be too light a blow, with too small a head, that could miss hitting the top of the ram rod squarely, causing the hammer to slide down the Collet, hitting and most likely seriously damaging the ring! Borrow, rent, or buy a heavy brass hammer with a wide head. Brass gives a smooth, even impact. Brass does not reflect the impact back as steel does.Let’s Begin
Use the wood stand...it does have a purpose! The drive rod extends out the bottom of the collet during sizing. The stand gives you that room below.- Place the collet on the stand, making sure it is sitting level and solid on a good work bench or even a good piece of wide wood on the level floor of the garage.
- Place the collet with the LARGE KNURLED (cross hatch grip pattern) END DOWN into the wood stand. Correct end up, it will look like a Christmas tree with the bigger expanding levels at the bottom.
-
Now the careful, cautious part! Pay attention please...
- Slide your ring down on to the —lowest/smallest diameter “bench.”
- Squeeze the Collet Collars (grooved sections) together, with your fingers, to allow you to slide the ring down as far as possible, resting on the lowest "bench" it will slide onto.
- Now the Collet Collars will hold the ring in place when you release your grip.
- Verify the ring is being held in place by the collars.
4. With the ring correctly positioned on the lowest possible bench, carefully replace the collet in the wood stand, wide end down again.
5. Lightly lubricate with thin oil, the shaft of the ram rod, to prevent galling. (Metal to metal stress wearing, that could throw off the precision accuracy.
6. Gently slide the ram rod down into the collet. Verify all is correct and ready! Ensure you have a solid, level surface with good lighting... Let's Do This!
7. Gently give a light tap, squarely on the head of the ram rod to tension up the collet. Re-verify that the ring is level on the bench, not sitting on the bottom edge, nor extending up beyond the upper bench edge! This is very important for an even stretch.
8. Now give it a solid blow. Learning your aim and stance. You must not miss the head of the ram rod!!! Repeat with a couple more hard, accurate blows. Now carefully pull the collet out of the stand, keeping it over your protective rags, and carefully drive the ram rod back out from the bottom end that was in the stand. You will see the ram rod possibly extending out the bottom of the collet. If not, take a punch and hammer and tap it back out. But be careful for the ring flying free when the collet arm tension is released. Do this carefully and slowly the first time!
9. Now set the collet back in the stand and slide the ring down onto the collet arms, compressing them again with your fingers, and check for progress. If the ring looks the slightest bit out of round, or damaged on the edges...STOP! Take your ring to a jeweler to be on the safe side.
10. Repeat the above steps, carefully aligning the ring on the collet bench... slow and steady. Do not rush the job! Quality work takes time!
Good Luck! Always start off slow until you determine how well and fast your different rings are stretching. Every ring will stretch at a different rate and effort. Repeat: Go Slow. IN NO WAY ARE WE RESPONSIBLE FOR ACCIDENTS OR DAMAGE TO YOUR RINGS OR PERSONAL INJURY FROM USING THIS APPARATUS. Preferably...if you have an old ring to practice on first... then do so. These directions written by a customer of SERIOUS DETECTING (Sebastian Steve) who purchased and used this equipment with •great success• on a gold 18 karat men’s wedding band, recovered by the author from an 1870s Great Lakes Steamship, resting in 205 feet of water. Thank you and Good Luck!

